
")

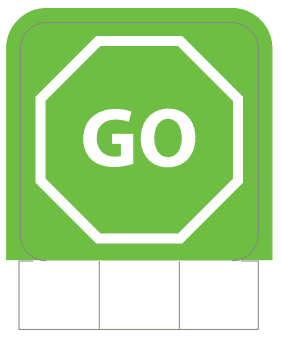
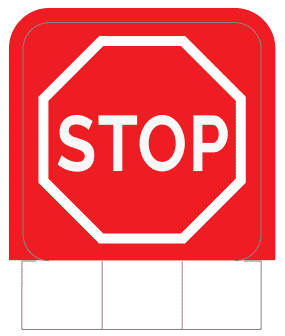
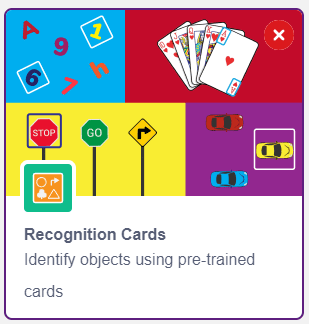
Recognition Cards is a special pre-trained machine learning model created to identify the following recognition cards (Download – Recognition Card – A4 Signs Pictoblox):


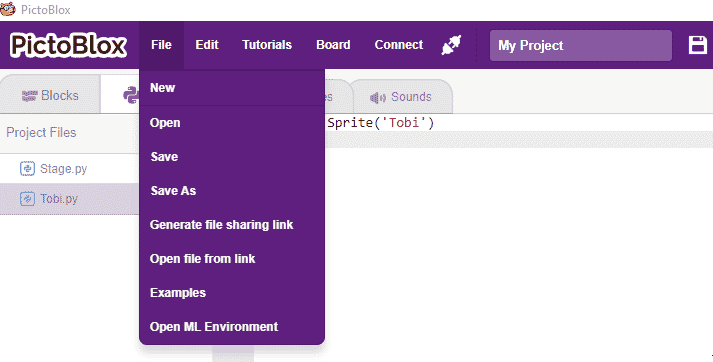
Following is the process to add Recognition Card capability to the PictoBlox Project.


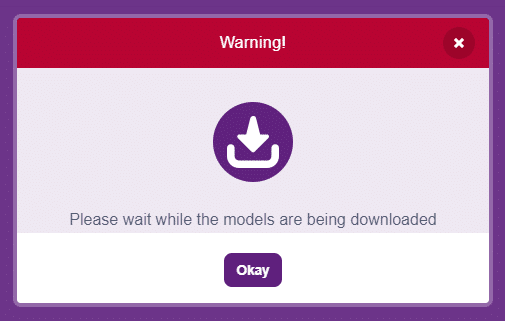
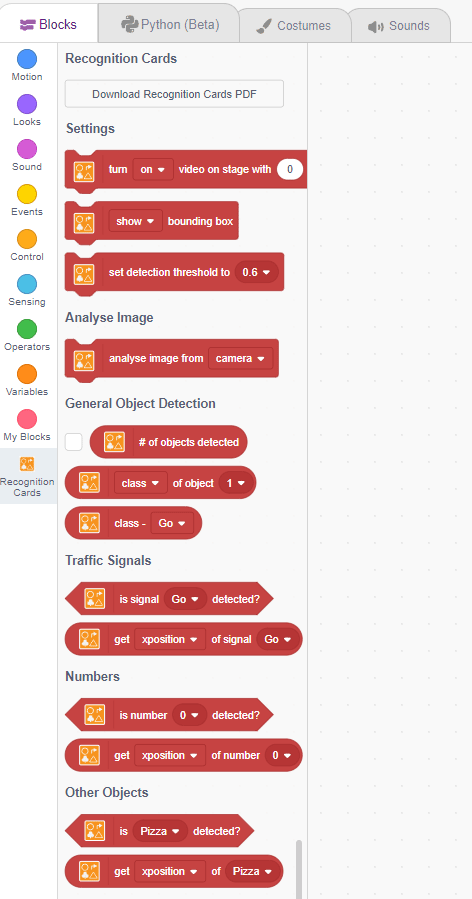
Following is the process to add Recognition Card capability to the PictoBlox Project.
cards = RecognitionCards()