Deprecated: Required parameter $query follows optional parameter $post in /var/www/html/wp-content/plugins/elementor-extras/modules/breadcrumbs/widgets/breadcrumbs.php on line 1215
QR Code Scanner - Blocks, Python Functions, Projects | PictoBlox Extension
[PictoBloxExtension]

QR Code Scanner

QR scanner
Extension Description
Detect, identify and read QR codes from images.

Introduction

What is QR Code?

QR Code is a machine-scannable image that can be instantly read, using a smartphone camera. Every QR code consists of a number of black squares and dots that represent some encoded piece of information; like alphabets, numbers, etc. When your Smartphone scans this code, it translates that encoded information that only computers can understand, into something that can be easily understood by humans.
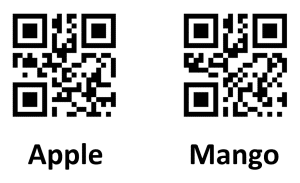
 

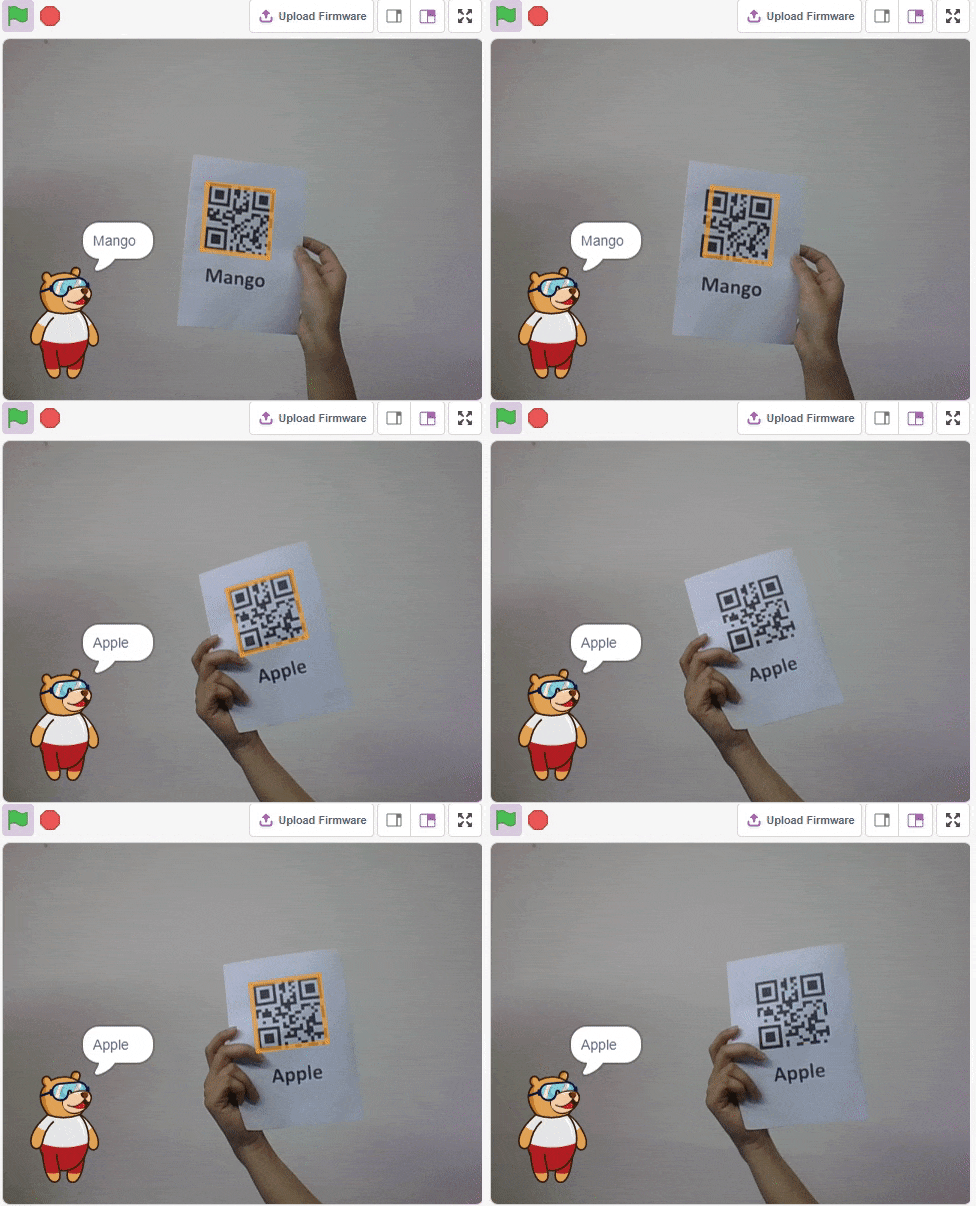
The QR Code Scanner extension allows users to scan QR codes from the camera or stage and report the information:

  1. QR Code Data
  2. QR code position on the stage
  3. QR code angle alignment on the stage

Accessing QR Code Scanner in Block Coding

Following is the process to add QR Code Scanner capability to the PictoBlox Project.

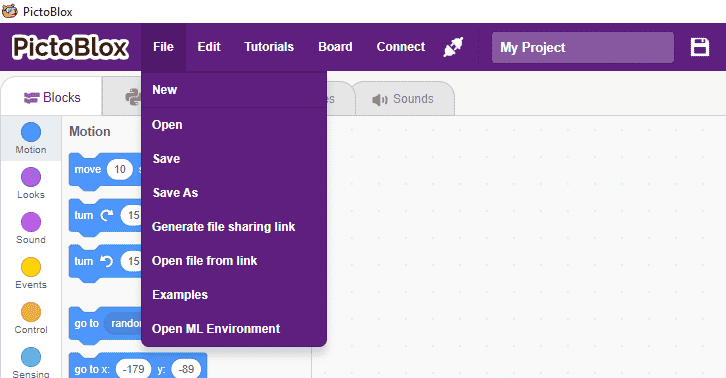
  1. Open PictoBlox and create a new file.
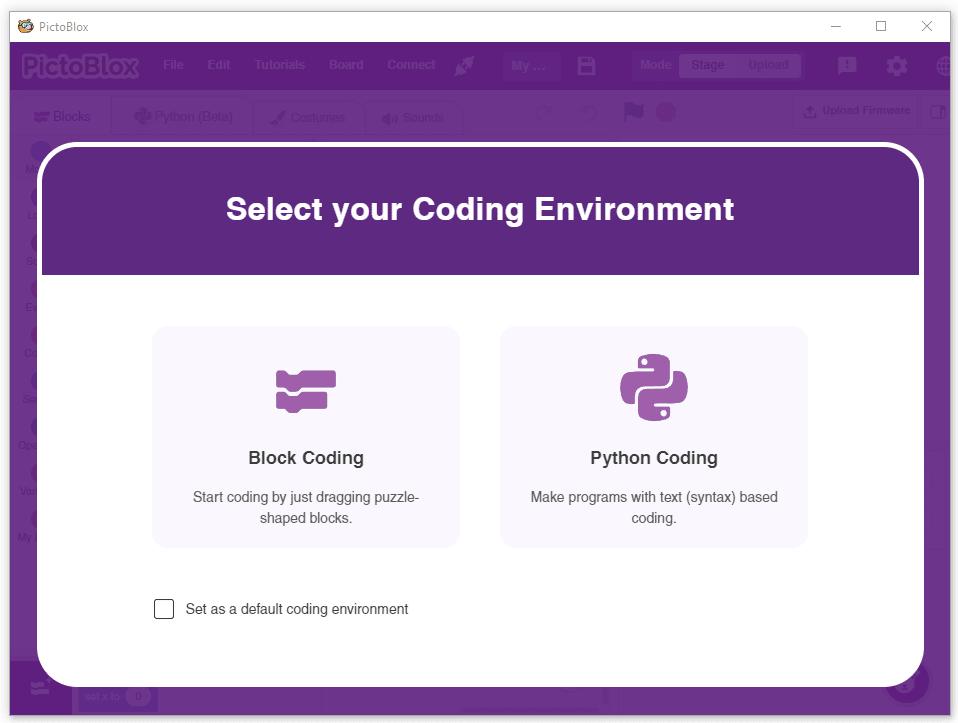
  2. Select the coding environment as Block Coding.
  3. Next, click on the Add Extension button and add the QR Code Scanner extension.
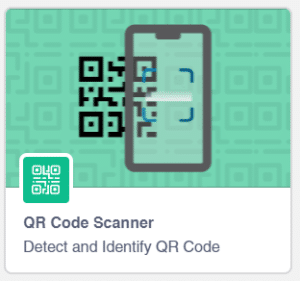
  4. You can find the QR Code Scanner blocks available in the project.
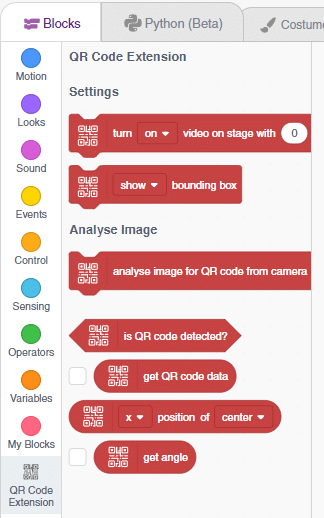
Accessing QR Code Scanner  in Python Coding

Following is the process to add QR Code Scanner capability to the PictoBlox Project.

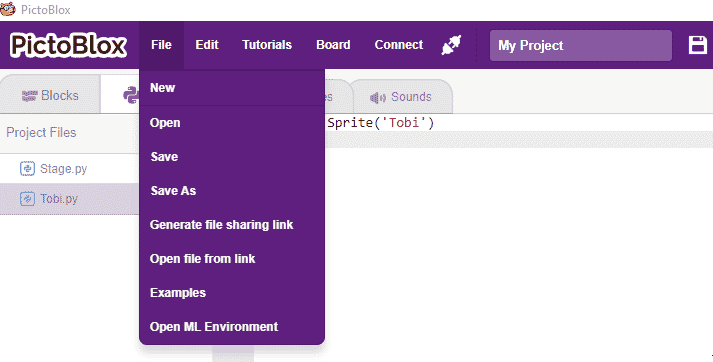
  1. Open PictoBlox and create a new file.
  2. Select the coding environment as Python Coding.
  3. Next, click on the Add Modules/Libraries button and add the QR Code Scanner extension.
  4. To access the library functions, you have to add the object declaration.
    qr = QRCodeScanner()

Example Project Video

In this project, a QR code is generated with the help of a QR code generator website. credits – https://www.qr-code-generator.com/

The QR code is linked to a URL. Then, the QR code is scanned with the help of the QR code scanner extension of Pictoblox. The project is created by RS Junction.

Read More

PictoBlox Blocks

This button allows to add a sound from library to the list.
After execution, the sprite moves on the stage and does not draw lines.
After connection is established, moves the quarky a specified number of step backward.
Shows a specified text on the LED display of the quarky.
Analyzes and process images captured from the camera.
Analyzes and process hand detected from the camera.
Eables wizbot to follow a line using its sensors.
After connection is established, moves the wizbot a specified number of step forward.
This block switches the state of the wizbot to Draw mode.
This block makes the robot move forward and reverse for a set time, collecting IR sensor data on both white and black lines.
The block sets the cursor at the specified coordinate in the TFT Display of evive. Origin (0,0) is at the top left corner of the screen. Positive X-direction is to right while positive Y-direction is downward. Once the cursor has moved to the specified coordinate, you can write text using that point as the reference.
The block check takes the slide switch number (1 or 2) and state to be checked for (Up or Down) as input and returns “True” if the slide switch is in the specified state and “False” if it is not in the specified state.
The block returns a number received from the terminal module of the Dabble app.
The block free or locks the motor connected to the selected slot from evive, Arduino Uno, Mega & Nano.
The block reports the analog reading from analog sensor varying between 0 to 1023, connected to the selected analog pin.
This block should be included every time you work with the robotic arm as this block calibrates the angles of the servo motors and saves it in the memory of evive.
This block defines the PWM pins to which all the four servos of arms (2 servos of shoulders + 2 servos of hands) are connected.
The blocks turn their sprite the specified amount of degrees counter-clockwise. This changes the direction the sprite is facing.
The block gives its sprite a thought bubble with the specified text, which stays for the specified amount of seconds.
The block will stop any sounds currently being played on all sprites and the Stage. Pressing the Stop button will also stop all sounds, but is rarely used as it also stops all the other scripts running in the project.
Blocks held inside this block will be in a loop — just like the Repeat () block and the Repeat Until () block, except that the loop never ends (unless the stop sign is clicked, the Stop All block is activated, or the stop script block is activated within the loop). Due to this infinite loop, the block has no bump at the bottom; having a bump would be pointless, as the blocks below it would never be activated.
Scripts that wear this block will be triggered once the specified backdrop has been switched to on the Stage.
The block checks whether a color on its sprite is touching another color. If it is, the block returns “true”.
This block is used to set the threshold for the confidence (accuracy) of object detection, 0 being low confidence and 1 being high confidence. With the threshold value, you can set the level of confidence required for object detection.
The block checks if the first value is greater than the other value. If the second value is less, the block returns true; if not, it returns false.
The block shows the specified variable’s Stage monitor.
This block is used to analyze the image received as input from the camera or the stage, for human pose detection.
The recognize () in image from () block extracts the image from Stage, Costume, or Backdrop in PictoBlox, analyzes it, and saves information in PictoBlox.
This block is used to set the threshold for the confidence (accuracy) of face detection, 0 being low confidence and 1 being high confidence. With the threshold value, you can set the level of confidence required for face detection.
All articles loaded
No more articles to load

Block Coding Examples

All articles loaded
No more articles to load

Python Functions

The function closes the gripper for the Quarky Gripper Robot.
Syntax: closearm()
The function executes the oscillator according to stored parameters for the servo motor and the current time.
Syntax: executeoscillator()
The function reports the analog reading of the Gas sensor connected to the selected pin. The value will vary between 0 to 4095.
Syntax: gassensorvalue(pin = “A1”)
The function creates a Python object for the Thingspeak library.
Syntax: thingspeak()
The function takes the desired angle values and sets the pick and place arm to those angles.
Syntax: setarmangle(angle = 90)
This function moves the end-effector to the specified position of the chosen axis while keeping the other two axes in their current positions.
Syntax: roboticArm.gotoinoneaxis(POSITION = 150, AXIS = “x”, TIME = 1000)
PID control of line follower is a method consisting of proportional, integral, and derivative functions to improve the robot’s movement. 
Syntax: setPIDconstantparameter(kp = 0.8, ki = 0.01, kd = 0.2)
This function returns the y position of the face detected. You can specify the face for which the value is needed. The position is mapped with the stage coordinates.
Syntax: y(face = 1)
The block points its sprite towards the mouse-pointer. This changes the sprite’s direction and rotates the sprite.
Syntax: pointto()
This function resets all 7 graphic effects.
Syntax: cleareffects()
The function sets the timer’s value back to 0. 
Syntax: resettimer()
The function executes the oscillator according to stored parameters for the servo motor and the current angle specified in the block.
Syntax: executesscillatorat(angle = 90)
The function sets the threshold for the gas sensor. Threshold helps users decide whether the sensor is active or not. If the sensor value is greater than the threshold value, the sensor is active, or else it is inactive.
Syntax: setgasthreshold(threshold_value = 1500)
The function connects the PictoBlox to the ThinkSpeak Channel with the specified write and the read API keys. Without this function, other functionality does not work related to ThinkSpeak.
Syntax: ts.connecttothingspeak(channel_ID = 1234567, read_API = “readAPI”, write_API = “writeAPI”)
The block sets the oscillator parameters for the selected servo motor.
Syntax: setoscillationparameters(servo name = “RHip”, amplitude = 30, offset = 90, time period = 1000, phase difference = 0)
This function moves the servo motors of a pick and place robot to the angle specified by the user, allowing the robot to pick up an object.
Syntax: pick()
This function moves a robotic arm’s end-effector along a given axis by a specified amount over a given time. All other axes will remain constant.
Syntax: roboticArm.movebyinoneaxis(DISTANCE = 10, AXIS = “x”, TIME = 1000)
This function is used for set the Base Speed, Min Speed and Max Speed of motors for line following and turn.
Syntax: setPIDspeedparameter(base = 40, min = 0, max = 80)
This function returns the width of the face detected. You can specify the face for which the value is needed. The position is mapped with the stage coordinates.
Syntax: width(face = 1)
The function moves its sprite costume center’s X position by the specified amount.
Syntax: changex(delta_x = 10)
If the sprite is hidden, it will show the sprite. If the sprite is already showing, nothing will change.
Syntax: show()
The function reports the number of days (and fractions of a day) since 00:00:00 1 January 2000 (UTC).
Syntax: dayssince2000()
The function set the specified steering orientation to the specific servo motor angle. Orientations – Straight, Left and Right.
Syntax: setsteeringangle(orientation = “S”)
The function connects the soil moisture sensor to the specified pin. Once initialized, other moisture sensor-related functions can be used.
Syntax: setmoisturepin(pin = “A1”)
The function resets the oscillator parameter for all the servo motors.
Syntax: resetoscillationparameters()
This function moves the servo motors of a pick and place robot to the angle specified by the user, allowing the robot to place down an object.
Syntax: place()
This function takes in a servo type, an angle, and a time value as inputs and sets the servo to the given angle in the specified amount of time.
Syntax: roboticArm.setservoangleto(SERVO = “link1”, ANGLE = 90, TIME = 1000)
This function starts line following with the PID algorithm, stopping at a checkpoint based on the IR threshold; set PID speed, constants, and adjust parameters for best performance.
Syntax: dolinefollowingwithPID(next_checkpoint = 1)
This function returns the height of the face detected. You can specify the face for which the value is needed. The position is mapped with the stage coordinates.
Syntax: height(face = 1)
The function changes the selected sprite’s X position to a specified value.
Syntax: setx(x = -240)
All articles loaded
No more articles to load

Python Coding Examples

All articles loaded
No more articles to load
Table of Contents