Deprecated: Required parameter $query follows optional parameter $post in /var/www/html/wp-content/plugins/elementor-extras/modules/breadcrumbs/widgets/breadcrumbs.php on line 1215
QR Code Scanner - Blocks, Python Functions, Projects | PictoBlox Extension
[PictoBloxExtension]

QR Code Scanner

QR scanner
Extension Description
Detect, identify and read QR codes from images.

Introduction

What is QR Code?

QR Code is a machine-scannable image that can be instantly read, using a smartphone camera. Every QR code consists of a number of black squares and dots that represent some encoded piece of information; like alphabets, numbers, etc. When your Smartphone scans this code, it translates that encoded information that only computers can understand, into something that can be easily understood by humans.
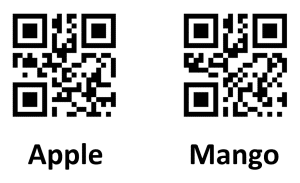
 

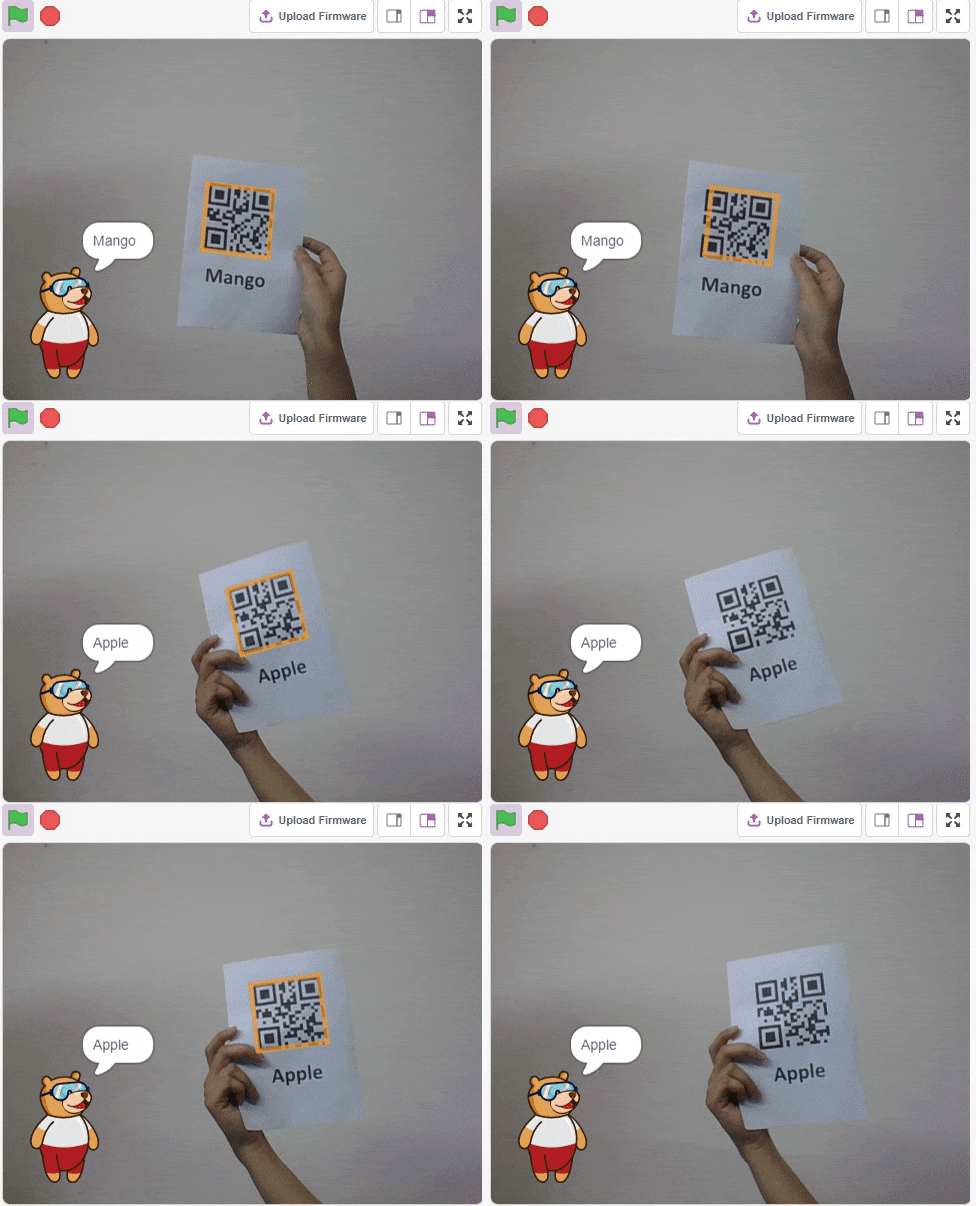
The QR Code Scanner extension allows users to scan QR codes from the camera or stage and report the information:

  1. QR Code Data
  2. QR code position on the stage
  3. QR code angle alignment on the stage

Accessing QR Code Scanner in Block Coding

Following is the process to add QR Code Scanner capability to the PictoBlox Project.

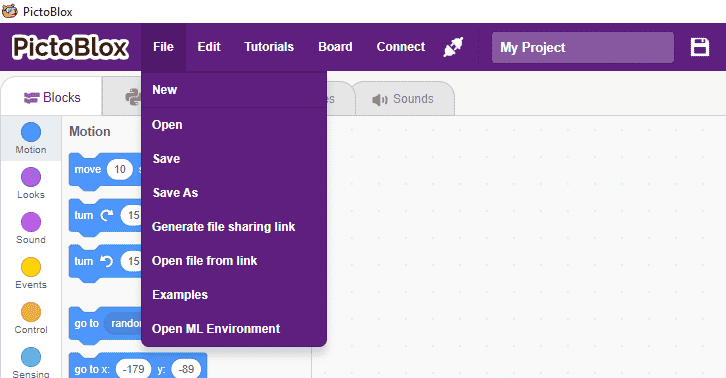
  1. Open PictoBlox and create a new file.
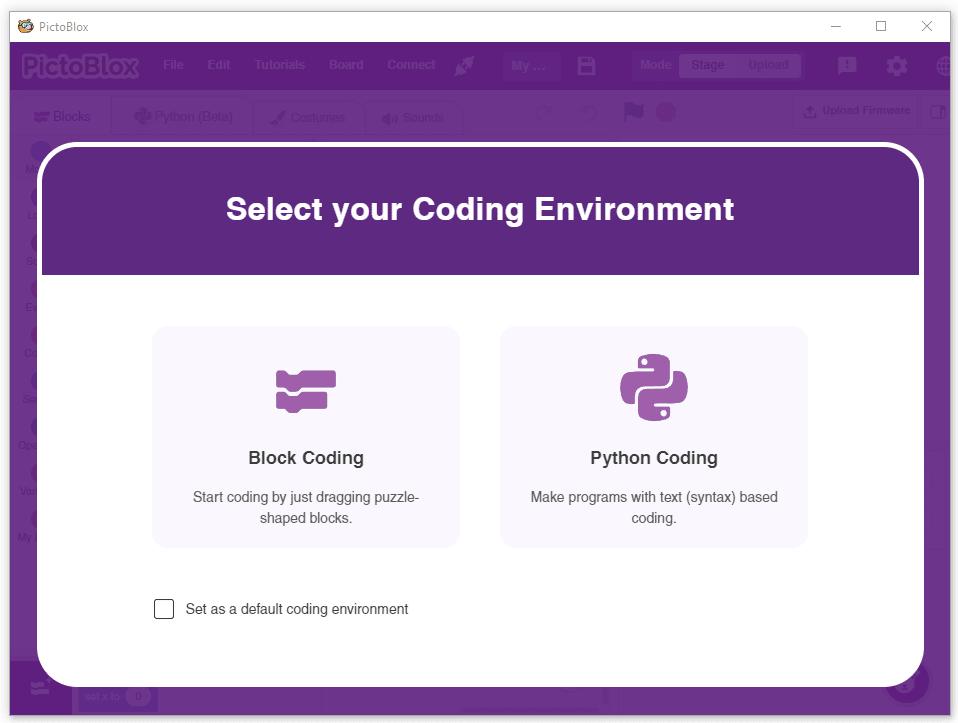
  2. Select the coding environment as Block Coding.
  3. Next, click on the Add Extension button and add the QR Code Scanner extension.
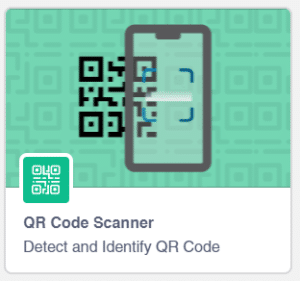
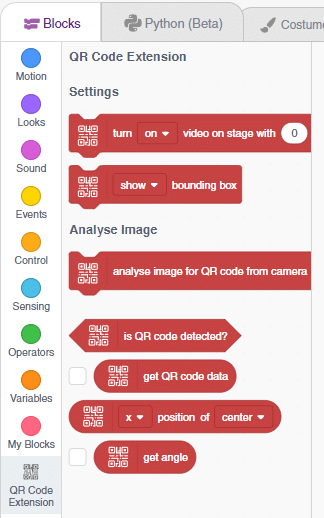
  4. You can find the QR Code Scanner blocks available in the project.
Accessing QR Code Scanner  in Python Coding

Following is the process to add QR Code Scanner capability to the PictoBlox Project.

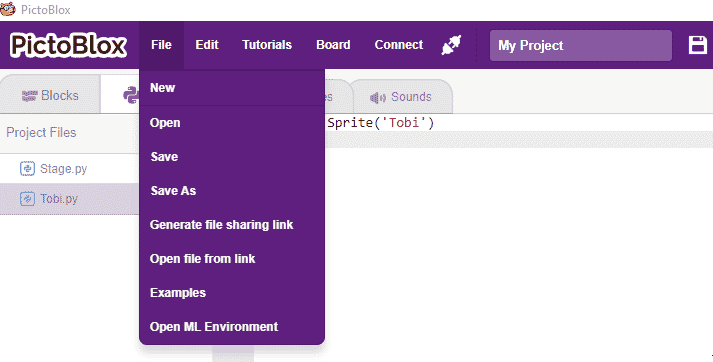
  1. Open PictoBlox and create a new file.
  2. Select the coding environment as Python Coding.
  3. Next, click on the Add Modules/Libraries button and add the QR Code Scanner extension.
  4. To access the library functions, you have to add the object declaration.
    qr = QRCodeScanner()

Example Project Video

In this project, a QR code is generated with the help of a QR code generator website. credits – https://www.qr-code-generator.com/

The QR code is linked to a URL. Then, the QR code is scanned with the help of the QR code scanner extension of Pictoblox. The project is created by RS Junction.

Read More

PictoBlox Blocks

The block writes the message to the RFID tag. It will wait for the specified time to scan an RFID tag and write the value on it. The block also reports whether the operation is completed or not. If the write is complete the block returns 1, else it returns 0.
The block defines the value of the body.
This block allows the Gripper Robot to open its gripper.
This block is used to get the angle of a selected servo connected to a robotic arm.
The block gives the value of the current sensed on the sensing ports of evive in mili-Ampere.  
The Music module allows you to play tones, songs and other recorded audio files from your phone’s storage as per command send from the hardware device. This block is used to play the audio file for the key entered in the text box of the block.
This block reports the current position of the end effector in the selected axis.
The block holds its sprite’s X position. This block can be displayed as a Stage monitor.
If the block’s sprite is shown, it will hide the sprite. If the sprite is already hidden, nothing happens.
It reports the number of days (and fractions of a day) since 00:00:00 1 January 2000 (UTC).
The block rounds the given number to the nearest integer. It follows the standard rules of rounding; decimals that are .5 or higher are rounded up, whereas decimals less than .5 are rounded down.
The block hides the specified list’s Stage monitor.
The block reports the x velocity of the sprite.
The block set the last scanned RFID tag to the master RFID tag. This can be used for authentication.
The block sets the body content type to the specified value.
The block resets the timer running for the oscillator to 0.
This block allows the Gripper Robot to close its gripper.
The block reports the current position of the end effector along the X, Y, and Z axes.
The block returns the time passed since the device is turned ON or since the timer has been reset. This block returns time in milliseconds.
The Camera module allows you to use your mobile camera for different activities like recording videos, capturing images, color detection, and face detection. This block sends commands for clicking an image, starting the video, and stopping the video in the camera module.
The Notification module of the IoT module triggers a notification in your Smartphone based on events occurring on your hardware. This block is used for clearing the previous notifications from the phone.
The block holds its sprite’s Y position. This block can be displayed as a Stage monitor.
The block will place a sprite in front of all other sprites. It does this by changing the sprite’s layer value.
The block performs a specified function on a given number and reports the result. The function can be changed by clicking the down arrow and selecting a new function from the drop-down menu.
The block reports the y velocity of the sprite.
The block reports if the last RFID tag scanned is a master tag or not. If it is the master RFID tag, then it returns true, else false.
The block reports the time passed from the reset for the oscillator.
The block sets the timer’s value back to 0.0. Usually, the timer must be reset at the beginning of a project for the Timer block to hold the right value.
The Oscilloscope module allows you to visualize the input and output signals of your hardware device on your smartphone. This block for setting the baud rate of the Bluetooth module that you have connected to Arduino Mega.
The block holds its sprite’s direction, measured in degrees.
All articles loaded
No more articles to load

Block Coding Examples

There are no block coding examples for the extension to show.

Python Functions

There are no python functions for the extension to show.

Python Coding Examples

There are no python examples for the extension to show.
Table of Contents