QR Code is a machine-scannable image that can be instantly read, using a smartphone camera. Every QR code consists of a number of black squares and dots that represent some encoded piece of information; like alphabets, numbers, etc. When your Smartphone scans this code, it translates that encoded information that only computers can understand, into something that can be easily understood by humans.
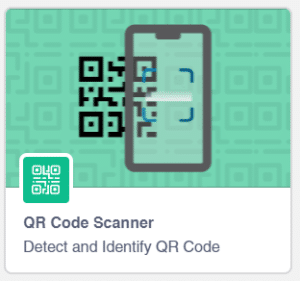
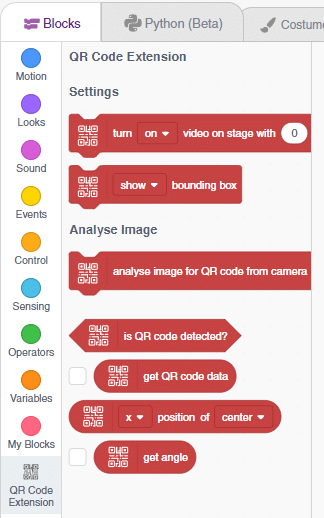
The QR Code Scanner extension allows users to scan QR codes from the camera or stage and report the information:
Following is the process to add QR Code Scanner capability to the PictoBlox Project.


Following is the process to add QR Code Scanner capability to the PictoBlox Project.
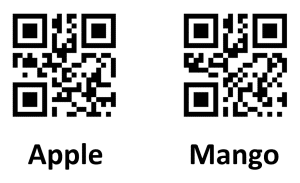
qr = QRCodeScanner()In this project, a QR code is generated with the help of a QR code generator website. credits – https://www.qr-code-generator.com/
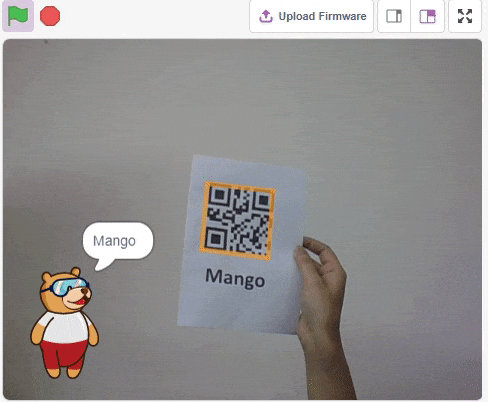
The QR code is linked to a URL. Then, the QR code is scanned with the help of the QR code scanner extension of Pictoblox. The project is created by RS Junction.