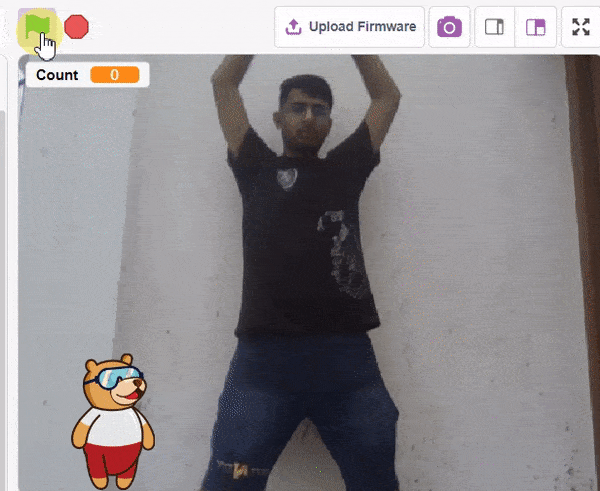
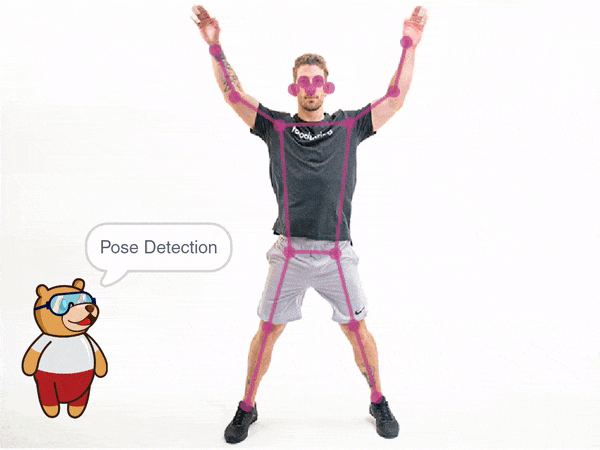
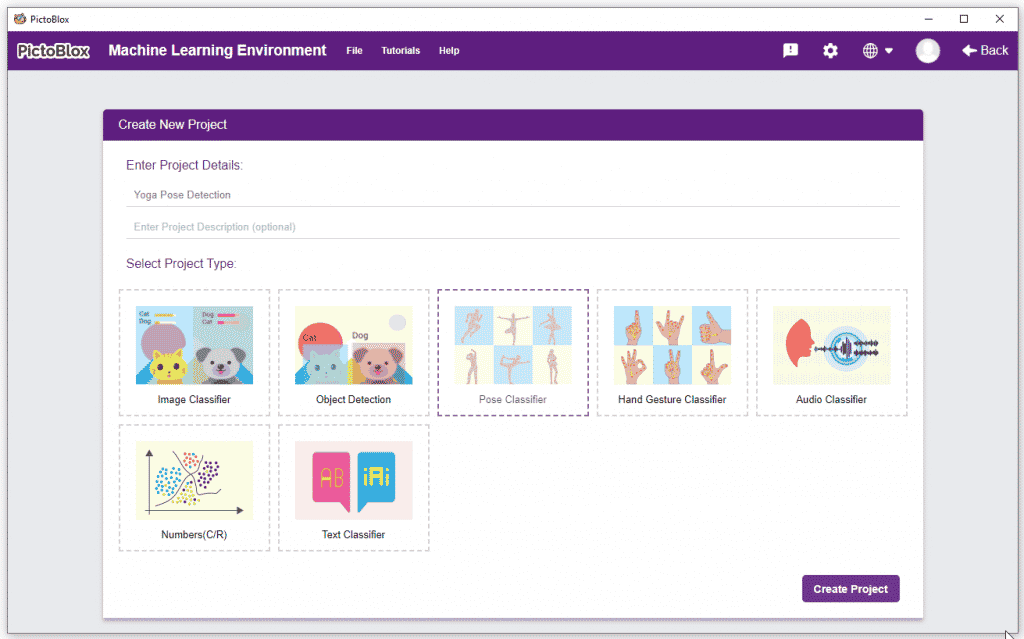
Pose Classifier is the extension of the ML Environment is used for classifying different body poses into different classes.
The model works by analyzing your body position with the help of 17 data points.

Follow the steps below:


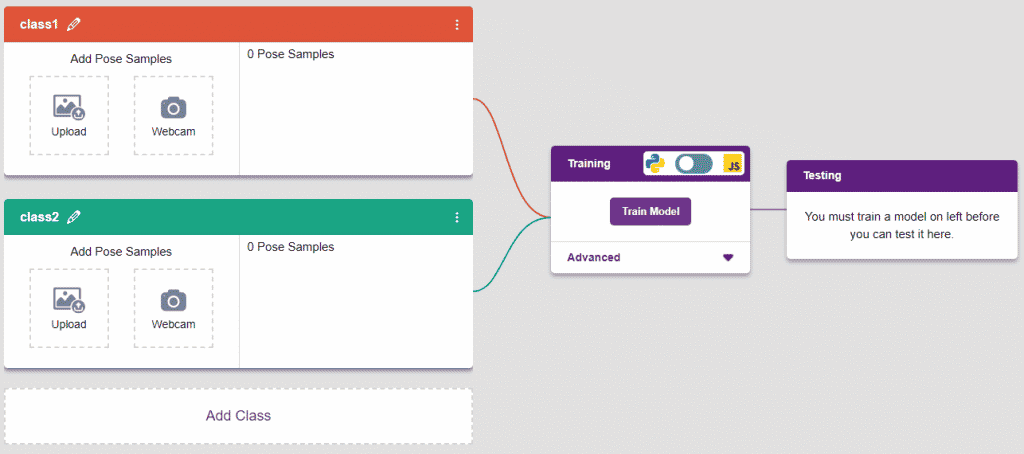
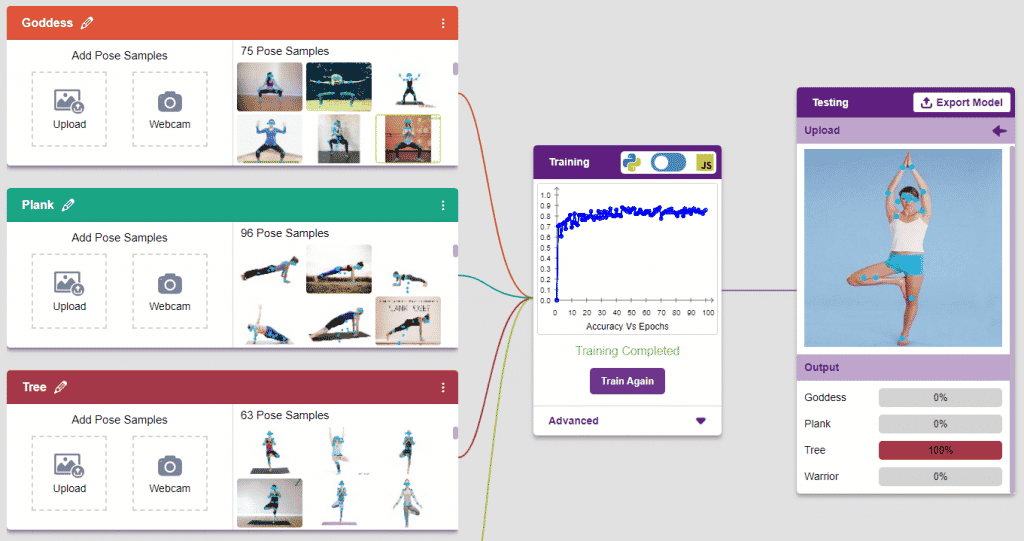
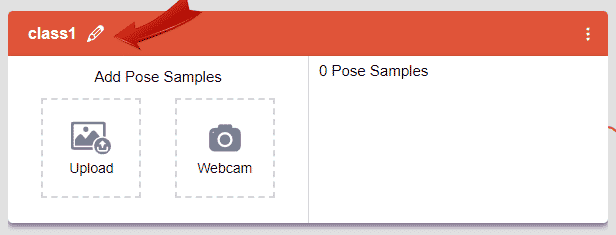
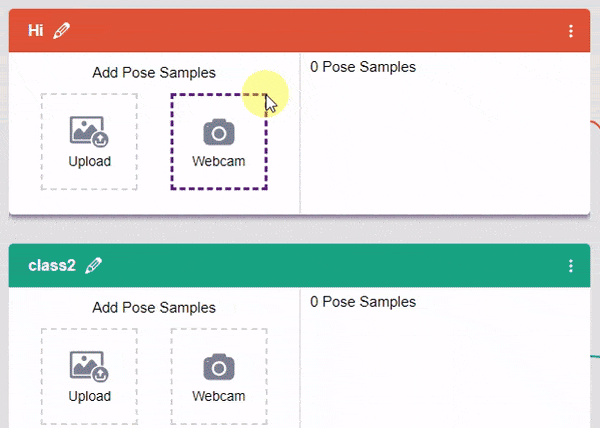
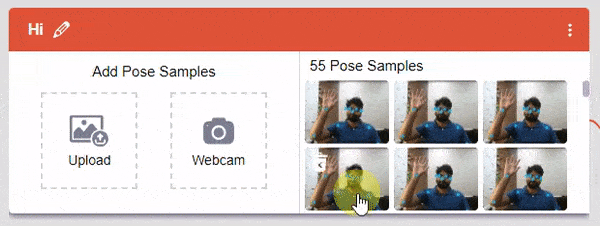
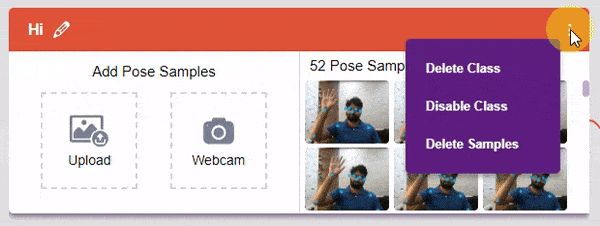
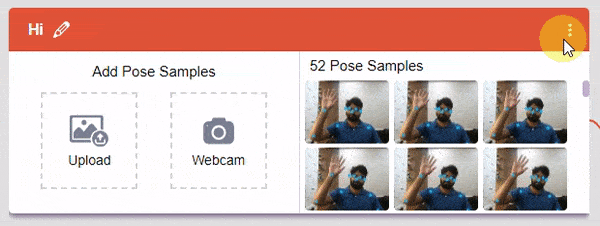
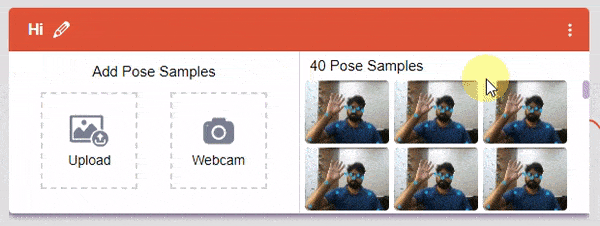
Class is the category in which the Machine Learning model classifies the poses. Similar poses are put in one class.
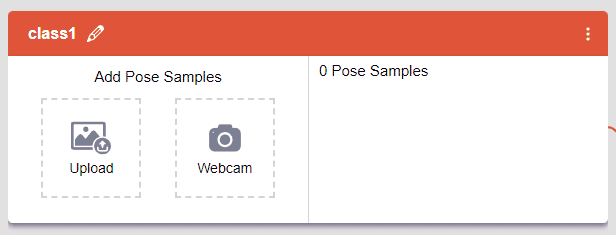
There are 2 things that you have to provide in a class:


You can perform the following operations to manipulate the data into a class.
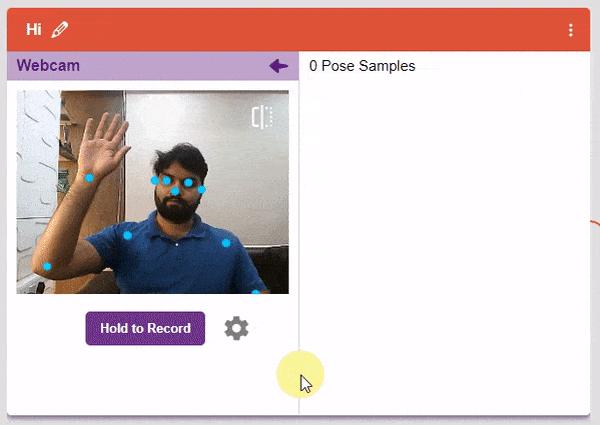
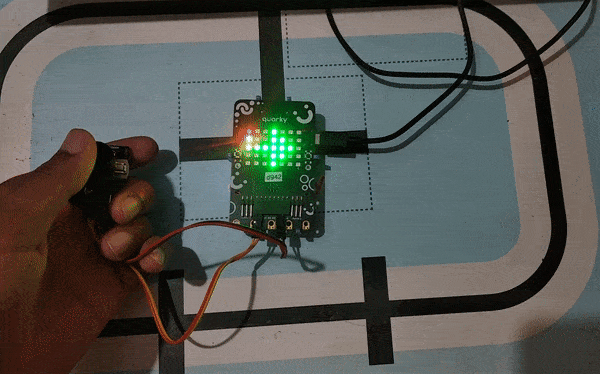
 If you want to change your camera feed, you can do it from the webcam selector in the top right corner.

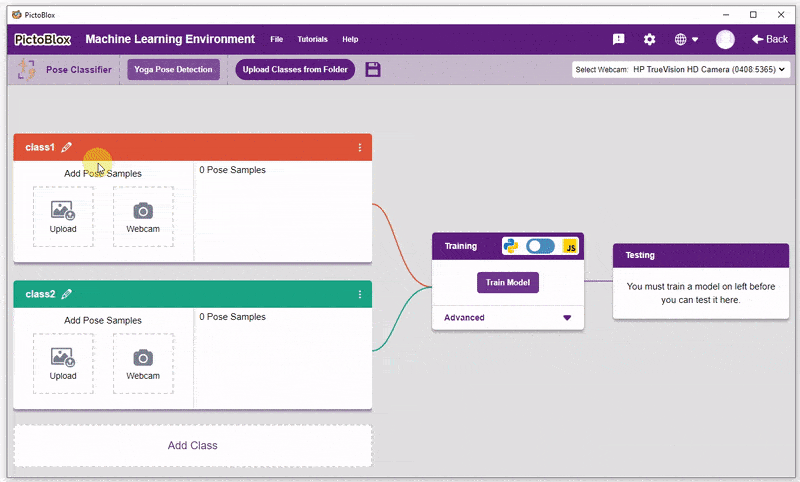
After data is added, it’s fit to be used in model training. In order to do this, we have to train the model. By training the model, we extract meaningful information from the pose, and that in turn updates the weights. Once these weights are saved, we can use our model to make predictions on data previously unseen.

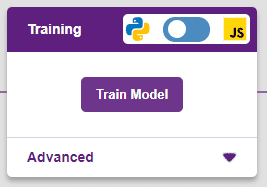
However, before training the model, there are a few hyperparameters that you should be aware of. Click on the “Advanced” tab to view them.
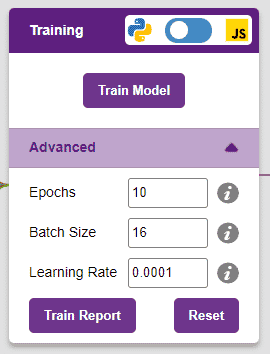
There are three hyperparameters you can play along with here:
It’s a good idea to train a numeric classification model for a high number of epochs. The model can be trained in both JavaScript and Python. In order to choose between the two, click on the switch on top of the Training panel.
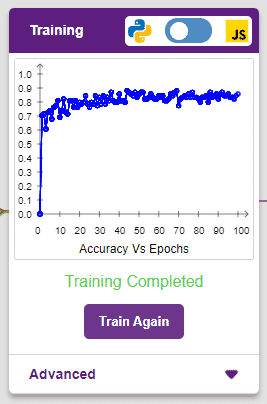
The accuracy of the model should increase over time. The x-axis of the graph shows the epochs, and the y-axis represents the accuracy at the corresponding epoch. Remember, the higher the reading in the accuracy graph, the better the model. The x-axis of the graph shows the epochs, and the y-axis represents the corresponding accuracy. The range of the accuracy is 0 to 1.

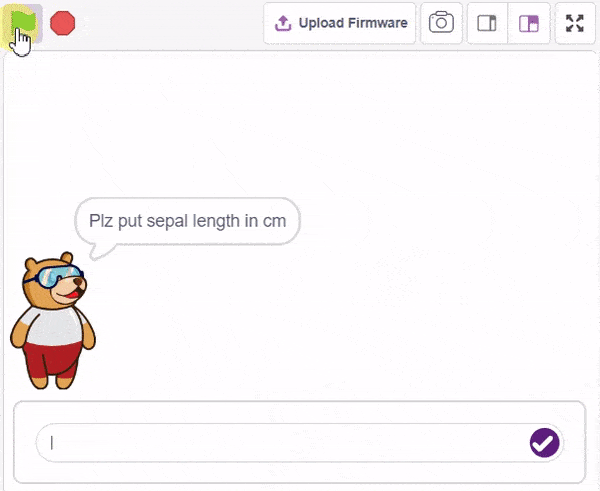
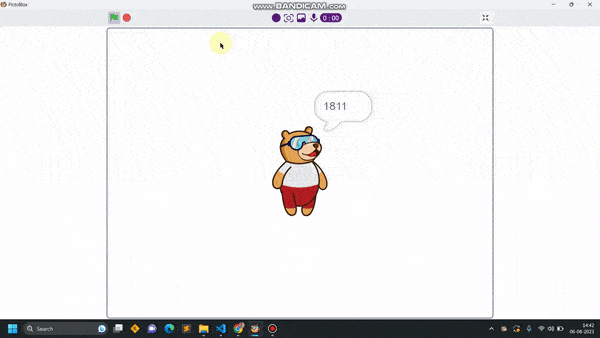
To test the model, simply enter the input values in the “Testing” panel and click on the “Predict” button.
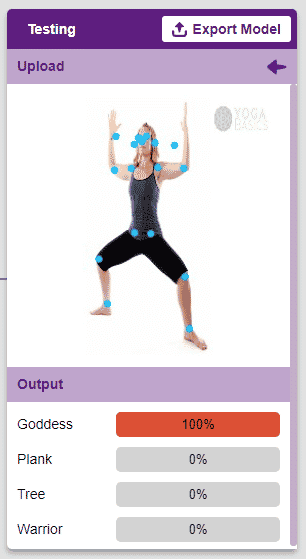
The model will return the probability of the input belonging to the classes.
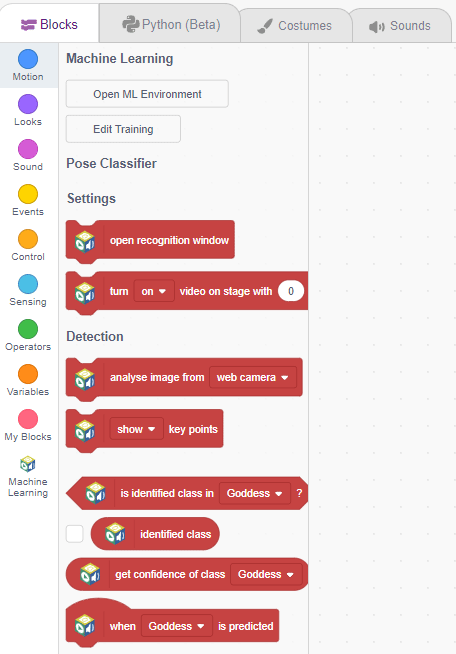
Click on the “Export Model” button on the top right of the Testing box, and PictoBlox will load your model into the Block Coding Environment if you have opened the ML Environment in the Block Coding.
Click on the “Export Model” button on the top right of the Testing box, and PictoBlox will load your model into the Python Coding Environment if you have opened the ML Environment in Python Coding.
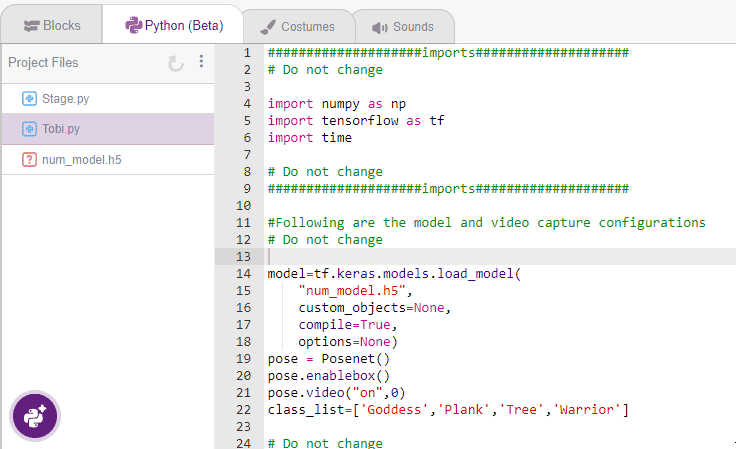 The following code appears in the Python Editor of the selected sprite.
####################imports####################
# Do not change

import numpy as np
import tensorflow as tf
import time

# Do not change
####################imports####################

#Following are the model and video capture configurations
# Do not change

model = tf.keras.models.load_model("num_model.h5",
                                   custom_objects=None,
                                   compile=True,
                                   options=None)
pose = Posenet()  # Initializing Posenet
pose.enablebox()  # Enabling video capture box
pose.video("on", 0)  # Taking video input
class_list = ['Goddess', 'Plank', 'Tree', 'Warrior']  # List of all the classes

# Do not change
###############################################

#This is the while loop block, computations happen here
# Do not change

while True:
  pose.analysecamera()  # Using Posenet to analyse pose
  coordinate_xy = []

  # for loop to iterate through 17 points of recognition
  for i in range(17):
    if (pose.x(i, 1) != "NULL" or pose.y(i, 1) != "NULL"):
      coordinate_xy.append(int(240 + float(pose.x(i, 1))))
      coordinate_xy.append(int(180 - float(pose.y(i, 1))))
    else:
      coordinate_xy.append(0)
      coordinate_xy.append(0)

  coordinate_xy_tensor = tf.expand_dims(
      coordinate_xy, 0)  # Expanding the dimension of the coordinate list
  predict = model.predict(
      coordinate_xy_tensor)  # Making an initial prediction using the model
  predict_index = np.argmax(predict[0],
                            axis=0)  # Generating index out of the prediction
  predicted_class = class_list[
      predict_index]  # Tallying the index with class list
  print(predicted_class)