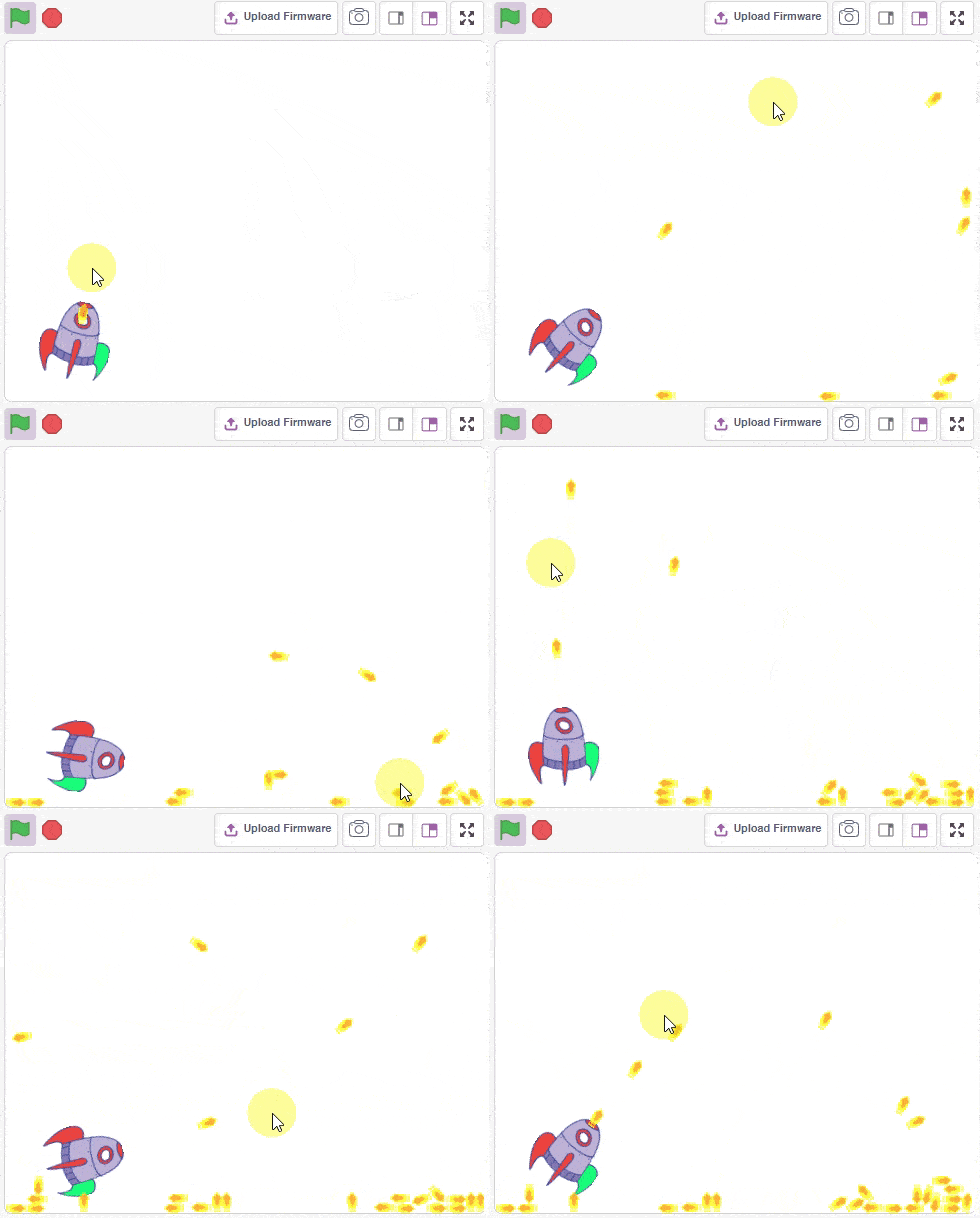
[PictoBloxExtension]
Physics Engine

Extension Description
Add physics to simulate the real-life simulation.
-
 Available in: Block Coding
-
 Mode: Stage Mode
-
 WiFi Required: No
-
 Compatible Hardware in Block Coding: evive, Quarky, Arduino Uno, Arduino Mega, Arduino Nano, ESP32, T-Watch, Boffin, micro:bit, TECbits, LEGO EV3, LEGO Boost, LEGO WeDo 2.0, Go DFA, None
-
 Compatible Hardware in Python: Not Applicable
-
 Object Declaration in Python: Not Applicable
-
 Extension Catergory: Other
Introduction
What is Physics Engine?
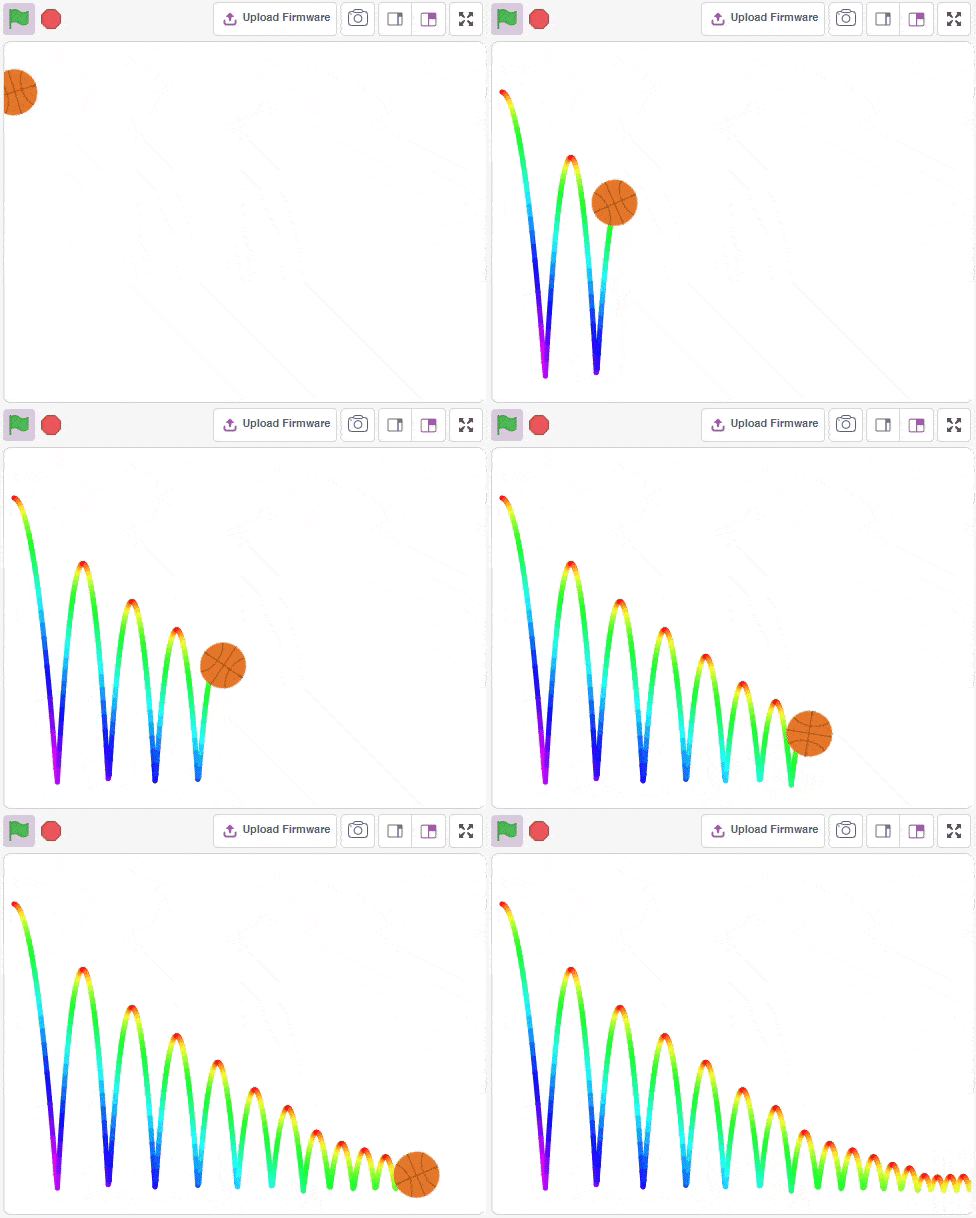
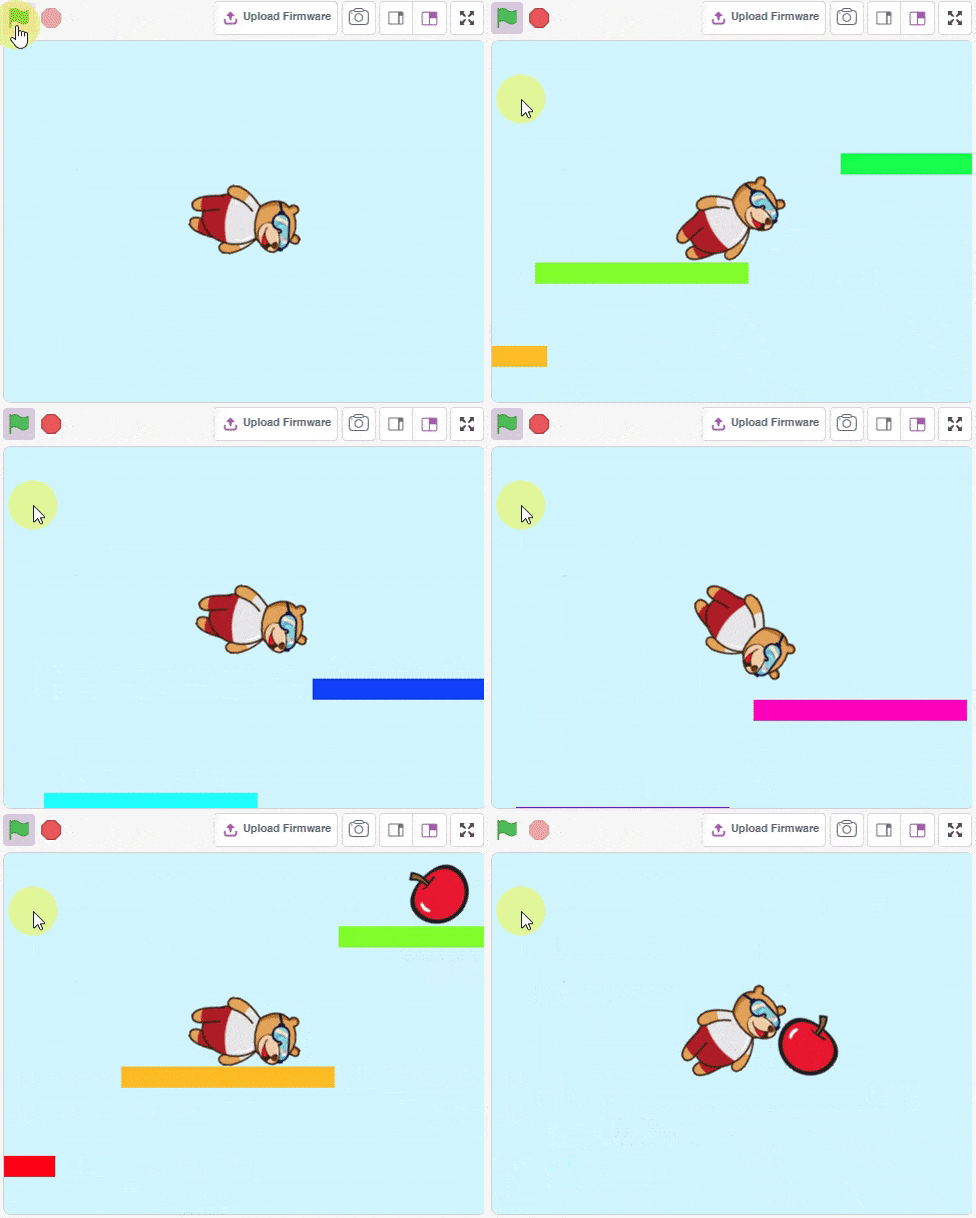
Physics Engine is a 2D rigid body simulation library for making games and animations. Programmers can use it in their games to make objects move in realistic ways and make the projects more interactive. From the game engine’s point of view, the physics engine is just a system for procedural animation.
Accessing Physics Engine in Block Coding
Following is the process to add Physics Engine capability to the PictoBlox Project.
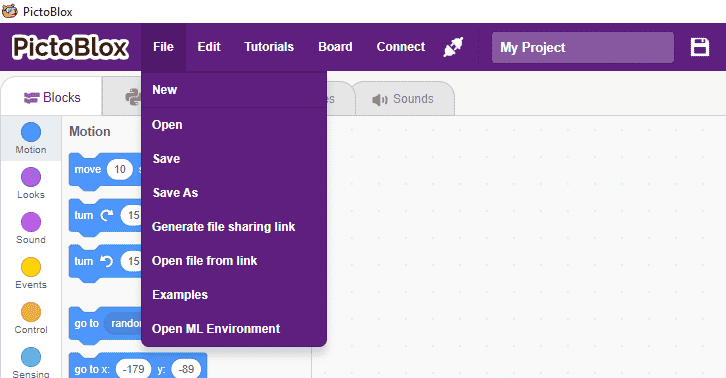
- Open PictoBlox and create a new file.
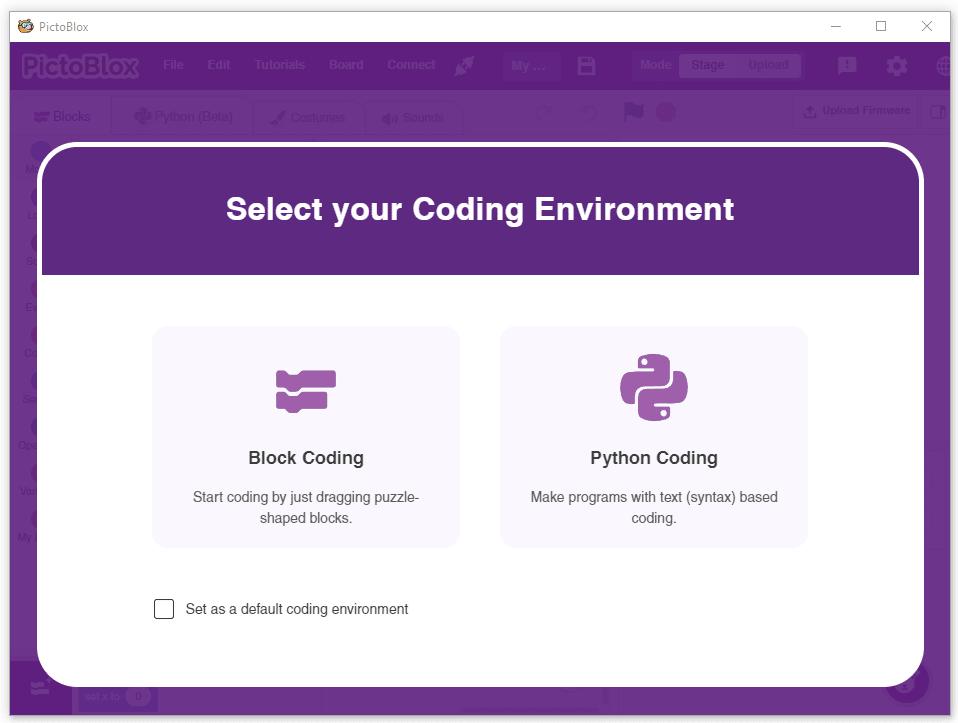
- Select the coding environment as Block Coding.
- Next, click on the Add Extension button and add the Physics Engine extension.
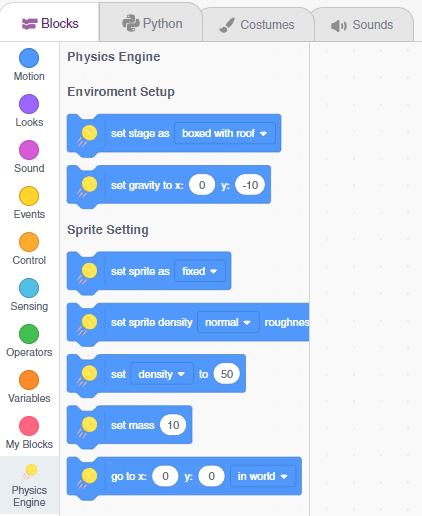
- You can find the Physics Engine blocks available in the project.
Core Concepts
Physics Engine works with several fundamental concepts and objects. We briefly define these objects here and more details are given later in the block definitions and examples.
- Shape: A shape is a 2D geometrical sprite, such as a circle or polygon or the sprite shape.
- Rigid body: A chunk of matter that is so strong that the distance between any two bits of matter on the chunk is constant. They are hard like a diamond. In the following discussion, we use body interchangeably with rigid body.
- Fixture: A fixture binds a shape to a body and adds material properties such as density, friction, and restitution. A fixture puts a shape into the collision system (broad phase) so that it can collide with other shapes.
- Constraint: A constraint is a physical connection that removes degrees of freedom from bodies. A 2D body has 3 degrees of freedom (two translation coordinates and one rotation coordinate). If we take a body and pin it to the wall (like a pendulum) we have constrained the body to the wall. At this point the body can only rotate about the pin, so the constraint has removed 2 degrees of freedom.
- Contact constraint: A special constraint designed to prevent penetration of rigid bodies and to simulate friction and restitution. You do not create contact constraints; they are created automatically by Physics Engine.
- World: A physics world is a collection of bodies, fixtures, and constraints that interact together. Box2D supports the creation of multiple worlds, but this is usually not necessary or desirable.
- Solver: The physics world has a solver that is used to advance time and resolve contact and joint constraints. The Box2D solver is a high-performance iterative solver that operates in order N time, where N is the number of constraints.
- Continuous collision: The solver advances bodies in time using discrete time steps.
Read More
PictoBlox Blocks
All articles loaded
No more articles to load
Block Coding Examples
All articles loaded
No more articles to load
Table of Contents


