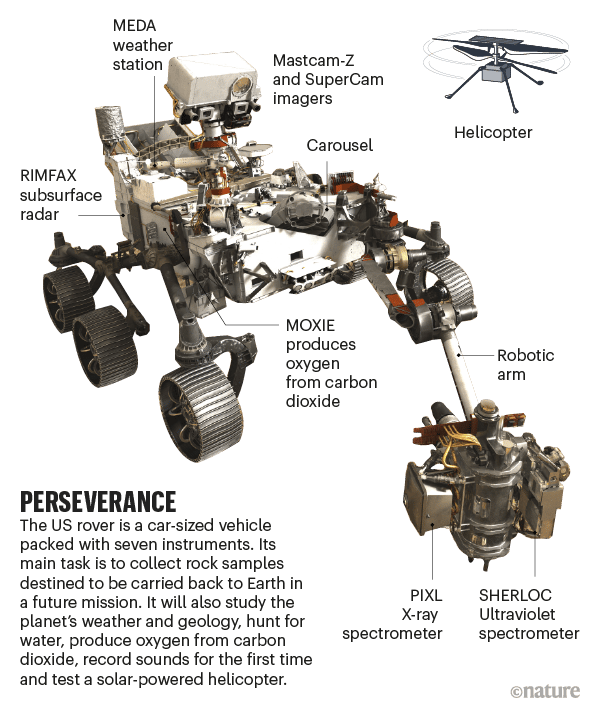
Mars is a fascinating planet. It’s icy cold and covered in reddish dust and dirt. Like Earth, it has volcanoes, gullies, and flat plains. Scientists can also see channels that look like they were carved by rivers and streams a long, long time ago. Over the years, NASA has sent five robotic vehicles, called rovers, to Mars. The names of the five rovers are Sojourner, Spirit and Opportunity, Curiosity, and Perseverance.
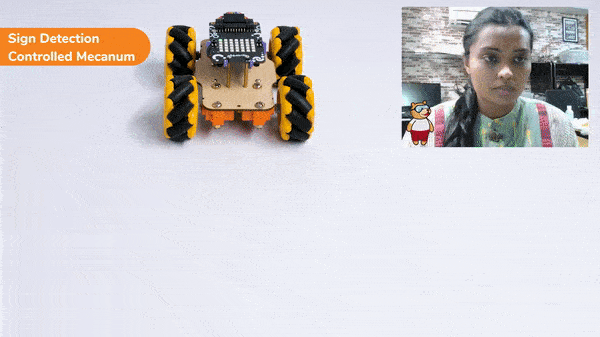
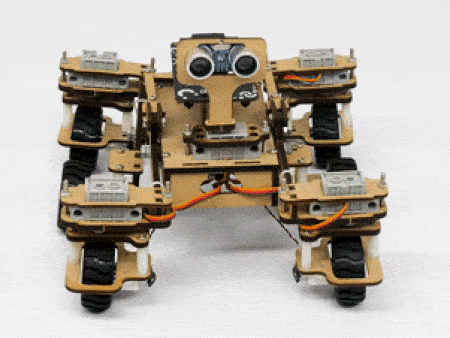
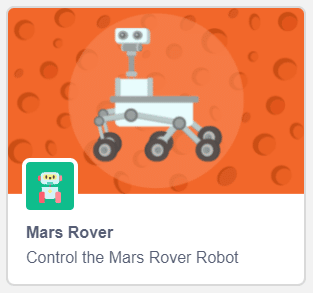
STEMpedia has created a miniature version of the Mars Rover to educate students about the different aspects of the Mars Rover in a more practical way.
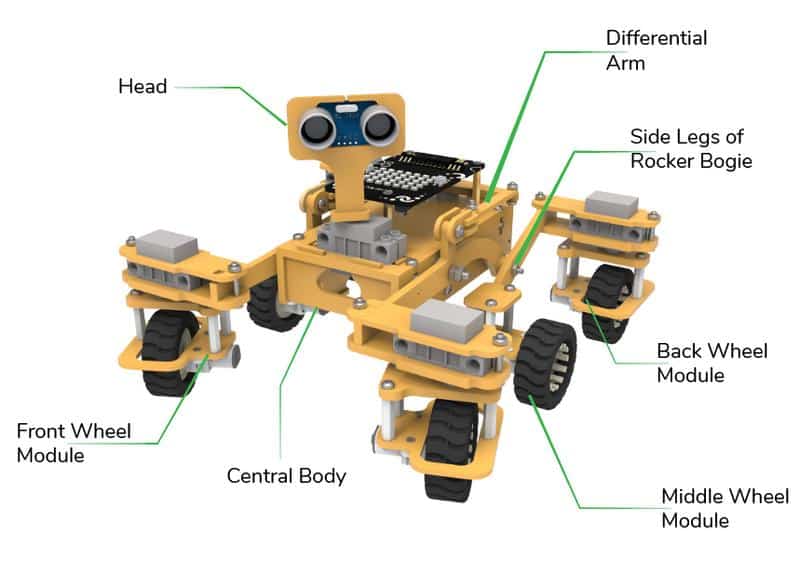
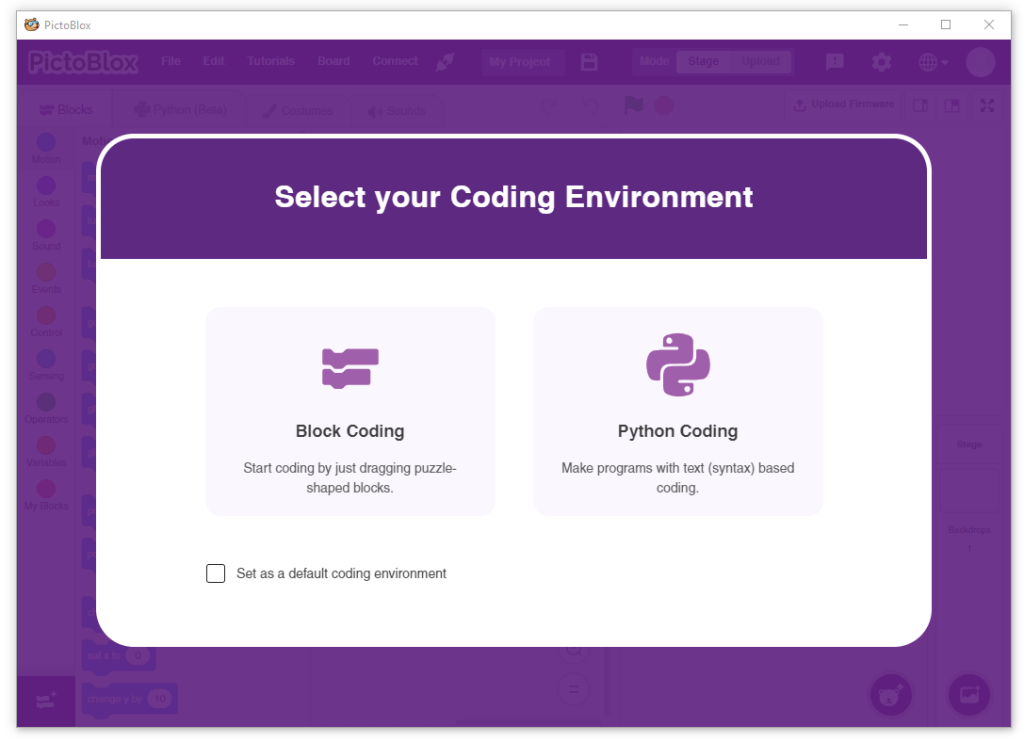
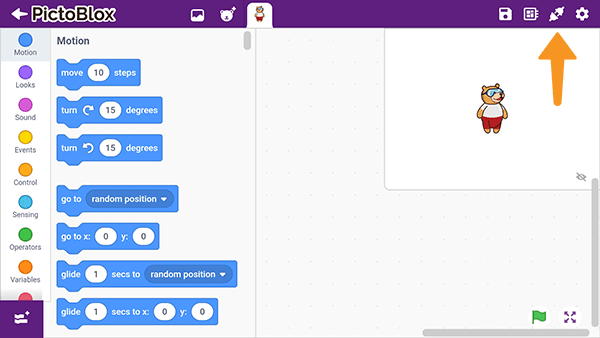
The Mars Rover is programmable with PictoBlox in both modes – Block Coding and Python Coding.
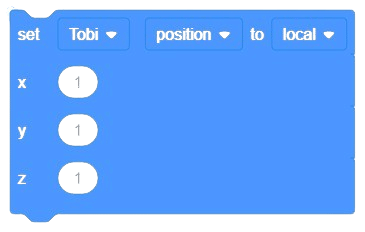
In our Mars rover, there are a total of 6 motors and 5 servo motors.
The motors provide rotation to the wheels which helps the rover to attain motion in both forward and backward directions. All the left side motors (3 motors) are connected to the left motor port of Quarky and all the right side motors (3 motors) are connected to the right motor port of Quarky using a 3 port wire. This means that to control the Mars rover we have to control only 2 motors – Left and Right. Also, there are 2 parameters to control – Direction (Forward or Backward) and Speed. With this control, the Mars rover can do all the desired motions.
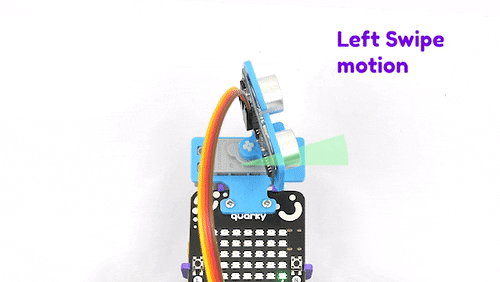
The servo motors help in providing rotation to the complete wheel assembly so that the rover can change its wheel alignments and so its path. These play a major role in turning cases of the mars rover. The front two and the back two-wheel assemblies are connected with one servo motor each. Some important turns:
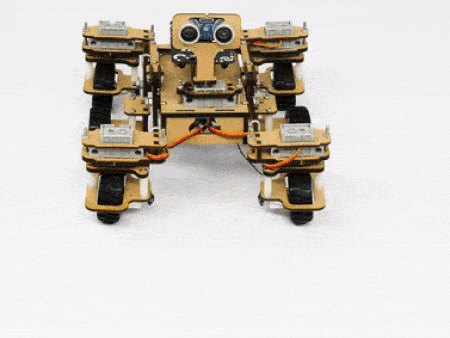
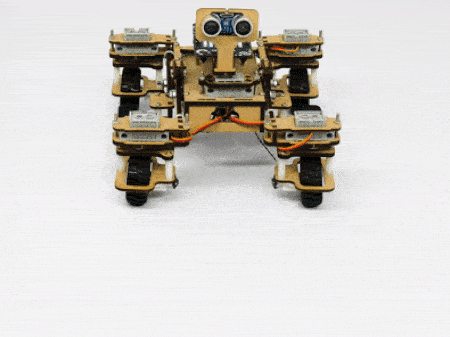

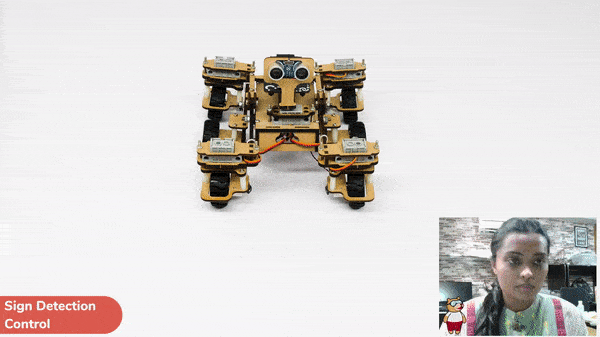
The fifth servo motor is connected to the head portion of the Mars rover so that the rover can rotate its head to detect obstacles.
Let’s begin by first connecting Quarky to PictoBlox. Select your preferred type of device i.e. either the desktop/laptop or your smartphone and follow the instructions.
Follow the steps below for connecting Quarky to PictoBlox:
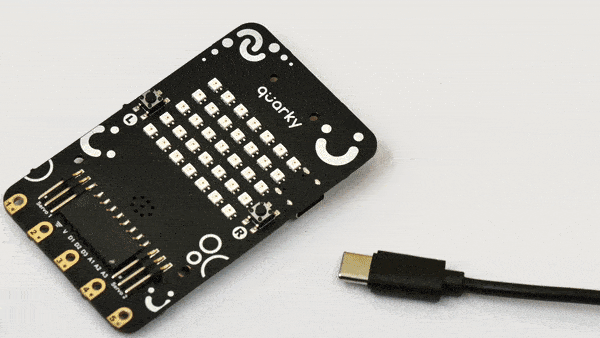
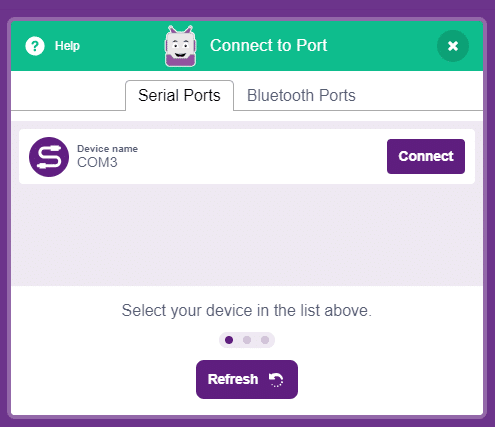
And voila! Quarky is now connected to PictoBlox.
Follow the steps below for connecting Quarky to PictoBlox:

 Select board as Quarky.
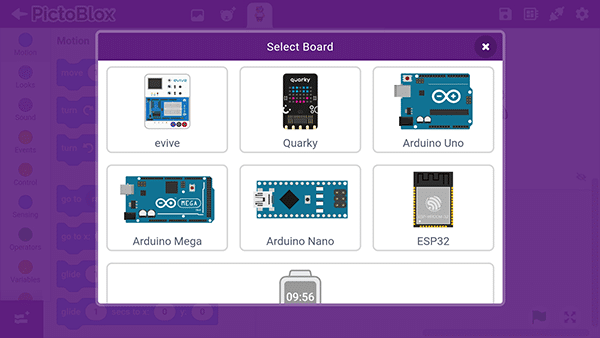
 Select your device from the list.
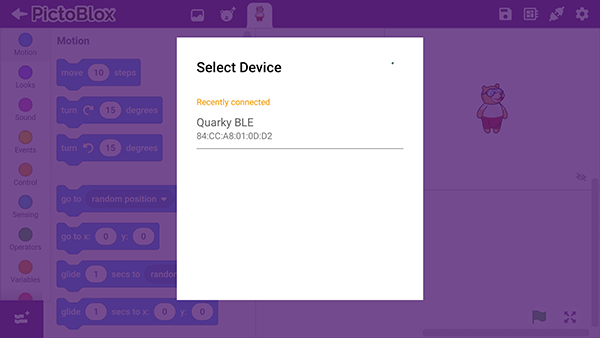
And voila! Quarky is now connected to PictoBlox.
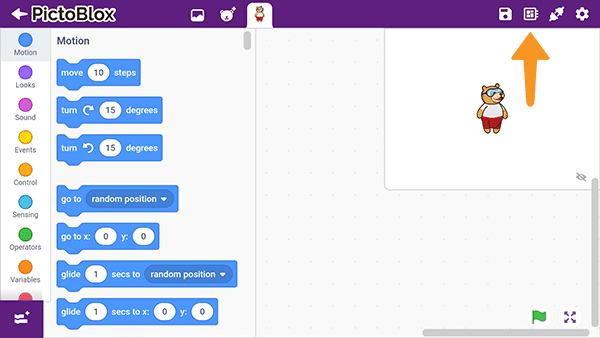
Click on the Add Extension button and add the Mars Rover extension.
Once loaded, you will find the fresh blocks of Mars Rover in the block palette.
Click on the Add Modules/Libraries button and add the Mars Rover extension.
To access the library functions, you have to add the object declaration.
quarky = Quarky()
rover = MarsRover(4, 1, 7, 2, 6)