Deprecated: Required parameter $query follows optional parameter $post in /var/www/html/wp-content/plugins/elementor-extras/modules/breadcrumbs/widgets/breadcrumbs.php on line 1215
Mars Rover - Blocks, Python Functions, Projects | PictoBlox Extension
[PictoBloxExtension]

Mars Rover

Mars rover extension graphics
Extension Description
Control the Mars Rover Robot with Quarky.

Introduction

Mars is a fascinating planet. It’s icy cold and covered in reddish dust and dirt. Like Earth, it has volcanoes, gullies, and flat plains. Scientists can also see channels that look like they were carved by rivers and streams a long, long time ago. Over the years, NASA has sent five robotic vehicles, called rovers, to Mars. The names of the five rovers are Sojourner, Spirit and Opportunity, Curiosity, and Perseverance.

STEMpedia has created a miniature version of the Mars Rover to educate students about the different aspects of the Mars Rover in a more practical way.
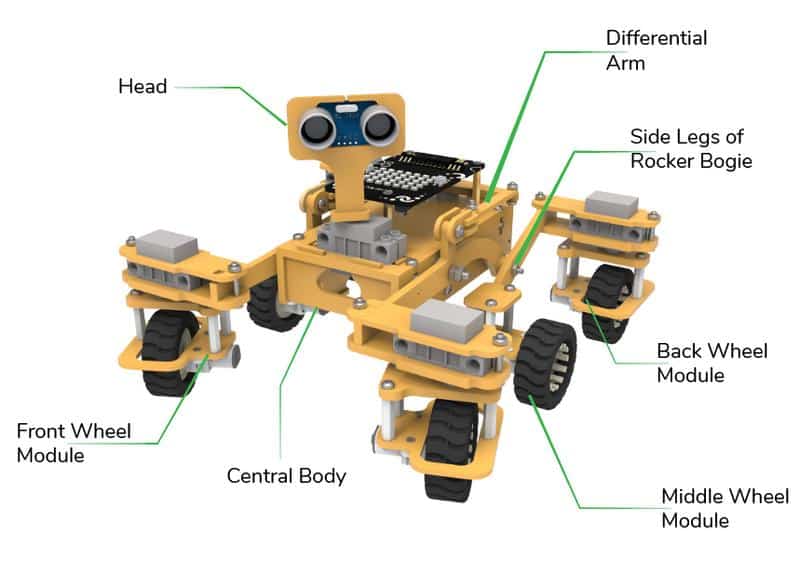
The Mars Rover is programmable with PictoBlox in both modes – Block Coding and Python Coding.

Motor and Servo Motor

In our Mars rover, there are a total of 6 motors and 5 servo motors. 

The motors provide rotation to the wheels which helps the rover to attain motion in both forward and backward directions.  All the left side motors (3 motors) are connected to the left motor port of Quarky and all the right side motors (3 motors) are connected to the right motor port of Quarky using a 3 port wire. This means that to control the Mars rover we have to control only 2 motors – Left and Right. Also, there are 2 parameters to control – Direction (Forward or Backward) and Speed. With this control, the Mars rover can do all the desired motions.
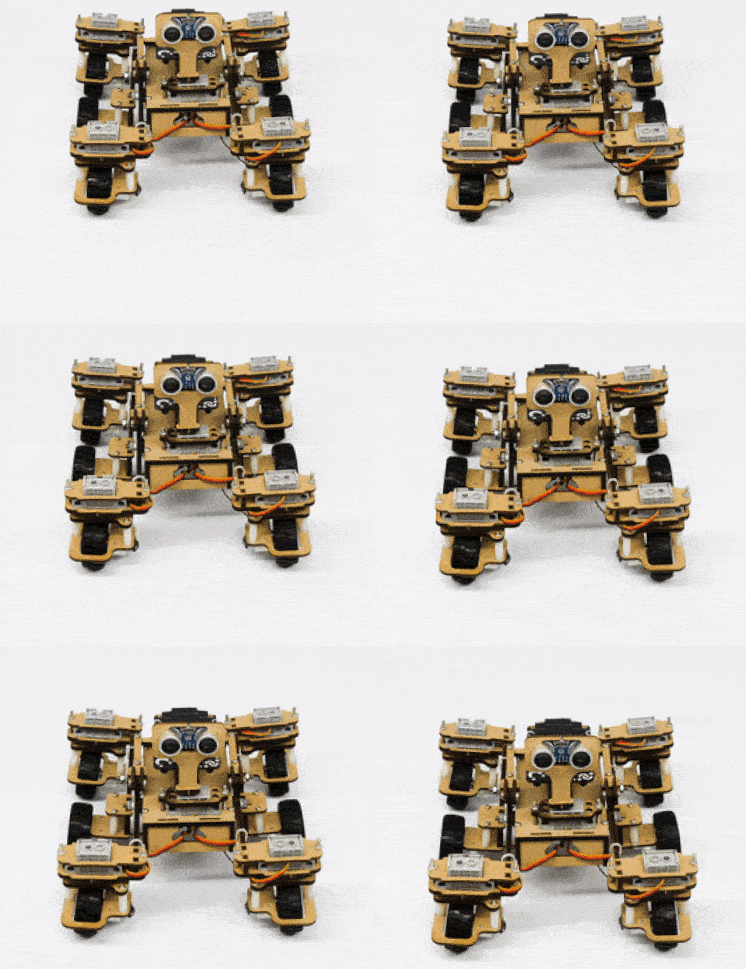
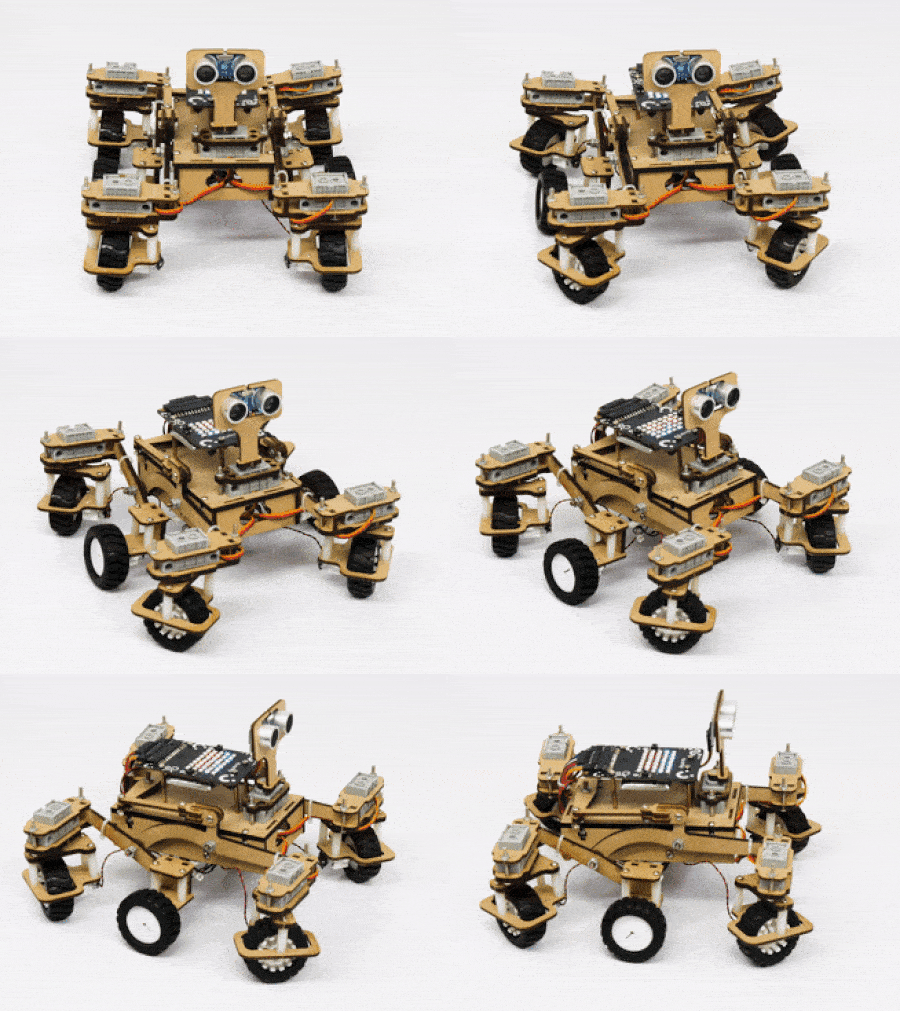
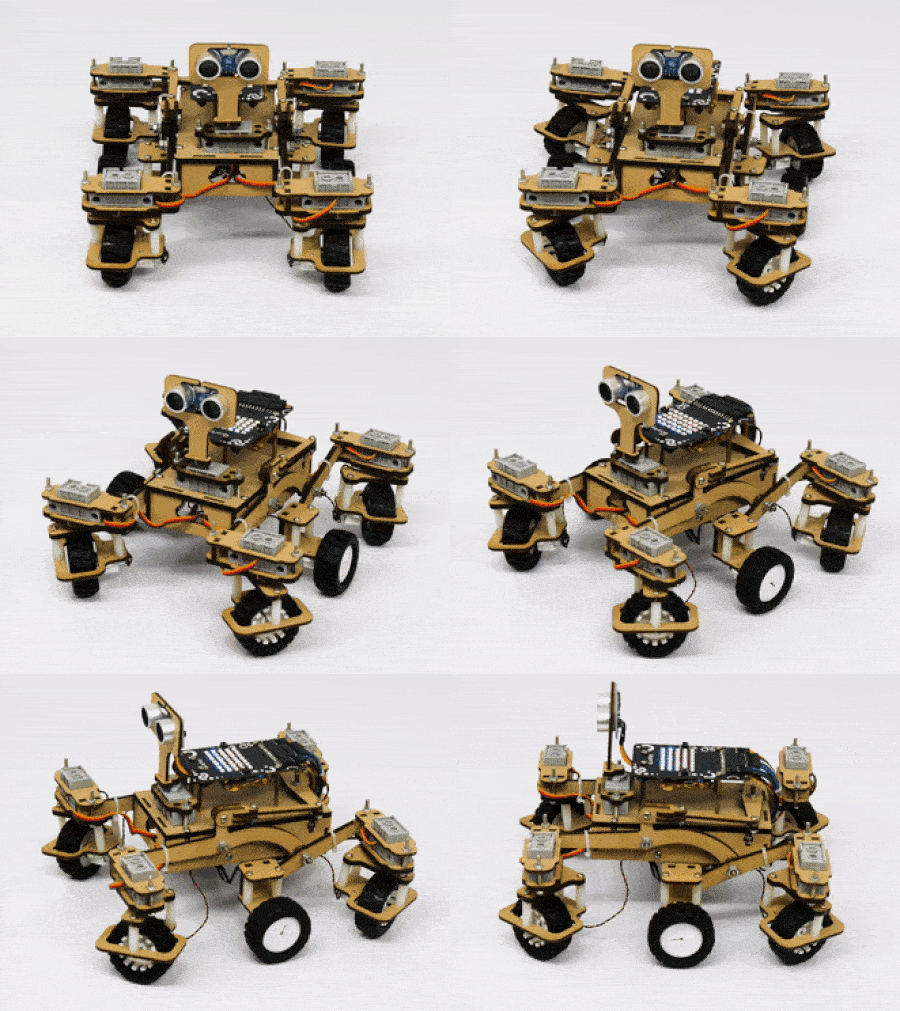
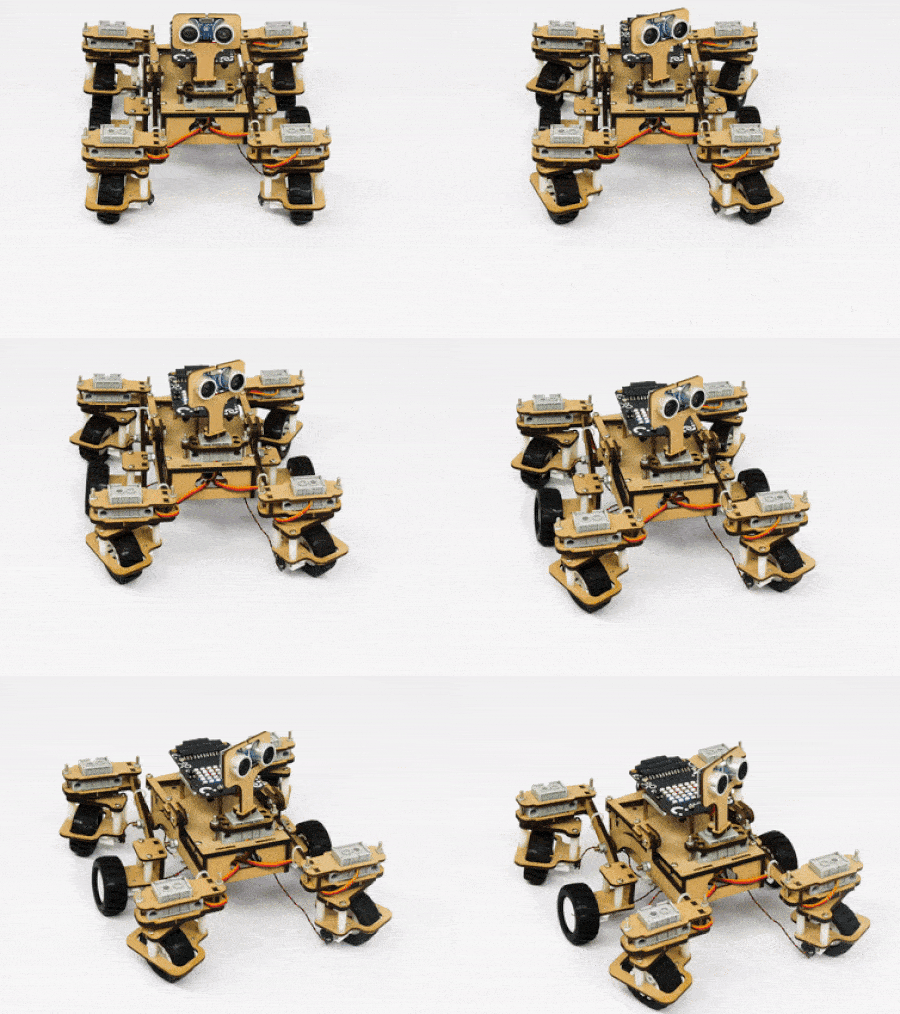
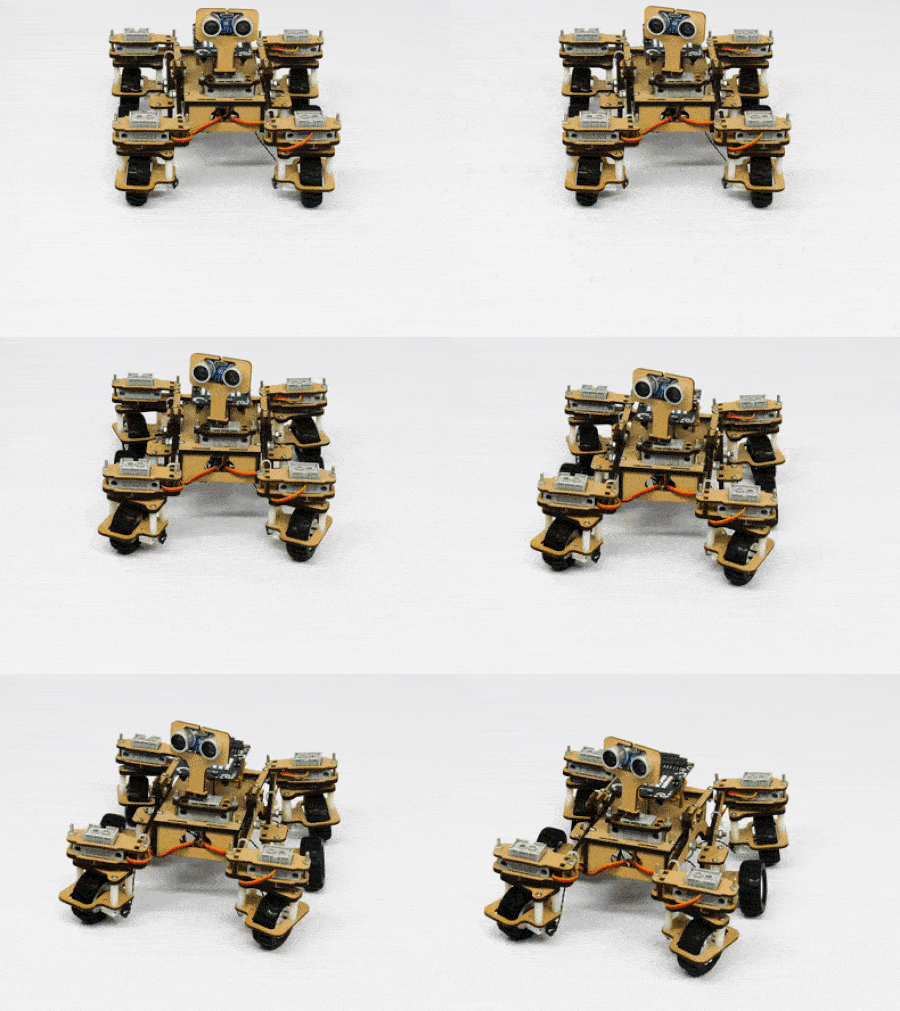
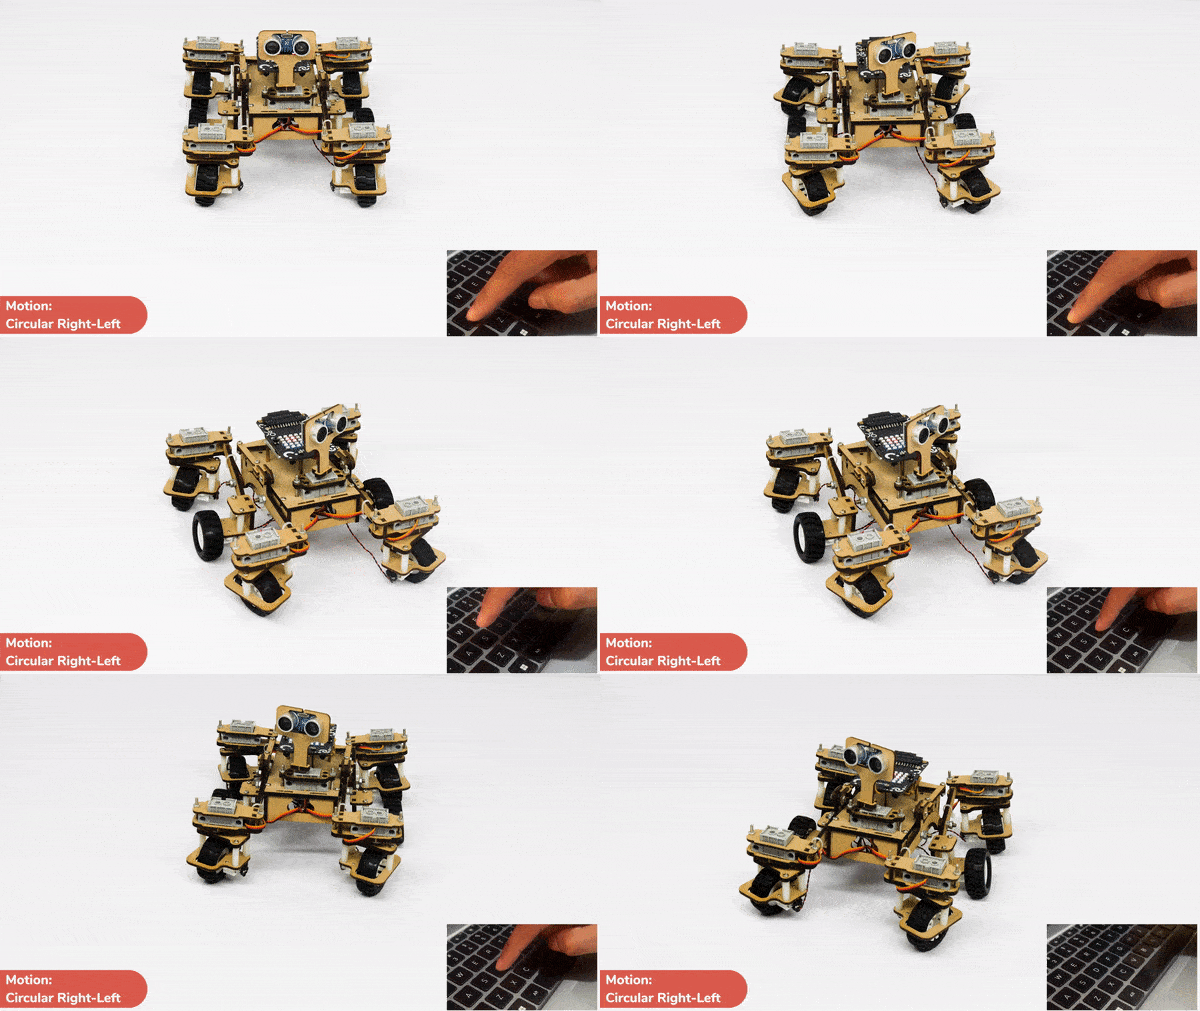
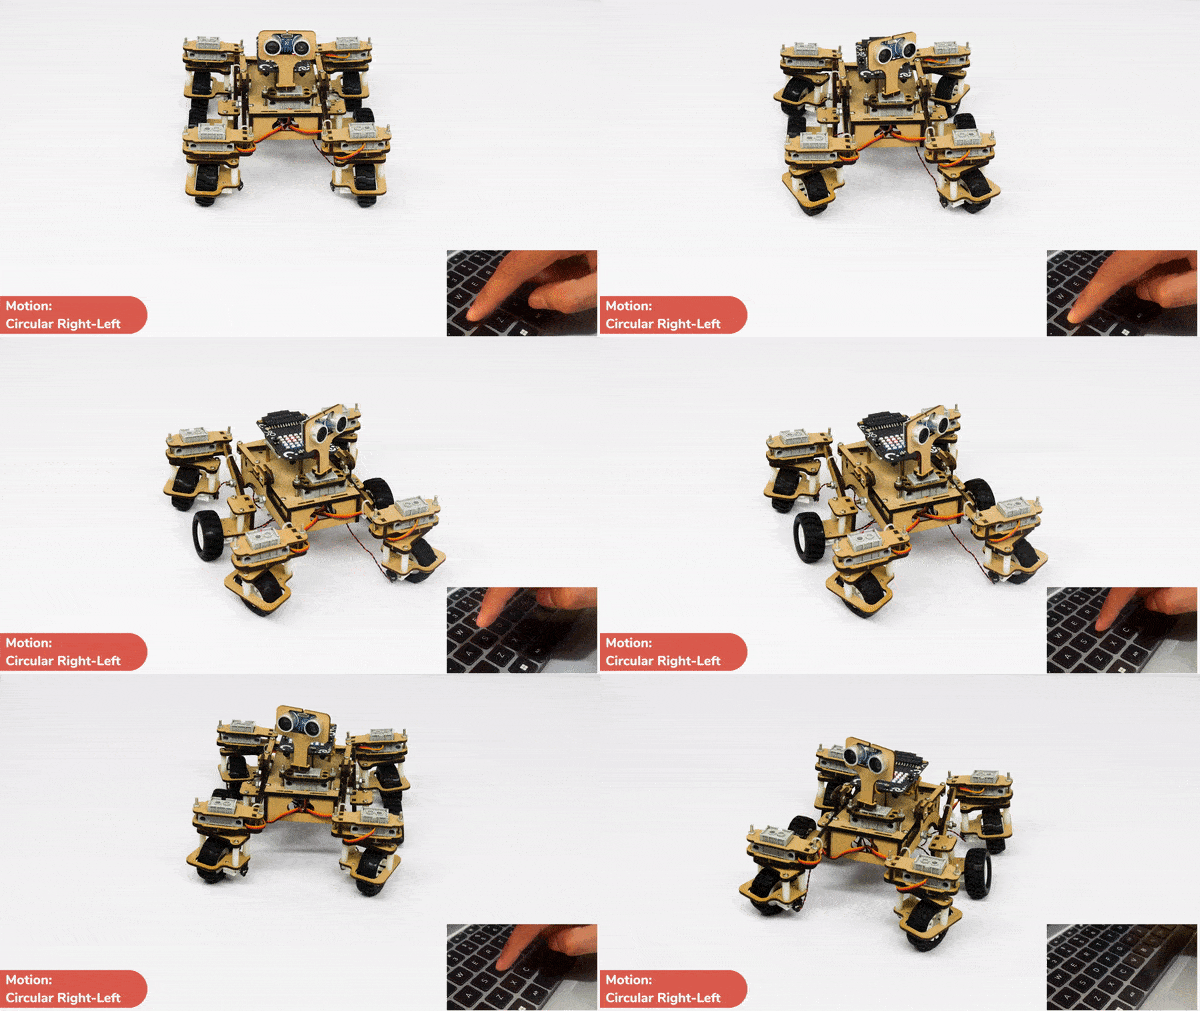
The servo motors help in providing rotation to the complete wheel assembly so that the rover can change its wheel alignments and so its path. These play a major role in turning cases of the mars rover. The front two and the back two-wheel assemblies are connected with one servo motor each. Some important turns:

  1. Turning left on the same point:
  2. Turning right on the same point:
  3. Turning left on a circle:
  4. Turning right on a circle:
Note:  The middle wheel assemblies on either side are not connected to servo motors.

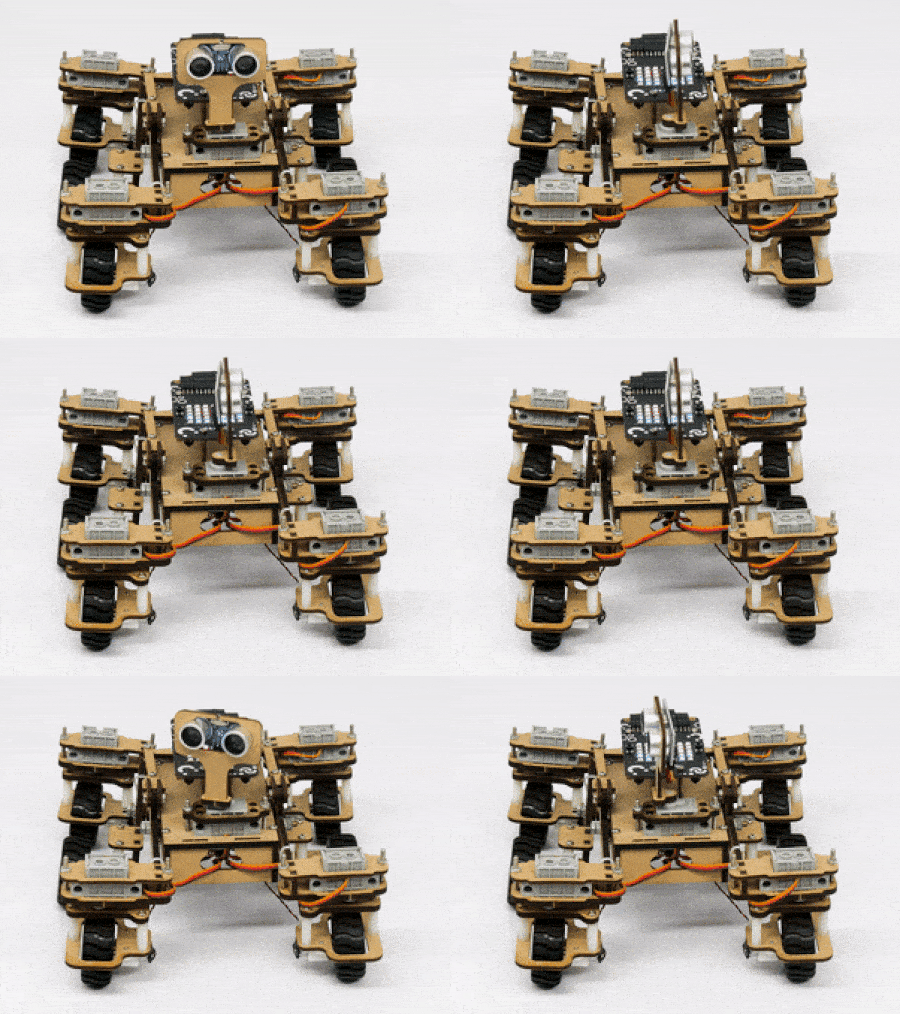
The fifth servo motor is connected to the head portion of the Mars rover so that the rover can rotate its head to detect obstacles. 
Connecting Mars Rover with PictoBlox

Let’s begin by first connecting Quarky to PictoBlox. Select your preferred type of device i.e. either the desktop/laptop or your smartphone and follow the instructions.

Desktop

Follow the steps below for connecting Quarky to PictoBlox:

  1. First, connect Quarky to your laptop using a USB cable.
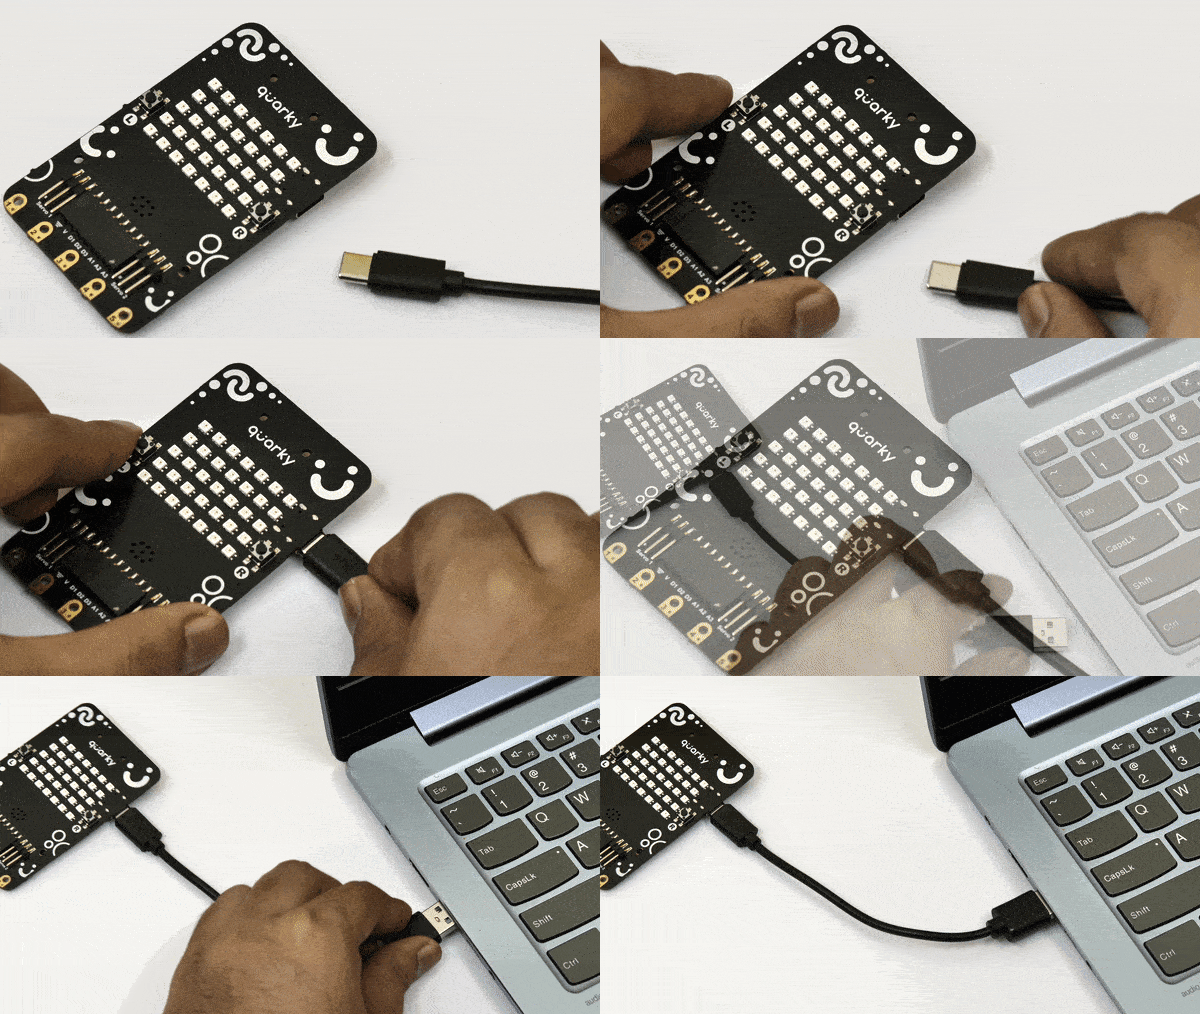
    Power Quarky
  2. Next, open PictoBlox on your desktop.
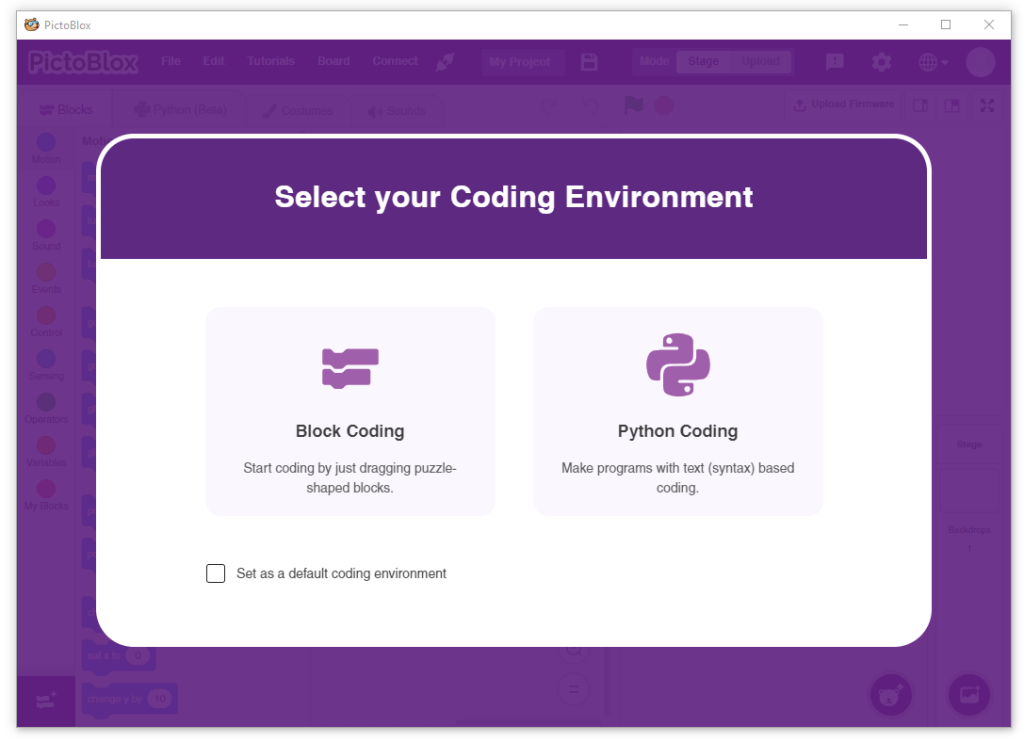
  3. After that, select Block or Python Coding as your coding environment.
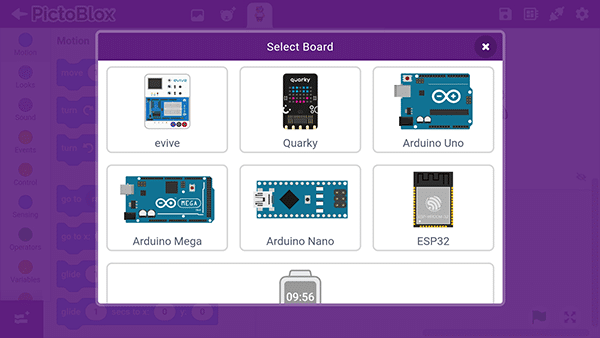
  4. Then, click the Board button in the toolbar and select board as Quarky.
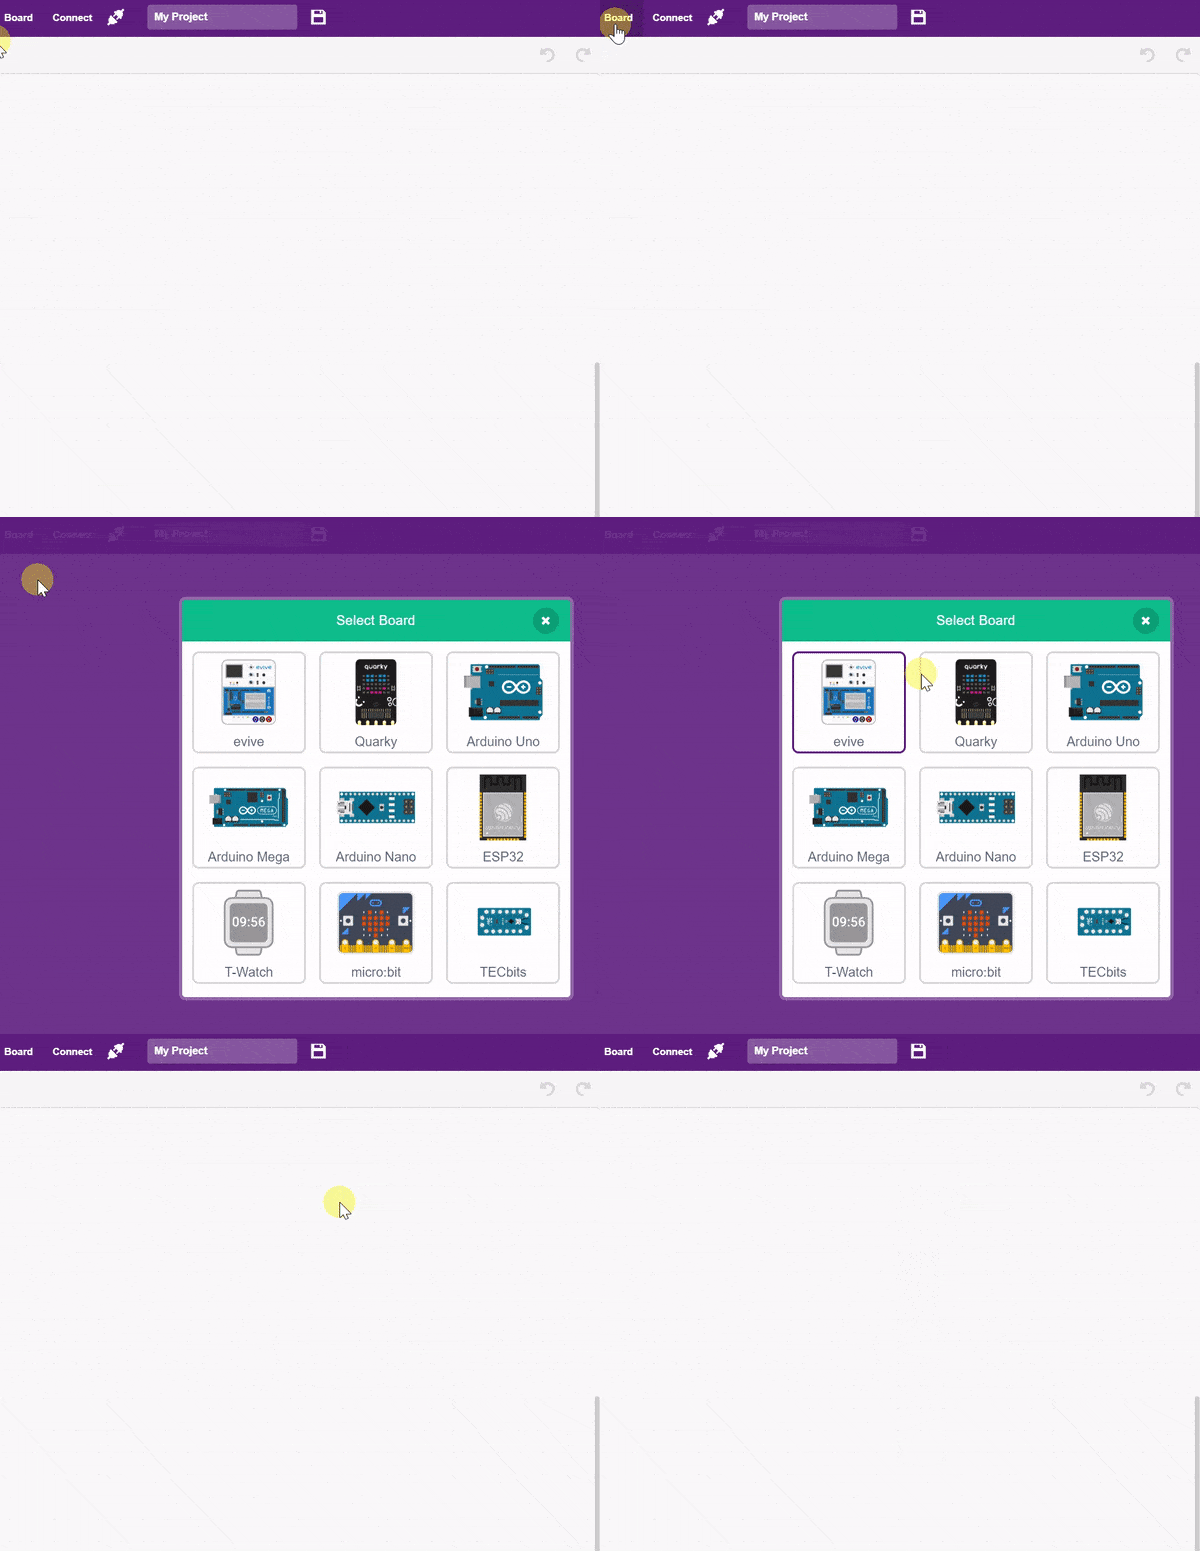
  5. Next, select the appropriate Serial port if the Quarky is connected via USB or the Bluetooth Port if you want to connect Quarky via Bluetooth and press Connect.
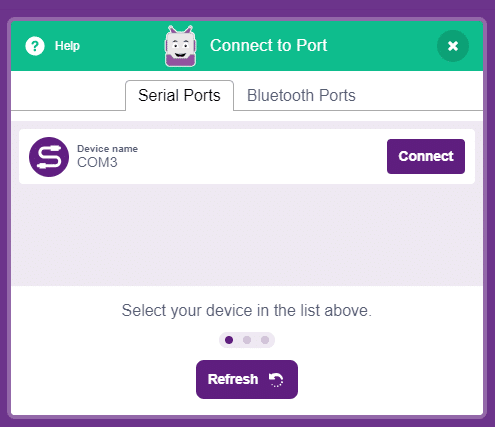
    COM Port

And voila! Quarky is now connected to PictoBlox.

Mobile

Follow the steps below for connecting Quarky to PictoBlox:

  1. First, power ON Quarky.
  2. Open PictoBlox on your smartphone. Go to My Space and make a new project by clicking the ‘+(plus)’ button in the bottom-right corner.
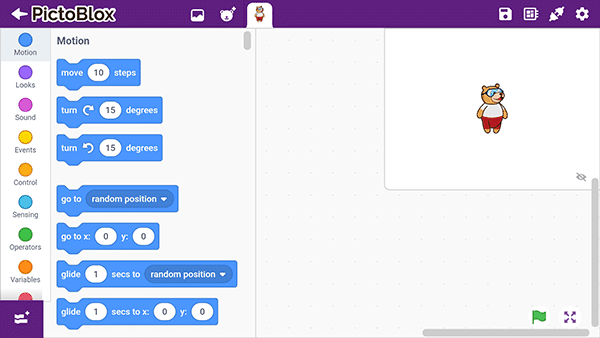
    PictoBlox in Mobile Phone
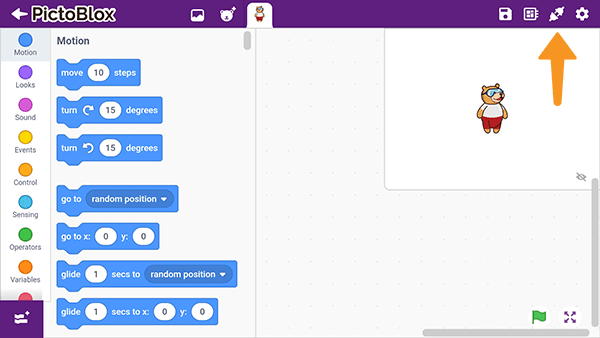
  3. Then, tap the Board button in the top-right corner of the toolbar.
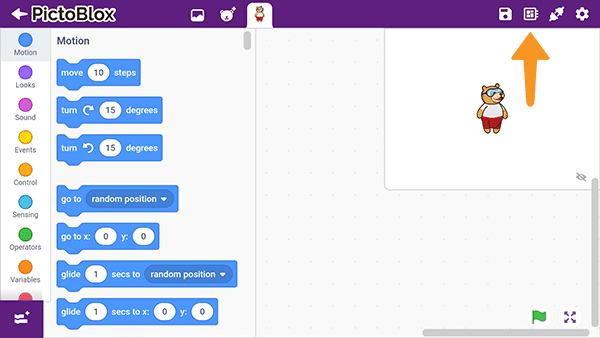
    PictoBlox BoardSelect board as Quarky.
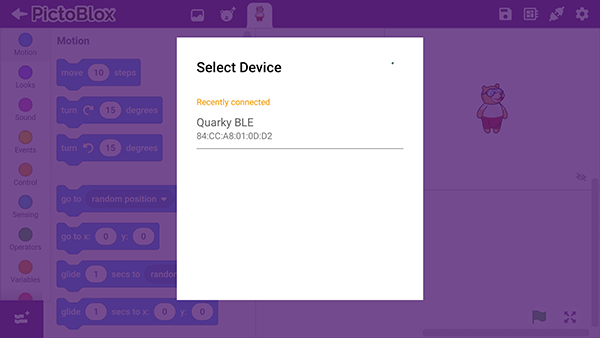
  4. Next, tap the Connect button:
    PictoBlox ConnectSelect your device from the list.

And voila! Quarky is now connected to PictoBlox.

Mars Rover Extension in Block Coding

Click on the Add Extension button and add the Mars Rover extension.
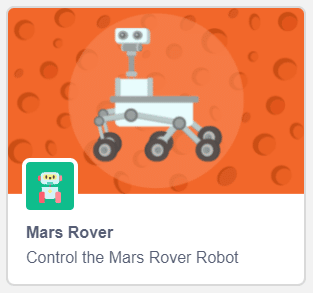
Once loaded, you will find the fresh blocks of Mars Rover in the block palette.


Mars Rover Extension in Python Coding

Click on the Add Modules/Libraries button and add the Mars Rover extension.

To access the library functions, you have to add the object declaration.

quarky = Quarky()
rover = MarsRover(4, 1, 7, 2, 6)
Read More

PictoBlox Blocks

Turn () video on stage with () % transparency block controls the control the camera feed on the stage.
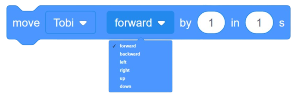
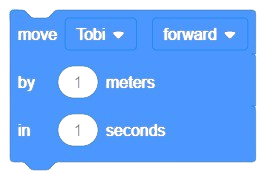
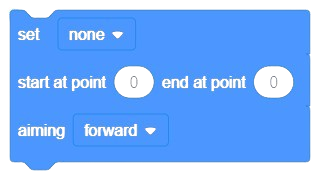
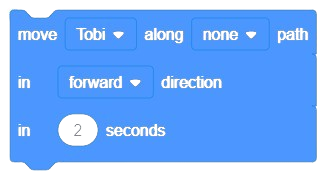
This block helps move an object step by step in a given direction within a set time
This block facilitates seamless transitions to your preferred scenes. For instance, if you’re currently viewing Scene 1 and wish to switch to Scene 2, simply select Scene 2 from the dropdown menu to enact the transition.
This block is designed to refresh or reload the current scene.
This block code will give an option to control the object as player control like third person or first person. You can then use arrow keys to make your object move in respective direction.
This block of code applies velocity to the player. 
All articles loaded
No more articles to load

Block Coding Examples

All articles loaded
No more articles to load

Python Functions

The function creates an object to connect Quarky with Wi-Fi.
Syntax: wifi()
The function reads the analog value of the sensors connected to the specified pin. The function returns the int value between 0 to 4096.
Syntax: readanaloginput(pin = “A1”)
The function is used to control the state of the camera.
Syntax: video(video_state = “on”, transparency = 1)
The function moves its sprite forward the specified amount of steps in the direction it is facing. A step is equal to one-pixel length.
Syntax: move(steps = 10)
The function gives its sprite a speech bubble with the specified text — the speech bubble stays until another speech or thought block is activated, or the stop sign is pressed.
Syntax: say(message = “Hello!”, time = 0)
The function will play the specified sound, pausing its script until the sound has finished playing.
Syntax: playuntildone(sound_name = “Grunt”)
The function checks if its sprite is touching the mouse-pointer, edge, or another sprite. If the sprite is touching the selected object, the block returns true; if it is not, it returns false.
Syntax: istouching(object_name = “_edge_”)
The function is used when the sprite needs to produce a bitmap image of itself which is stamped onto the stage. (Because it is merely a picture of the sprite and not a sprite itself, it cannot be programmed). The function will not draw over sprites. 
Syntax: stamp()
The function sets the specified RGB LED of Quarky (specified with X and Y position of the LED) to the specified RGB color and brightness value.
Syntax: setled(x_position = 1, y_position = 1, color = [0, 0 , 0], brightness = 20)
The function returns the state of the specified push button. If the button is pressed it returns True or else False.
Syntax: readpushbutton(button = “L”)
The function moves the Quarky robot in the specified direction. The direction can be “FORWARD”, “BACKWARD”, “LEFT”, and “RIGHT”.
Syntax: runrobot(direction = “FORWARD”, speed = 100)
The function plays the specified audio on the Quarky speaker. The function does not have any callbacks, so other functions can be executed while this function is running.
Syntax: playsound(audio = “QuarkyIntro”)
This function helps turn the video on/off on the stage with a defined level of transparency.
Syntax: video(video_state = “on”, transparency = 1)
This function helps turn the video on/off on the stage with a defined level of transparency.
Syntax: video(video_state = “on”, transparency = 1)
The function sets a loudness filter threshold to remove the background noise from the audio file which is being analyzed.
Syntax: setthreshold(loudness = 30)
The function initializes the pick and place robot with the specified orientation.
Syntax: initialisepickplace(orientation = “HORIZONTAL”)
The function loads a model saved via model.save().
Syntax: tf.keras.models.load_model(filepath = ‘saved_model.h5’, custom_objects = None, compile = True, options = None)
The function initializes the quadruped robot object in Python and maps the 8 servos to the specified pins.
Syntax: Quadruped(Front Right Hip = 4, Front Left Hip = 1, Front Right Leg = 8, Front Left Leg = 5, Back Right Hip = 3, Back Left Hip = 2, Back Right Leg = 7, Back Left Leg = 6)
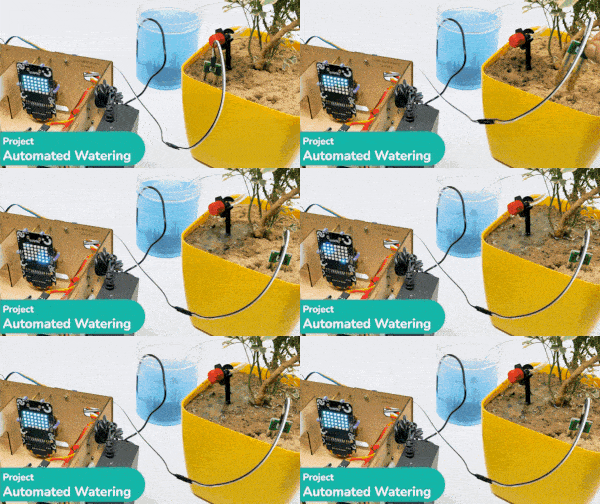
The function set the state of the relay connected to the selected pin to High or Low. A high state means that the pin will have 3.3V and for Low, the pin will be 0 V.
Syntax: setrelay(state = 1, pin = “D3”)
The function connects the Quarky or ESP32 to the specified Wi-Fi and password. The block is only available in the Upload Mode when the code is uploaded to Quarky.
Syntax: wifi.connecttowifi(WIFI = “Wi-Fi Name”, PASSWORD = “password”)
The function reports if the Wi-Fi is connected to the Quarky or ESP32 or not. This block is only available in Upload Mode.
Syntax: wifi.iswificonnected()
The function initializes the Mars Rover object in Python and maps the 5 servos to the specified pins.
Syntax: MarsRover(Head = 4, Front Left = 1, Front Right = 7, Back Left = 2, Back Right = 6)
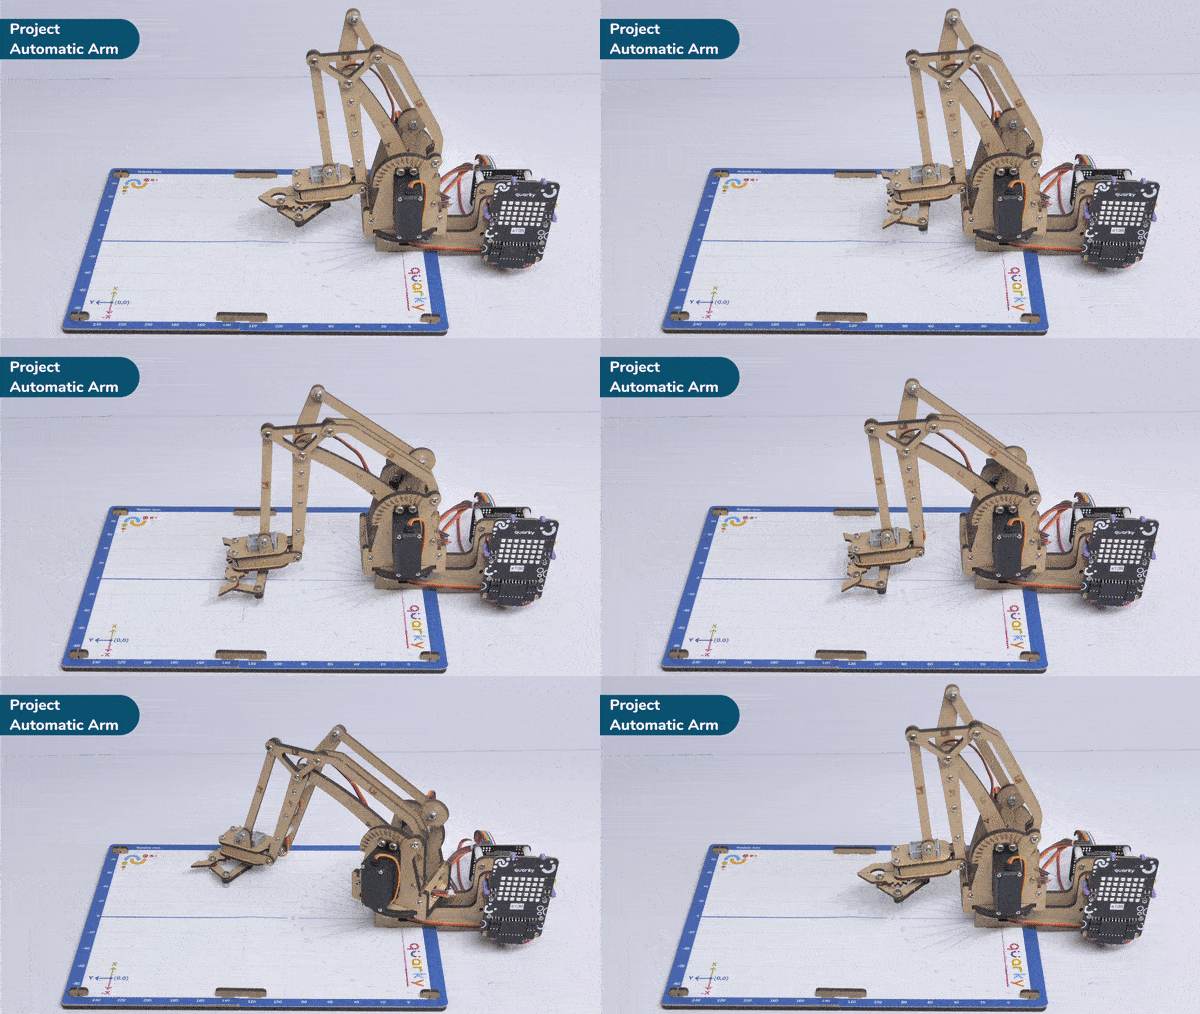
The function initializes the humanoid robot object in Python and maps the 6 servos to the specified pins.
Syntax: Humanoid(Right Hip = 7, Left Hip = 2, Right Foot = 6, Left Foot = 3, Right Hand = 8, Left Hand = 1)
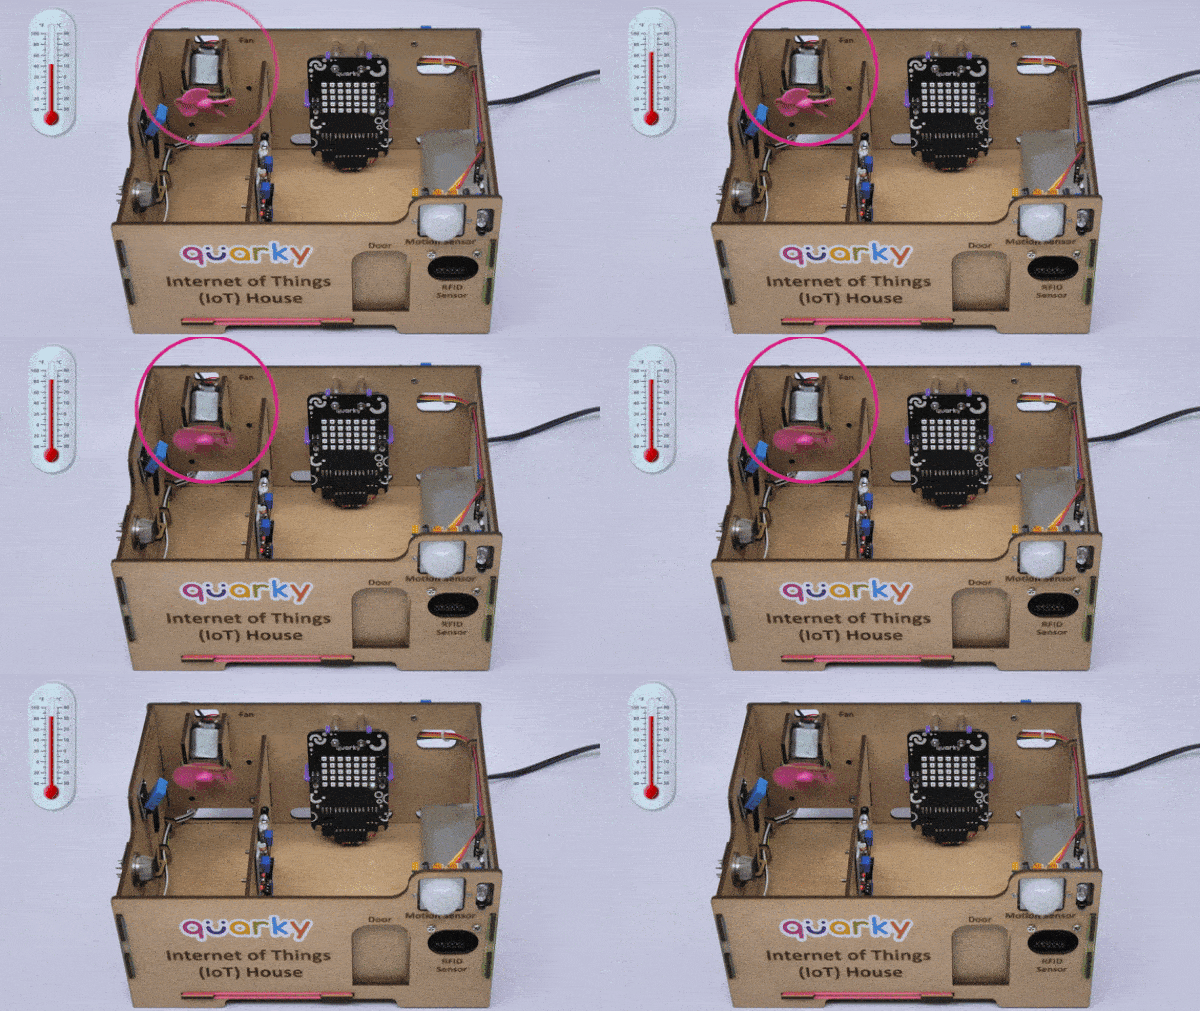
The Quarky Mecanum Robot Drive Motors are initialized by the function, which assigns each motor to a specific port. This allows the robot to be programmed to move the motors in the desired direction.
Syntax: Mecanum(Front Left = 1, Back Left = 2, Back Right = 7, Front Right = 8)
The function initializes the Expansion Board of Quarky for use. Without initialization, the board will not respond to any other functions.
Syntax: initexpansion()
The function returns the arc cosine of a number.
Syntax: math.acos(x)
This function performs the calibration process for a robotic arm by taking in the error angles of each of its three servos (link 1, link 2, and base). It then stores the offset angle for each servo to the memory of the Quarky, ensuring that the robotic arm is functioning correctly at all times.
Syntax: roboticArm.calibrate(Link1 Offset = 0, Link2 Offset = 0, Base Offset = 0)
This function ensures proper sensor alignment for precise line-following control.
Syntax: AdvanceLineFollowing(ir_num = 2)
The function sets the digital state of the specified pin to HIGH or LOW / 0V or 3.3V.
Syntax: setdigitaloutput(pin, state)
The function enables the automatic display of the box on face detection on the stage.
Syntax: enablebox()
All articles loaded
No more articles to load

Python Coding Examples

All articles loaded
No more articles to load
Table of Contents