Deprecated: Required parameter $query follows optional parameter $post in /var/www/html/wp-content/plugins/elementor-extras/modules/breadcrumbs/widgets/breadcrumbs.php on line 1215
Display (Quarky) - Blocks, Python Functions, Projects | PictoBlox Extension
[PictoBloxExtension]

Display (Quarky)

Display-(Quarky)
Extension Description
Controls the 7 x 5 RGB LED display.

Introduction

The extension allows the user to control the RGB LED display of Quarky.

Connecting Quarky with PictoBlox

Let’s begin by first connecting Quarky to PictoBlox. Select your preferred type of device i.e. either the desktop/laptop or your smartphone and follow the instructions.

Desktop

Follow the steps below for connecting Quarky to PictoBlox:

  1. First, connect Quarky to your laptop using a USB cable.
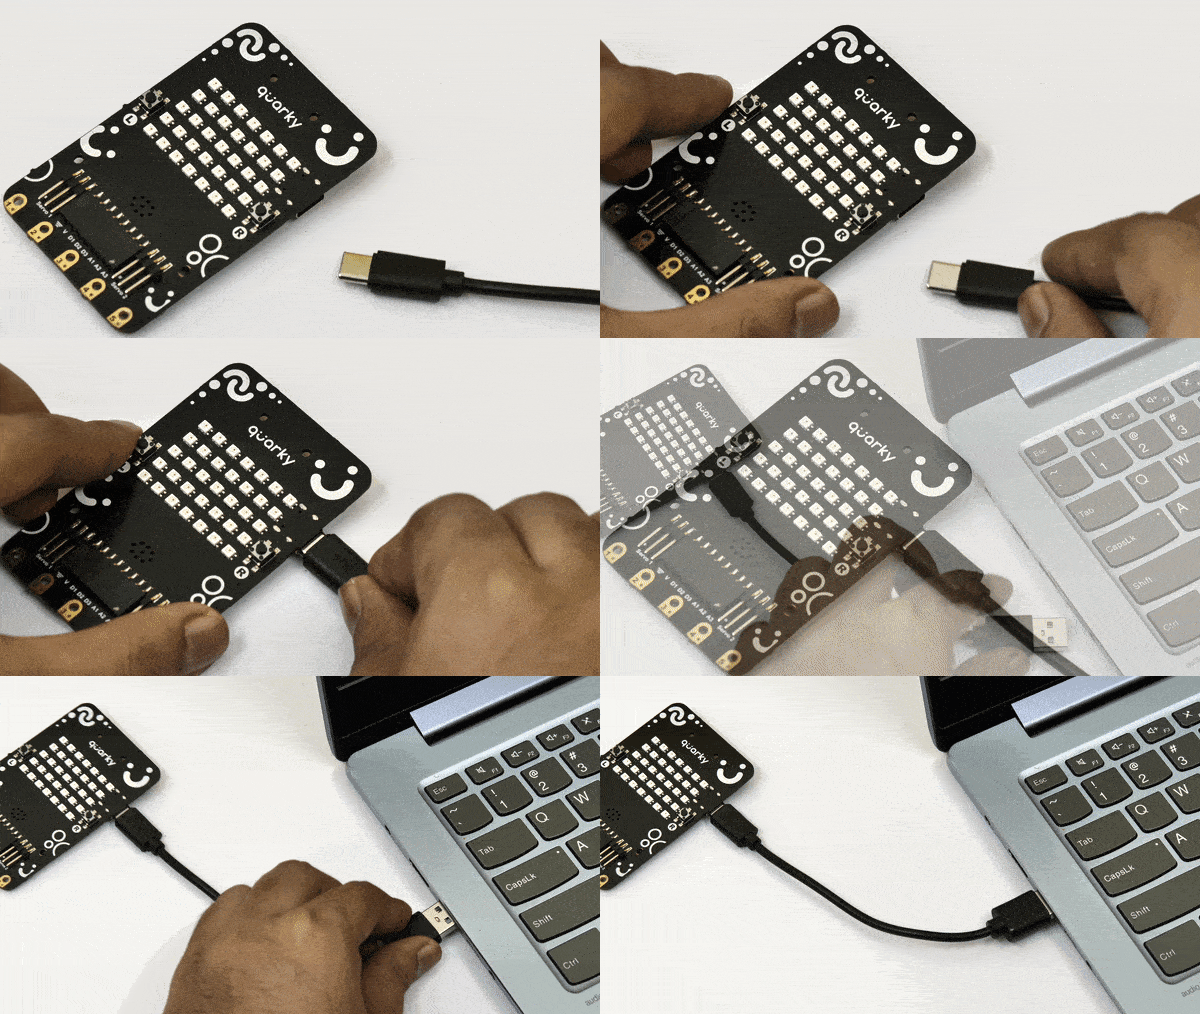
    Power Quarky
  2. Next, open PictoBlox on your desktop.
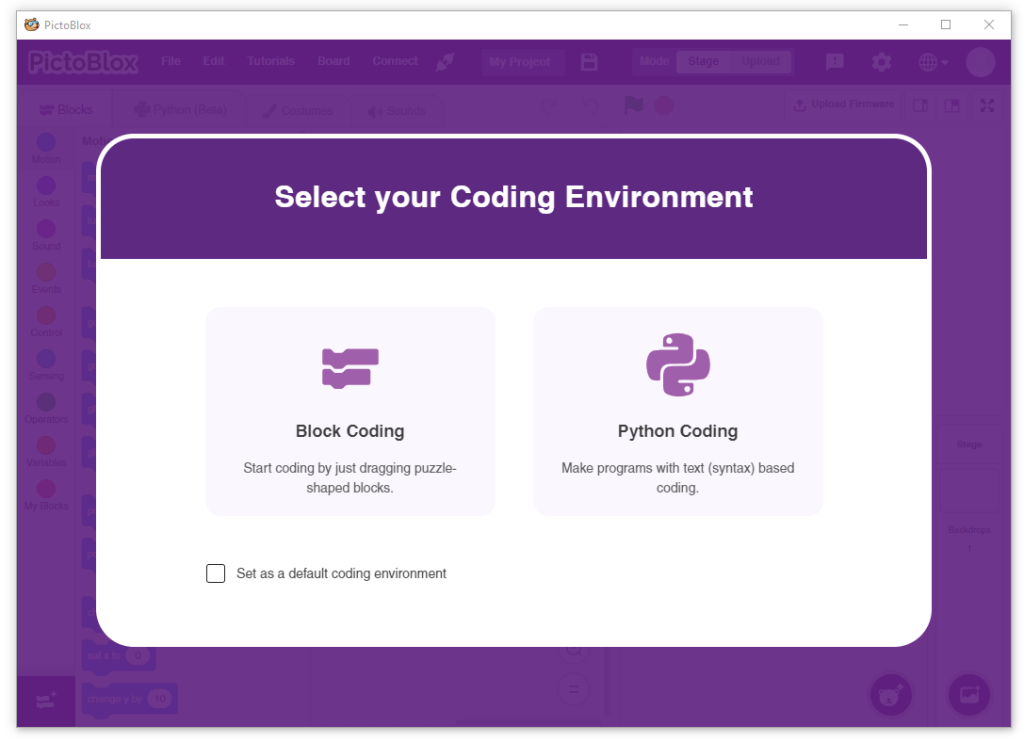
  3. After that, select Block or Python Coding as your coding environment.
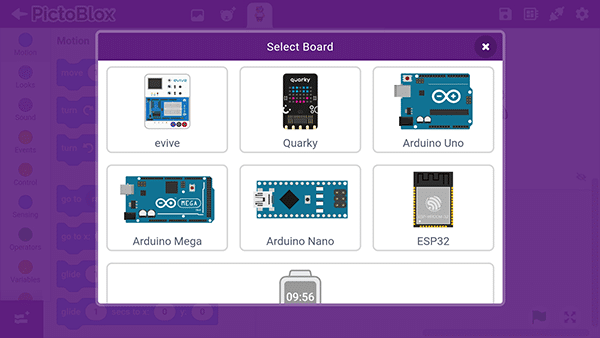
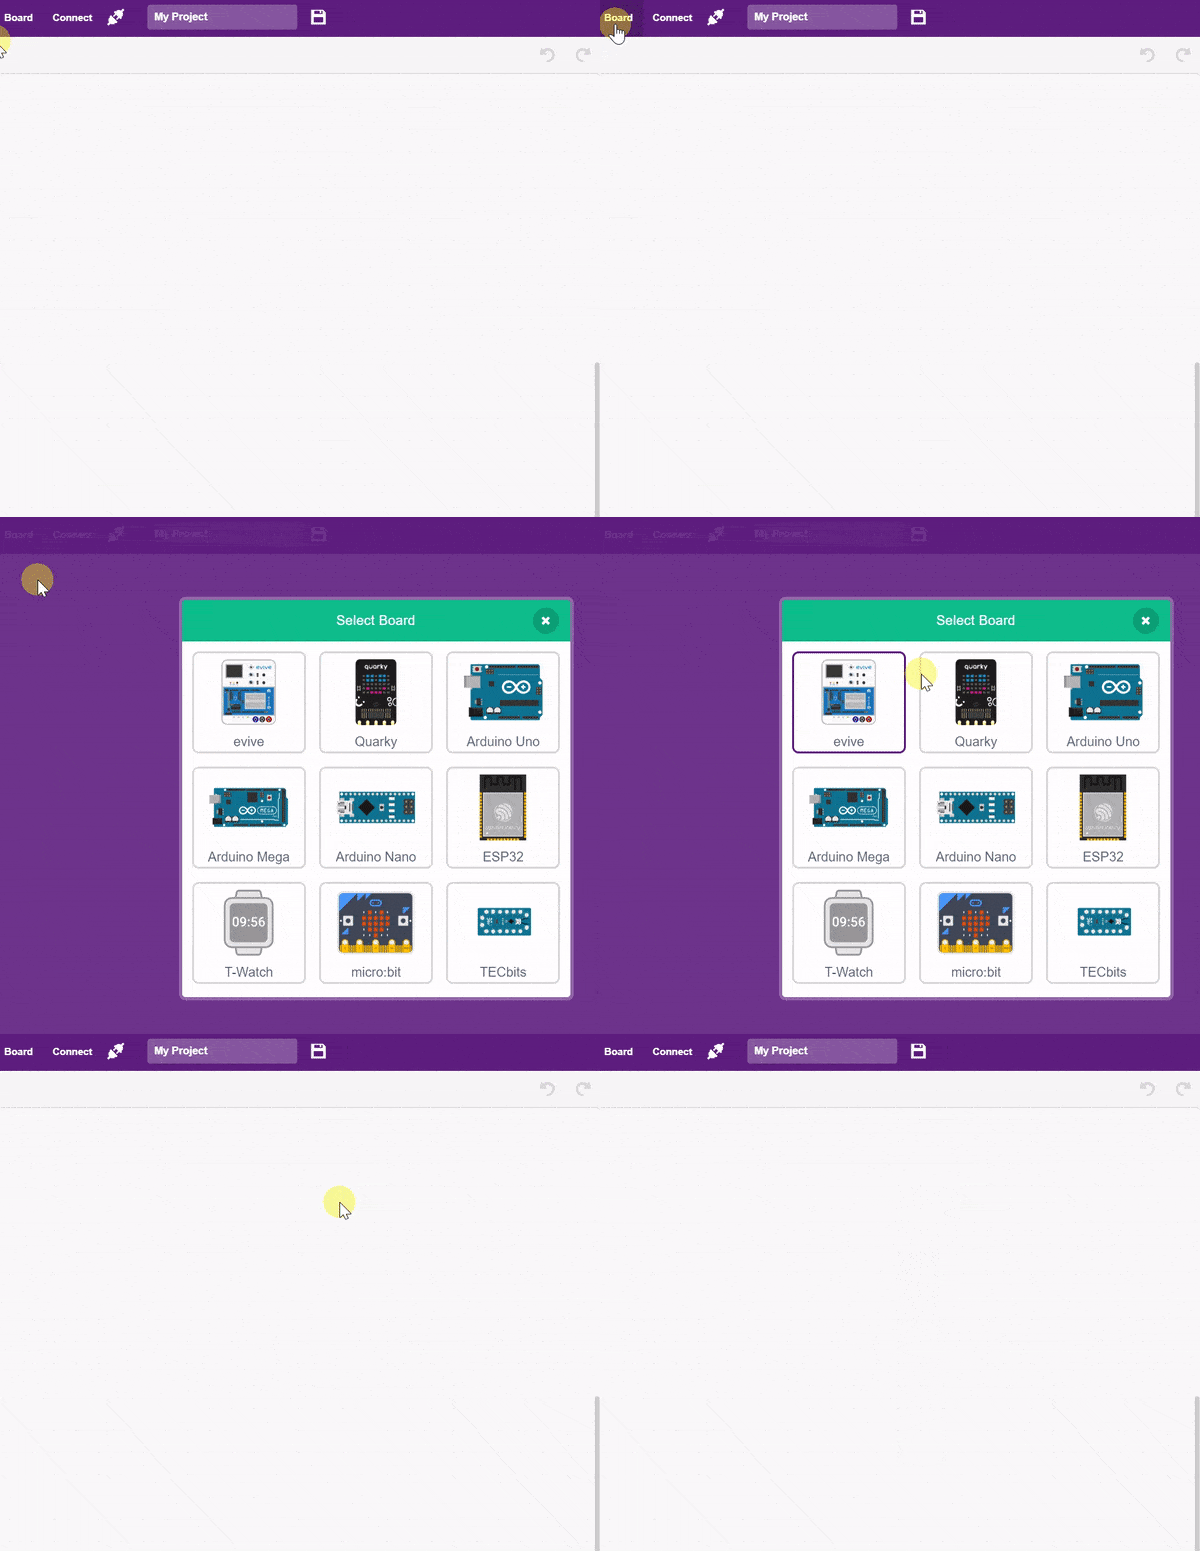
  4. Then, click the Board button in the toolbar and select board as Quarky.
  5. Next, select the appropriate Serial port if the Quarky is connected via USB or the Bluetooth Port if you want to connect Quarky via Bluetooth and press Connect.
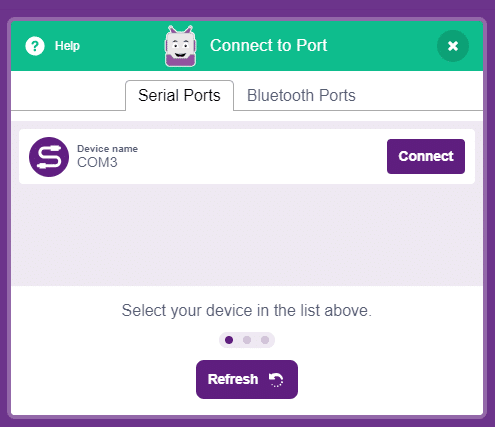
    COM Port

And voila! Quarky is now connected to PictoBlox.

Mobile

Follow the steps below for connecting Quarky to PictoBlox:

  1. First, power ON Quarky.
  2. Open PictoBlox on your smartphone. Go to My Space and make a new project by clicking the ‘+(plus)’ button in the bottom-right corner.
    PictoBlox in Mobile Phone
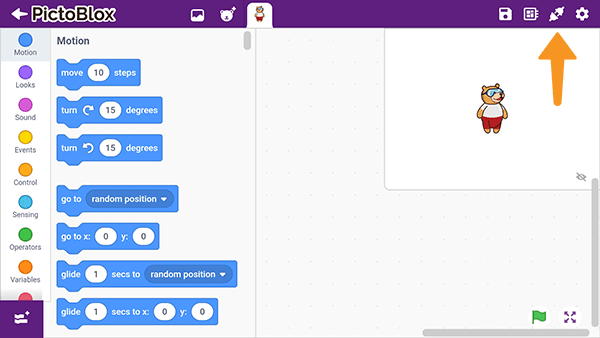
  3. Then, tap the Board button in the top-right corner of the toolbar.
    PictoBlox BoardSelect board as Quarky.
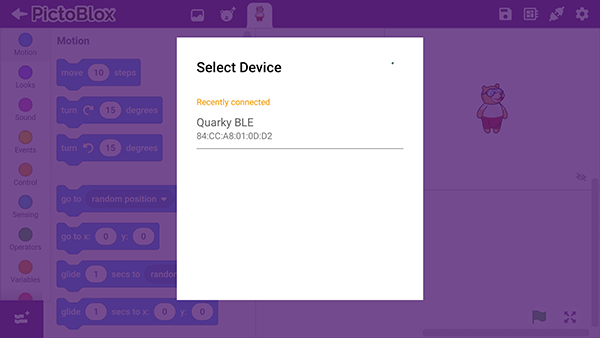
  4. Next, tap the Connect button:
    PictoBlox ConnectSelect your device from the list.

And voila! Quarky is now connected to PictoBlox.

Stage Mode

Stage mode is one of the two modes you can write your programs in Pictoblox. In this mode, you can write scripts for the sprite and boards to interact with sprites in real-time. If you disconnect the board with Pictoblox, you cannot interact with the board anymore. In this mode, you can make games and animation interacting with Quarky.

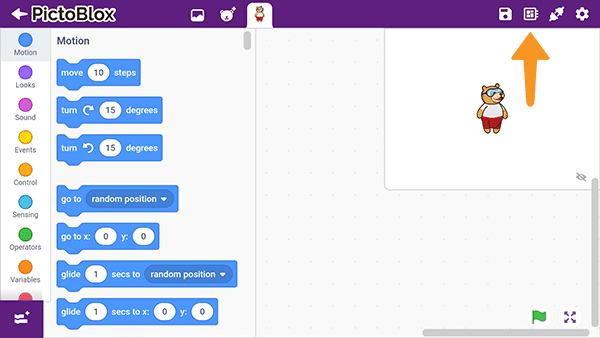
You can toggle between the upload mode and stage mode using the button on the top right side of Pictoblox.

Note:  You have to upload the firmware into the device before interacting with it. Please refer this doc: https://ai.thestempedia.com/docs/updating-quarky-firmaware-with-pictoblox/

In Python Coding Environment, use the following object declaration to use Python functions in Stage Mode:

quarky = Quarky()

Upload Mode

Upload mode is one of the two modes you can write your programs in Pictoblox. This mode allows you to write scripts and upload them to the board so that you can use them even when it is not connected to your computer, for example, you need to upload a script for making moving robots.

In this case, Quarky will run offline according to the program and it can not interact with the stage.

In Python Coding Environment, use the following object declaration to use Python functions in Upload Mode:

from quarky import *
Read More

PictoBlox Blocks

This block is used to analyze the image received as input from the stage, the current backdrop, and the current costume, for the handwritten and printed text.
The function reports the last text detected from the speech.
The block returns the selected class name.
The block resets and clears the NLP model.
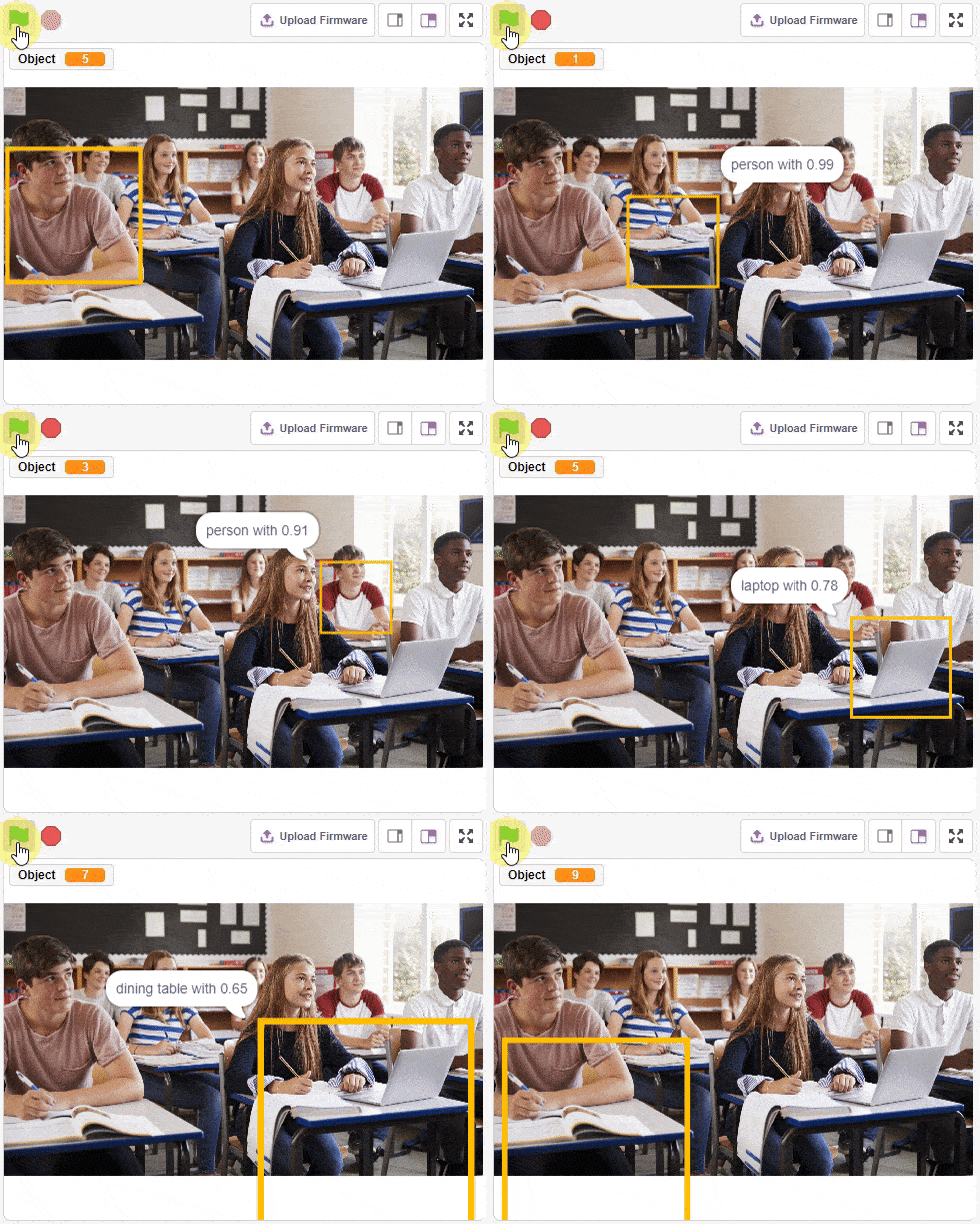
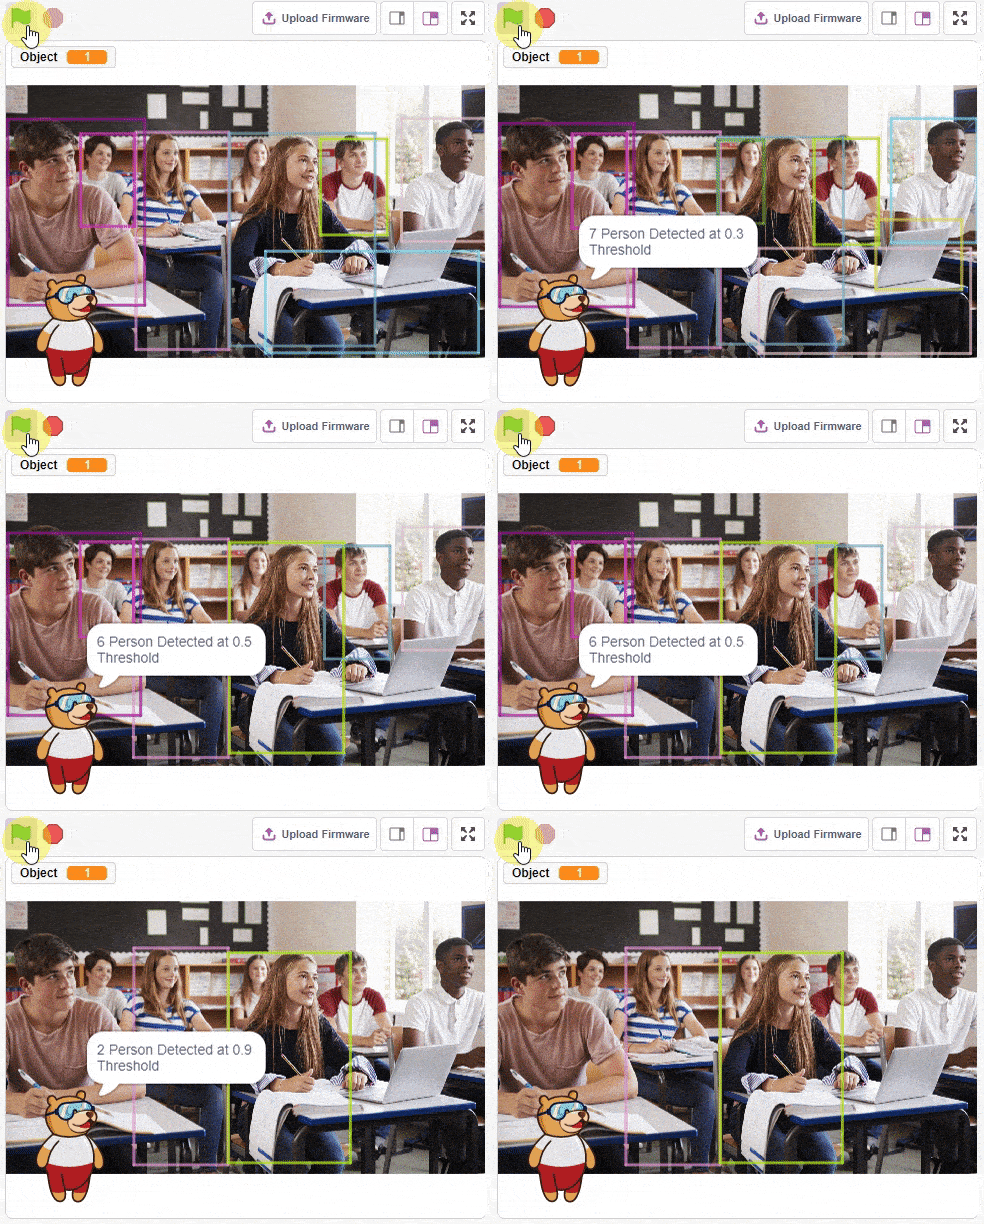
This block is used to set the threshold for the confidence (accuracy) of object detection, 0 being low confidence and 1 being high confidence. With the threshold value, you can set the level of confidence required for object detection.
The block changes the current voice used in Text to Speech.
This block analyses the image and saves the QR Code information locally, which can be accessed using other blocks. You have to run this block every time you want to analyze a new image from the camera.
The function returns the atmospheric pressure (on the sea level, if there is no sea_level or grnd_level data), in hPa of the location.
The block will play the specified note with the set instrument for the specified amount of beats.
The block turns the webcam on (directly or flipped) or off depending on the argument. 
The block will make its sprite continuously pen a trail wherever it moves until the Pen Up block is used. The color, size, and transparency of the trail can be changed with other blocks.
The block reads the analog value of the sensors connected to the specified pin. The block returns the int value between 0 to 4096.
The block displays the specified pattern on the Quarky RGB LED. These patterns are predefined in the code.
The block stops both the motors of the Quarky robot.
The block returns the state of the specified IR sensor. It returns True if the current IR sensor value is greater than the threshold value, else False.
The block stops the execution of the audio running on Quarky.
The block enables or disables the automatic display of the box on object detection on the stage. This is useful when you want to see if the object detection happens during the analysis or not.
This block analyses the image and saves the information locally, which can be accessed using other blocks.
The block sets the four servo motors of the legs to align with the specified orientation – inside, left, and right.
The block checks if the currently recognized class from the analyse numbers block is the selected class or not.
The block reports the recognized class from the recognition window.
The block set the sprite characteristics for the Physics Engine as free, fixed, or fixed but can rotate.
The block reports the state of the sensor connected to the selected pin. The block returns true when it is HIGH (or 3.3V) or false when it is LOW (or 0V). The block is used for digital sensors like PIR Sensor, Flame Sensor, or the IR Sensor.
The block sets the analog state of the specified pin to the specified value between 0 to 255.
The block creates a new feed or deletes an existing feed with the specified name.
The block triggers the event to send a webhook request.
The block performs the selected motion for the quadruped. The motion runs for the specified times and at the specified speed.
The block writes the dataset to the CSV file as a new row.
This block calibrates the angles of the hand servo motors and saves it in the memory of Quarky. Due to some mechanical assembly errors, there may be some misalignment of the servos which can be handled with this block.
The block makes the robot move in the specified direction with the specified speed for the specified time and then stop automatically.
All articles loaded
No more articles to load

Block Coding Examples

All articles loaded
No more articles to load

Python Functions

If the sprite is showing, it will hide the sprite. If the sprite is already hidden, nothing happens.
Syntax: hide()
The function set the steering orientation to the left for the Steering Robot.
Syntax: left()
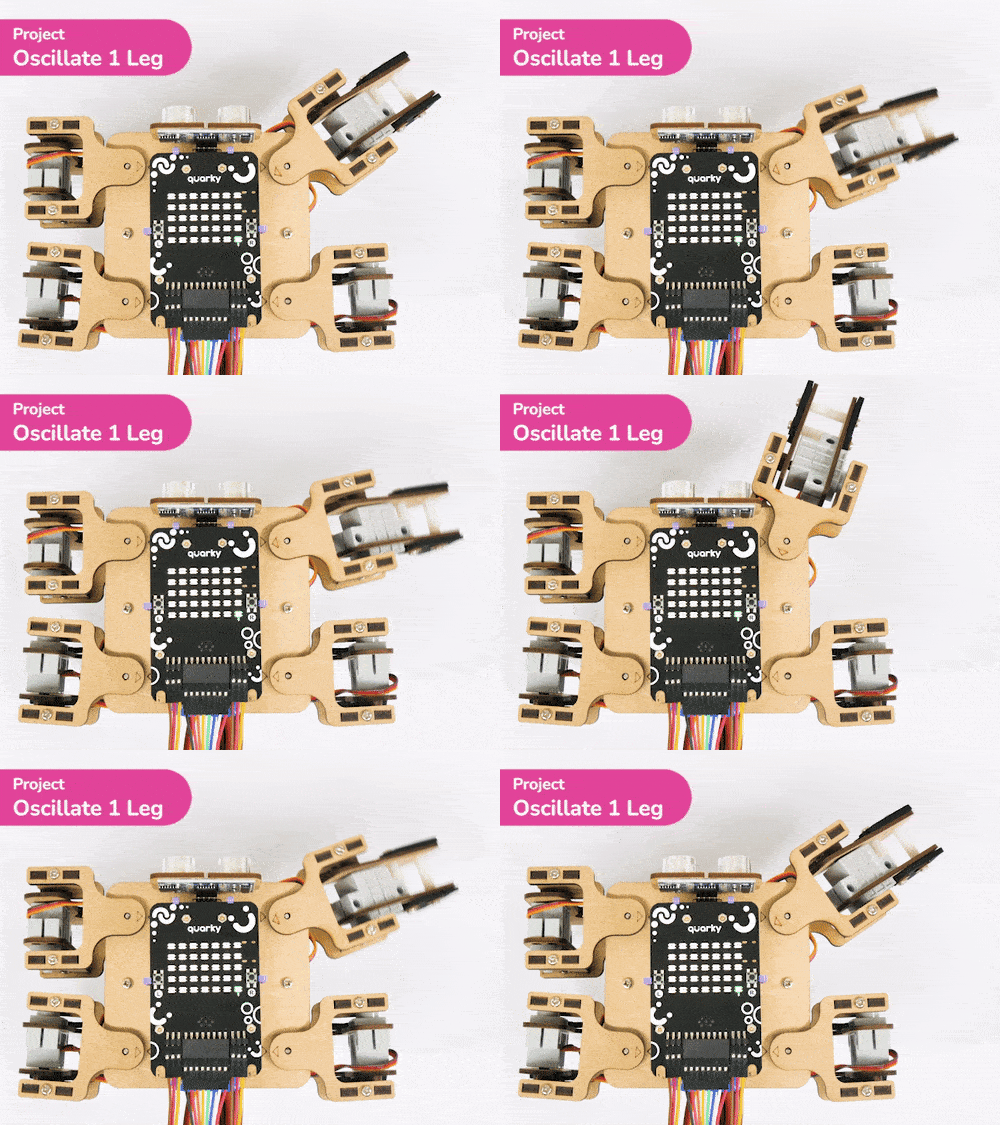
The block resets the timer running for the oscillator to 0.
Syntax: resetoscillationtimer()
The function reports the moisture reading from the sensor. The value varies from 0 to 100%.
Syntax: readmoisture()
The function sends the data to the ThingSpeak channel. The data is added to field 1 of the channel.
Syntax: ts.senddatatocloud(data = 100)
The function executes the oscillator according to stored parameters for the servo motor and the current time.
Syntax: executeoscillator()
The function sets the port of the servo motor for the gripper robot in the code, making it easier to control.
Syntax: initialisegripper(servo port = 4)
This function takes two parameters – a value for the angle at which the gripper should open and a value for the angle at which the gripper should close – and sets the angles for the gripper on a robotic arm.
Syntax: roboticArm.setgripperangle(OPEN = 0, CLOSE = 50)
The function returns the x position of the specified landmark point of the specified face with respect to the stage.
Syntax: landmarksx(face = 1, landmark = 1)
The function moves its sprite’s Y position by the specified amount.
Syntax: changey(delta_y = 10)
The function will place a sprite in front of all other sprites. It does this by changing the sprite’s layer value.
Syntax: gotolayer(postition = “front”, layer_number = 1)
The function set the steering orientation to the right for the Steering Robot.
Syntax: right()
The function reports the time passed from the reset for the oscillator.
Syntax: oscillationtimer()
The function initializes the RFID sensor. The function is important to run at the start to use other functions of the RFID sensors.
Syntax: initialiserfid()
The function sends multiple data to the ThingSpeak channel. The data is mapped to the 8 fields of the ThingSpeak channel.
Syntax: ts.sendmultipledatatocloud(field_data_1 = 100, field_data_2 = 100, field_data_3 = 100, field_data_4 = 100, field_data_5 = 100, field_data_6 = 100, field_data_7 = 100, field_data_8 = 100)
The function executes the oscillator according to stored parameters for the servo motor and the current angle specified in the functions.
Syntax: executesscillatorat(angle = 90)
The function executes the oscillator for the specified cycles.
Syntax: oscillateforcycles(cycles = 1)
The function sets the angle of a robot’s gripper servo motor to a specified value.
Syntax: setgripperangle(angle = 90)
This function used to control the opening and closing of the robotic arm gripper.
Syntax: roboticArm.gripperaction(STATE = “open”)
The function returns the y position of the specified landmark point of the specified face with respect to the stage.
Syntax: landmarksy(face = 1, landmark = 1)
The function sets its sprite’s Y (up and down) position to the specified amount.
Syntax: sety(y = 27)
The function changes its sprite’s layer value by the specified amount. This function is rather unusual compared to other functions. It moves the layer value back, and not forward. To move it forward instead, a negative number can be used.
Syntax: changelayer(postition = “forward”, layer_number = 1)
The function set the steering orientation to straight for the Steering Robot.
Syntax: straight()
The function activates the RFID sensor to read any nearby RFID tags for the specified time. Once identified, the value of the reading is stored in the local system which can be used from the other functions. The function also reports whether the operation is completed or not. If any RFID tag is scanned the block returns 1, else it returns 0.
Syntax: readrfid(duration = 5)
The function gets the data from the ThingSpeak channel and stores the 8 field values in PictoBlox or Quarky.
Syntax: ts.getdatafromthingspeak()
The function resets the timer running for the oscillator to 0.
Syntax: resetoscillationtimer()
This function sets the angle of the Gripper Robot’s gripper servo motor to a particular value when it is in the closed position.
Syntax: setcloseangle(angle = 40)
This function takes the servo motor as the input parameter, and it returns the corresponding angle of the servo as an output.
Syntax: roboticArm.getcurrentservoangle(SERVO = “link1”)
The function allows the user to add a particular face into the database from the camera feed. The user can specify the name of the face with the argument as well. This addition of the face in the database is also stored inside the PictoBlox file while saving.
Syntax: addclassfromcamera(label_number = 1, label_name = “Jarvis”)
The function checks to see if its sprite is touching the edge of the screen with the move steps block — and if it is, the sprite will point in a direction that mirrors the direction from which it is coming. It uses a line perpendicular to the edge to determine the reflection angle.
Syntax: bounceonedge()
All articles loaded
No more articles to load

Python Coding Examples

All articles loaded
No more articles to load
Table of Contents