Deprecated: Required parameter $query follows optional parameter $post in /var/www/html/wp-content/plugins/elementor-extras/modules/breadcrumbs/widgets/breadcrumbs.php on line 1215
Display (Quarky) - Blocks, Python Functions, Projects | PictoBlox Extension
[PictoBloxExtension]

Display (Quarky)

Display-(Quarky)
Extension Description
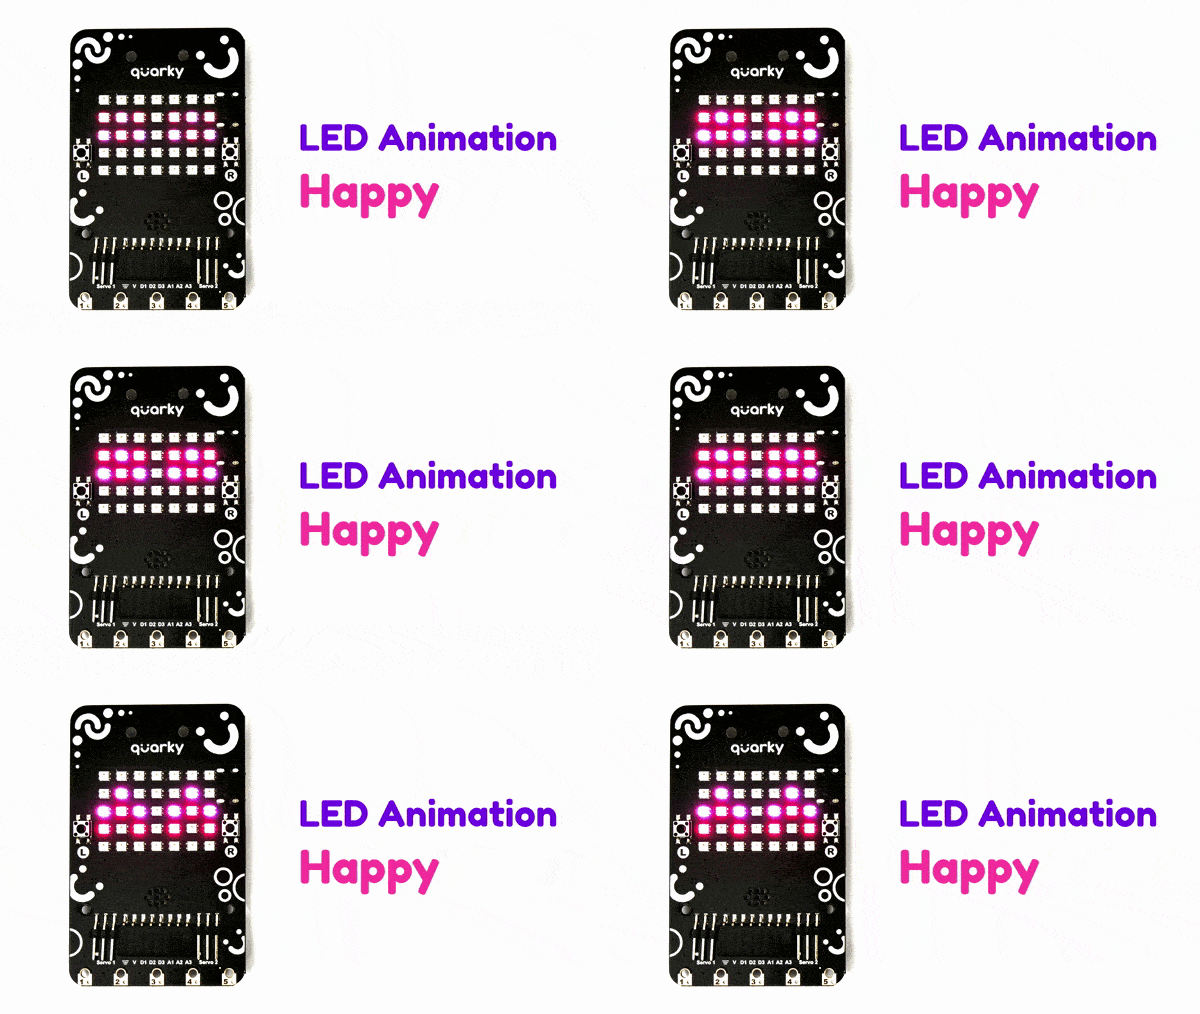
Controls the 7 x 5 RGB LED display.

Introduction

The extension allows the user to control the RGB LED display of Quarky.
Connecting Quarky with PictoBlox

Let’s begin by first connecting Quarky to PictoBlox. Select your preferred type of device i.e. either the desktop/laptop or your smartphone and follow the instructions.

Desktop

Follow the steps below for connecting Quarky to PictoBlox:

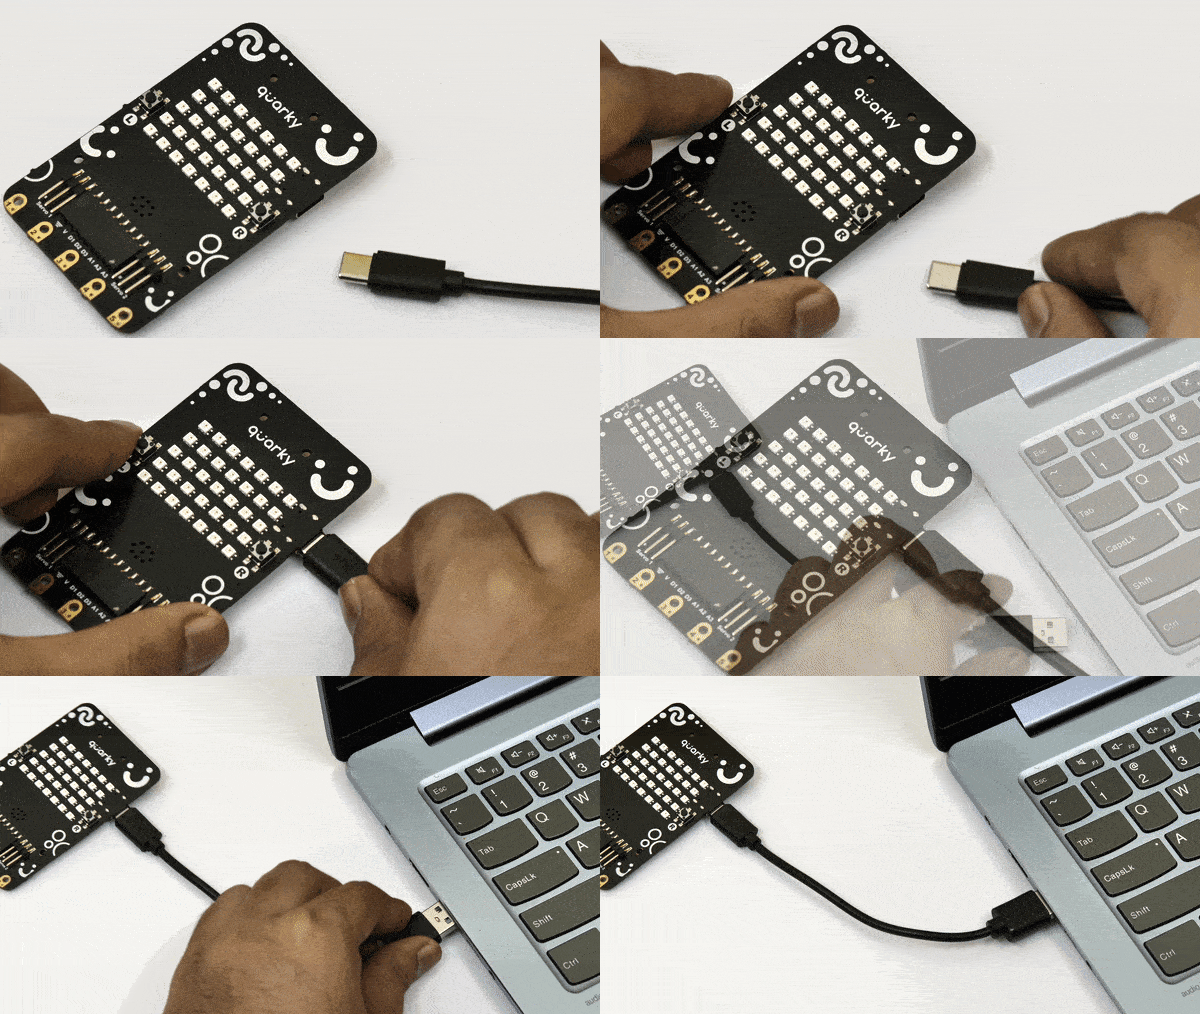
  1. First, connect Quarky to your laptop using a USB cable.
    Power Quarky
  2. Next, open PictoBlox on your desktop.
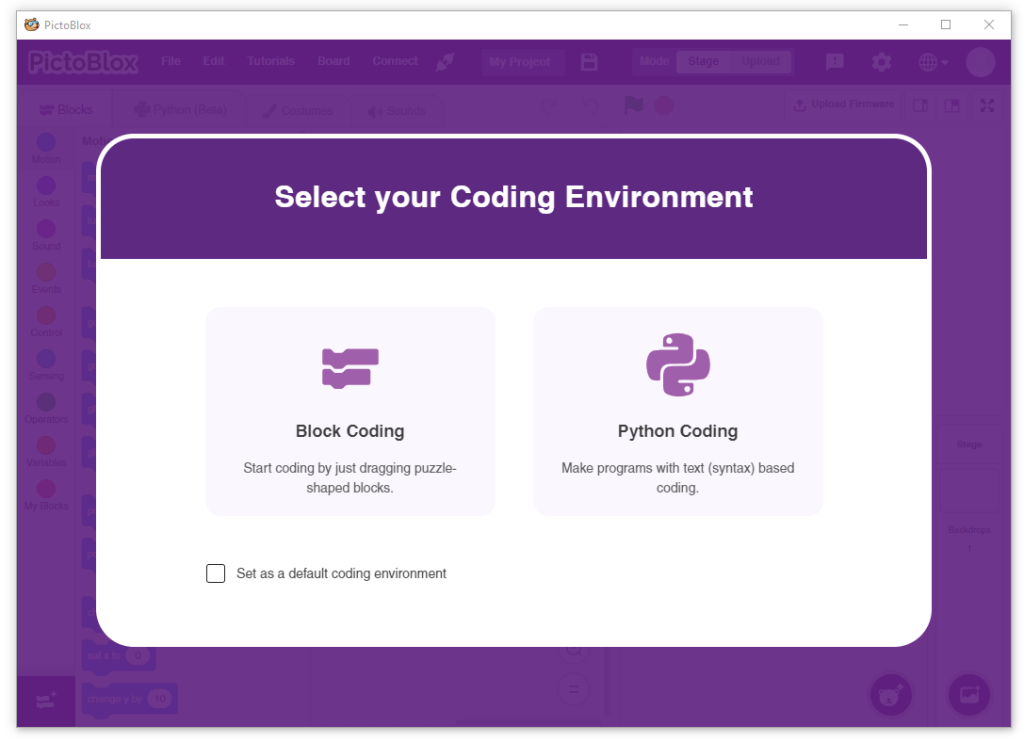
  3. After that, select Block or Python Coding as your coding environment.
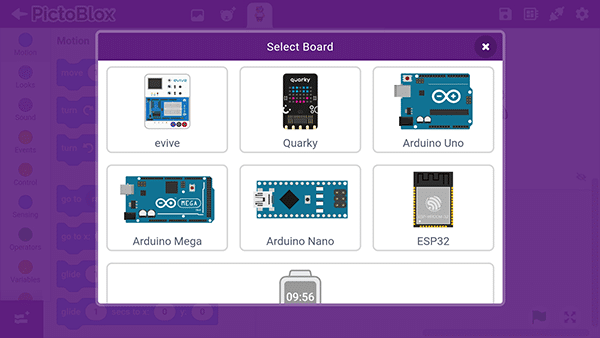
  4. Then, click the Board button in the toolbar and select board as Quarky.
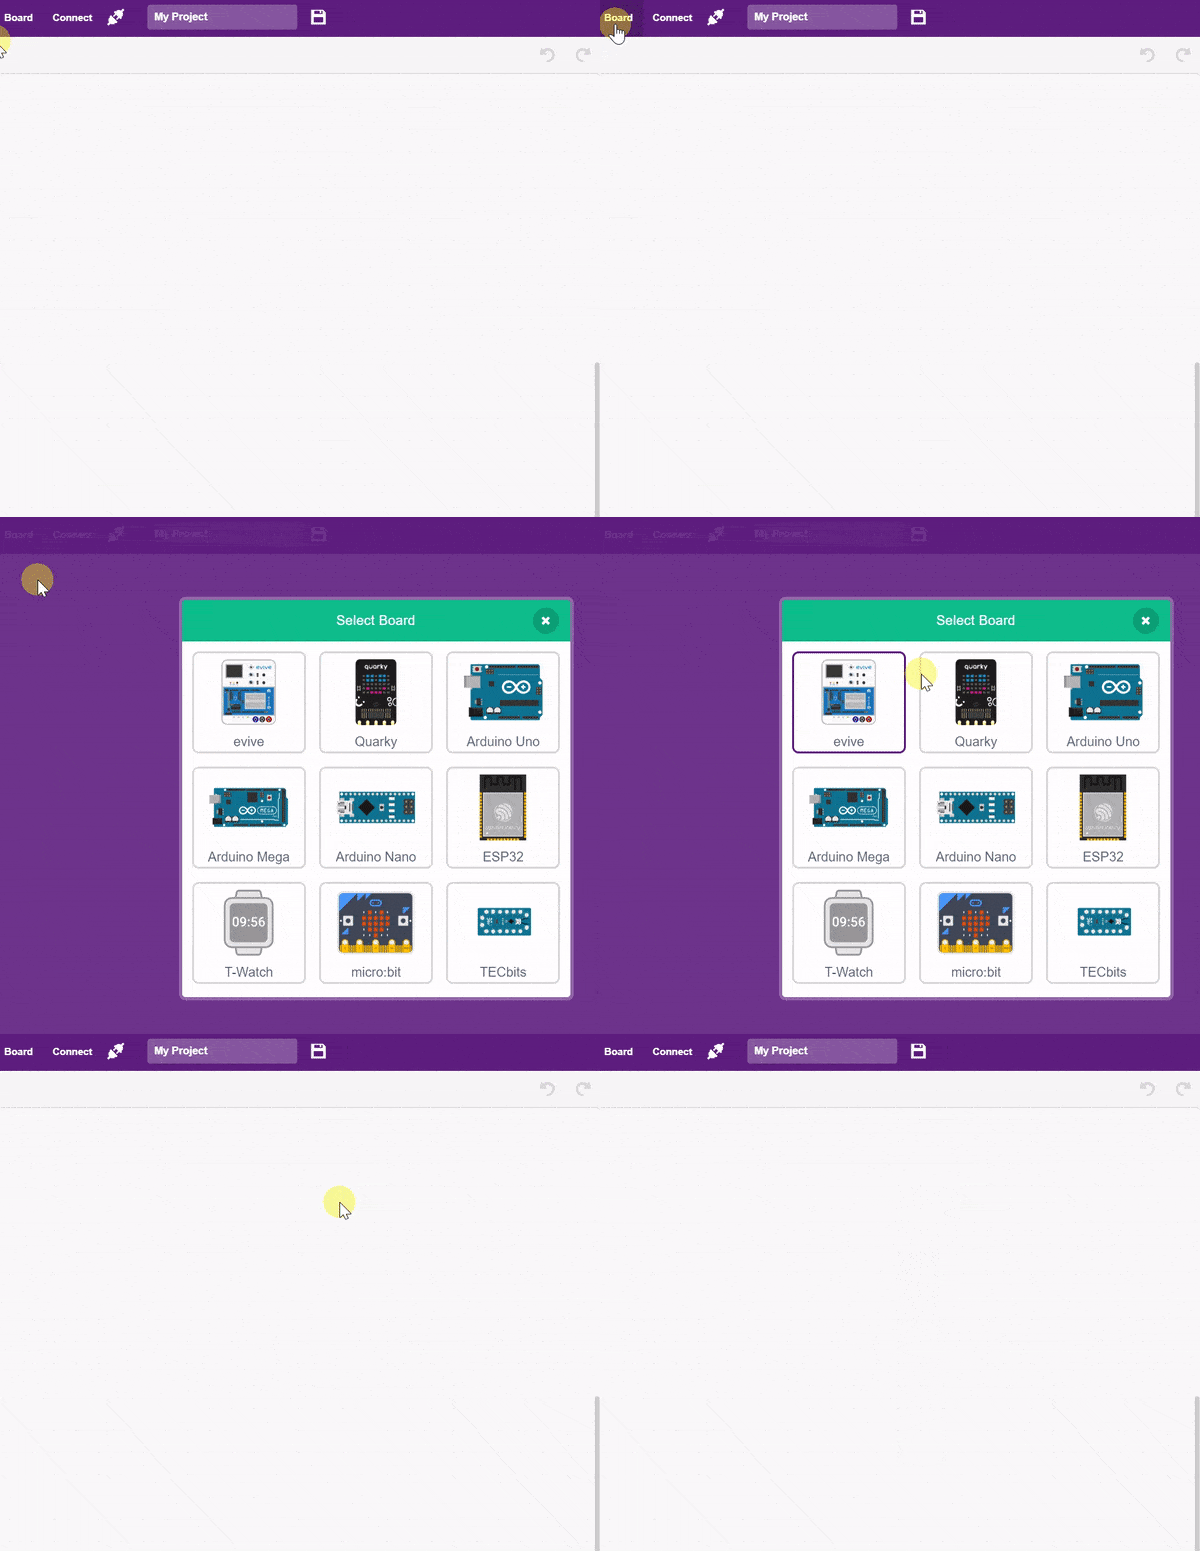
  5. Next, select the appropriate Serial port if the Quarky is connected via USB or the Bluetooth Port if you want to connect Quarky via Bluetooth and press Connect.
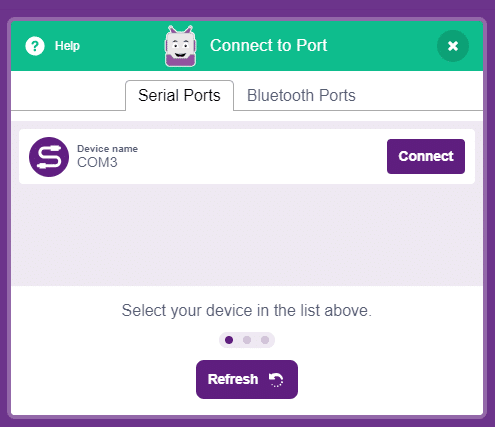
    COM Port

And voila! Quarky is now connected to PictoBlox.

Mobile

Follow the steps below for connecting Quarky to PictoBlox:

  1. First, power ON Quarky.
  2. Open PictoBlox on your smartphone. Go to My Space and make a new project by clicking the ‘+(plus)’ button in the bottom-right corner.
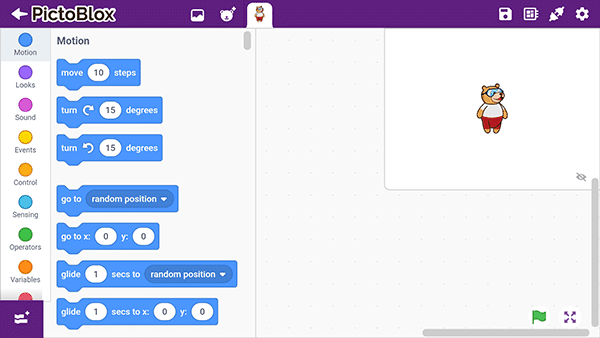
    PictoBlox in Mobile Phone
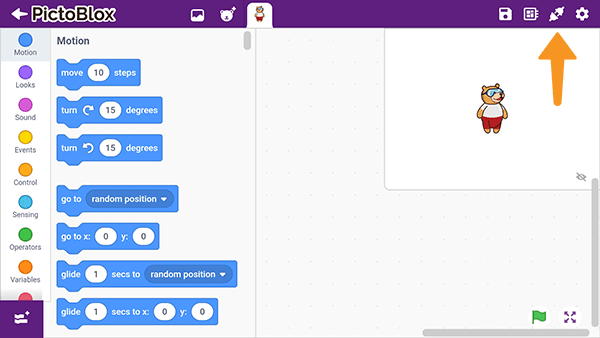
  3. Then, tap the Board button in the top-right corner of the toolbar.
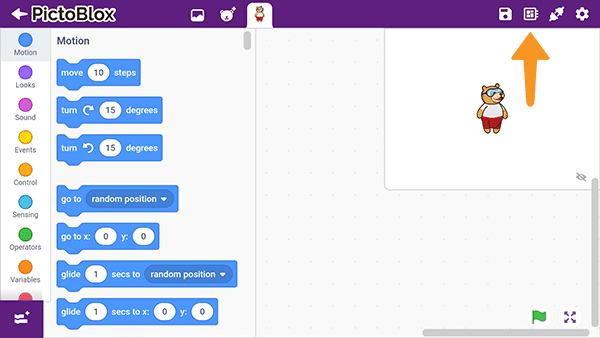
    PictoBlox BoardSelect board as Quarky.
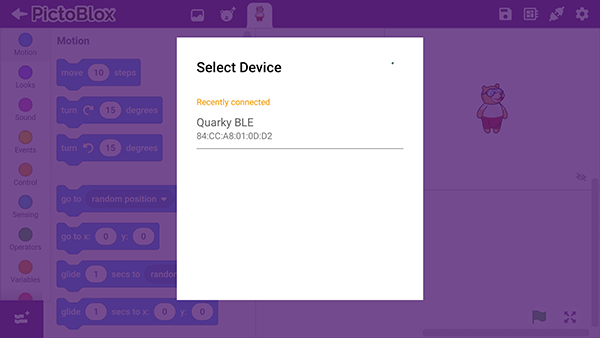
  4. Next, tap the Connect button:
    PictoBlox ConnectSelect your device from the list.

And voila! Quarky is now connected to PictoBlox.

Stage Mode

Stage mode is one of the two modes you can write your programs in Pictoblox. In this mode, you can write scripts for the sprite and boards to interact with sprites in real-time. If you disconnect the board with Pictoblox, you cannot interact with the board anymore. In this mode, you can make games and animation interacting with Quarky.

You can toggle between the upload mode and stage mode using the button on the top right side of Pictoblox.

Note:  You have to upload the firmware into the device before interacting with it. Please refer this doc: https://ai.thestempedia.com/docs/updating-quarky-firmaware-with-pictoblox/

In Python Coding Environment, use the following object declaration to use Python functions in Stage Mode:

quarky = Quarky()

Upload Mode

Upload mode is one of the two modes you can write your programs in Pictoblox. This mode allows you to write scripts and upload them to the board so that you can use them even when it is not connected to your computer, for example, you need to upload a script for making moving robots.

In this case, Quarky will run offline according to the program and it can not interact with the stage.

In Python Coding Environment, use the following object declaration to use Python functions in Upload Mode:

from quarky import *
Read More

PictoBlox Blocks

The block holds a sprite’s or the Stage’s volume. This block can be displayed as a Stage monitor.
It creates a clone of the sprite in the argument. It can also clone the sprite it is running in, creating clones of clones, recursively.
The block holds (reports) the mouse-pointer’s current Mouse X.
The block multiplies the two values and reports the result.
The block can delete all the items from the specified list.
The block inserts an item containing the given text into the list, at the given position. All values below the inserted item are passed onto the item beneath them; the last item’s value is placed in a new item at the end of the list.
The block tells whether the human hand is detected or not.
The get () position of () face () block reports the x and y position of the selected landmark of the selected face.
The block returns the specified parameter for the specified signal detected: class, x position, y position, width, height, and confidence.
The function returns the weather parameters (Rain, Snow, Extreme, etc.) of the location.
The block changes the pen size by the specified amount.
The block turns OFF all the RGB LEDs of Quarky.
The block sets the servo motor connected to the specified servo pin to the specified angle.
The block returns the distance reading from the specified ultrasonic sensor.
The block returns the number of objects identified with the specified object class.
The block reports the density of the sprite.
The block connects the soil moisture sensor to the specified pin. Once initialized, other moisture sensor-related blocks can be used.
The block connects the PictoBlox to the ThinkSpeak Channel with the specified write and the read API keys. Without this block, other functionality does not work related to ThinkSpeak.
The block resets the oscillator parameter for all the servo motors.
The block reports the current time value in milliseconds.
The block sets the pick and place arm angles to the specified value.
The block makes a request to ChatGPT to get the synonyms or antonyms of the text specified in it. The response of ChatGPT is then stored in PictoBlox and can be accessed using the get AI response block.
This block allows you to scale a value from one range of numbers to another.
The block sets up an 8×8 Dot Matrix display and assigns the pins of the display (DIN, CS, CLK) to be connected to the Arduino board. The code assigns the name of the display to the pins for easy referencing and establishes communication between the Arduino board and the display.
This block helps robot to follows a line and stops at checkpoints, detecting these when both IR sensors sense black simultaneously.
The sprite will move to a specified position as set on the grid.
Changes the scene in the stage as specified from the options.
Runs the blocks inside if a specified pin is touched of the quarky.
Turns off all the LED of the wizbot.
Runs the right motor of the wizbot in a specified direction.
All articles loaded
No more articles to load

Block Coding Examples

There are no block coding examples for the extension to show.

Python Functions

There are no python functions for the extension to show.

Python Coding Examples

There are no python examples for the extension to show.
Table of Contents