Deprecated: Required parameter $query follows optional parameter $post in /var/www/html/wp-content/plugins/elementor-extras/modules/breadcrumbs/widgets/breadcrumbs.php on line 1215
Display (Quarky) - Blocks, Python Functions, Projects | PictoBlox Extension
[PictoBloxExtension]

Display (Quarky)

Display-(Quarky)
Extension Description
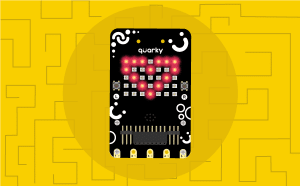
Controls the 7 x 5 RGB LED display.

Introduction

The extension allows the user to control the RGB LED display of Quarky.
Connecting Quarky with PictoBlox

Let’s begin by first connecting Quarky to PictoBlox. Select your preferred type of device i.e. either the desktop/laptop or your smartphone and follow the instructions.

Desktop

Follow the steps below for connecting Quarky to PictoBlox:

  1. First, connect Quarky to your laptop using a USB cable.
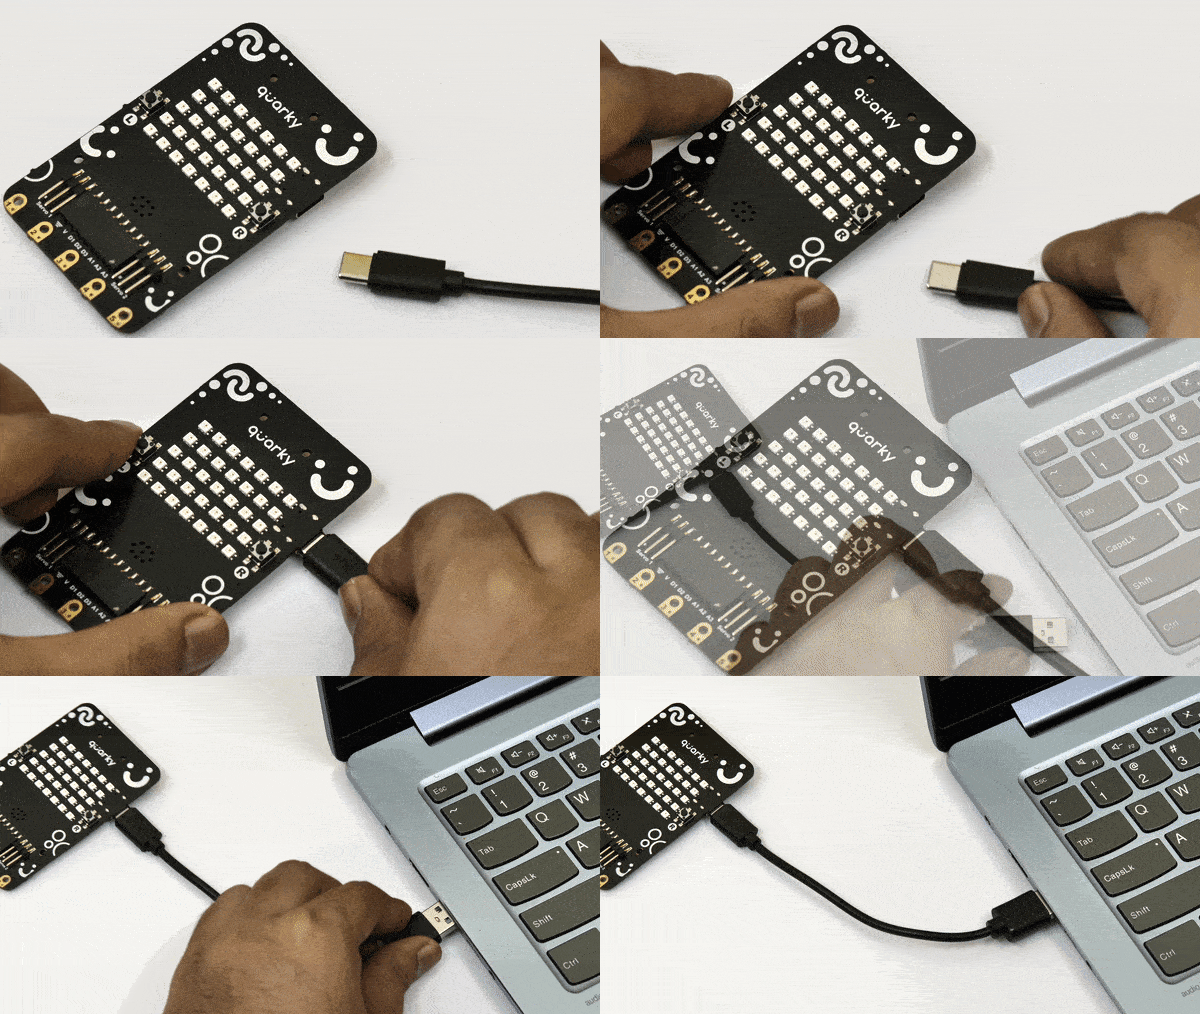
    Power Quarky
  2. Next, open PictoBlox on your desktop.
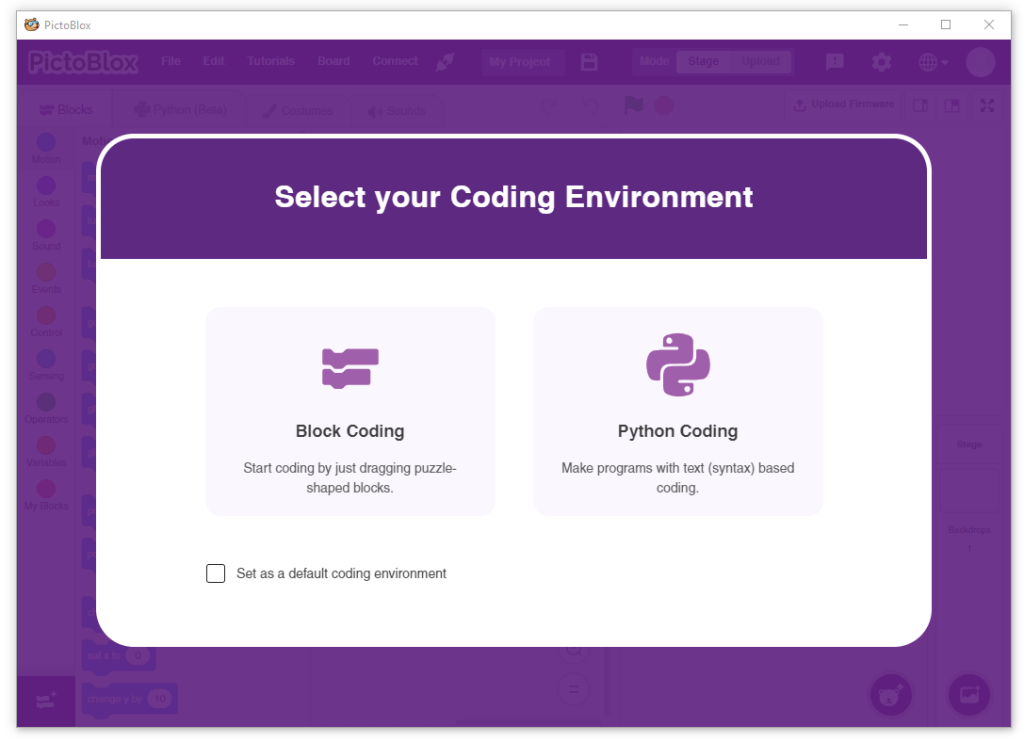
  3. After that, select Block or Python Coding as your coding environment.
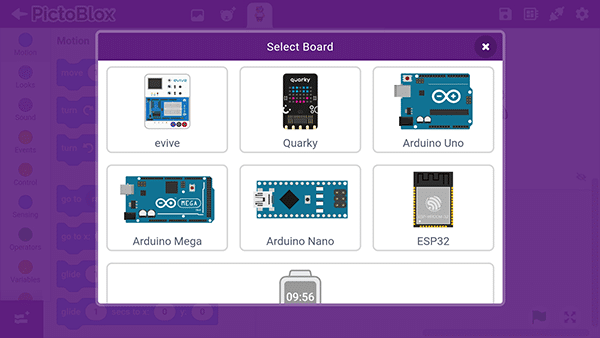
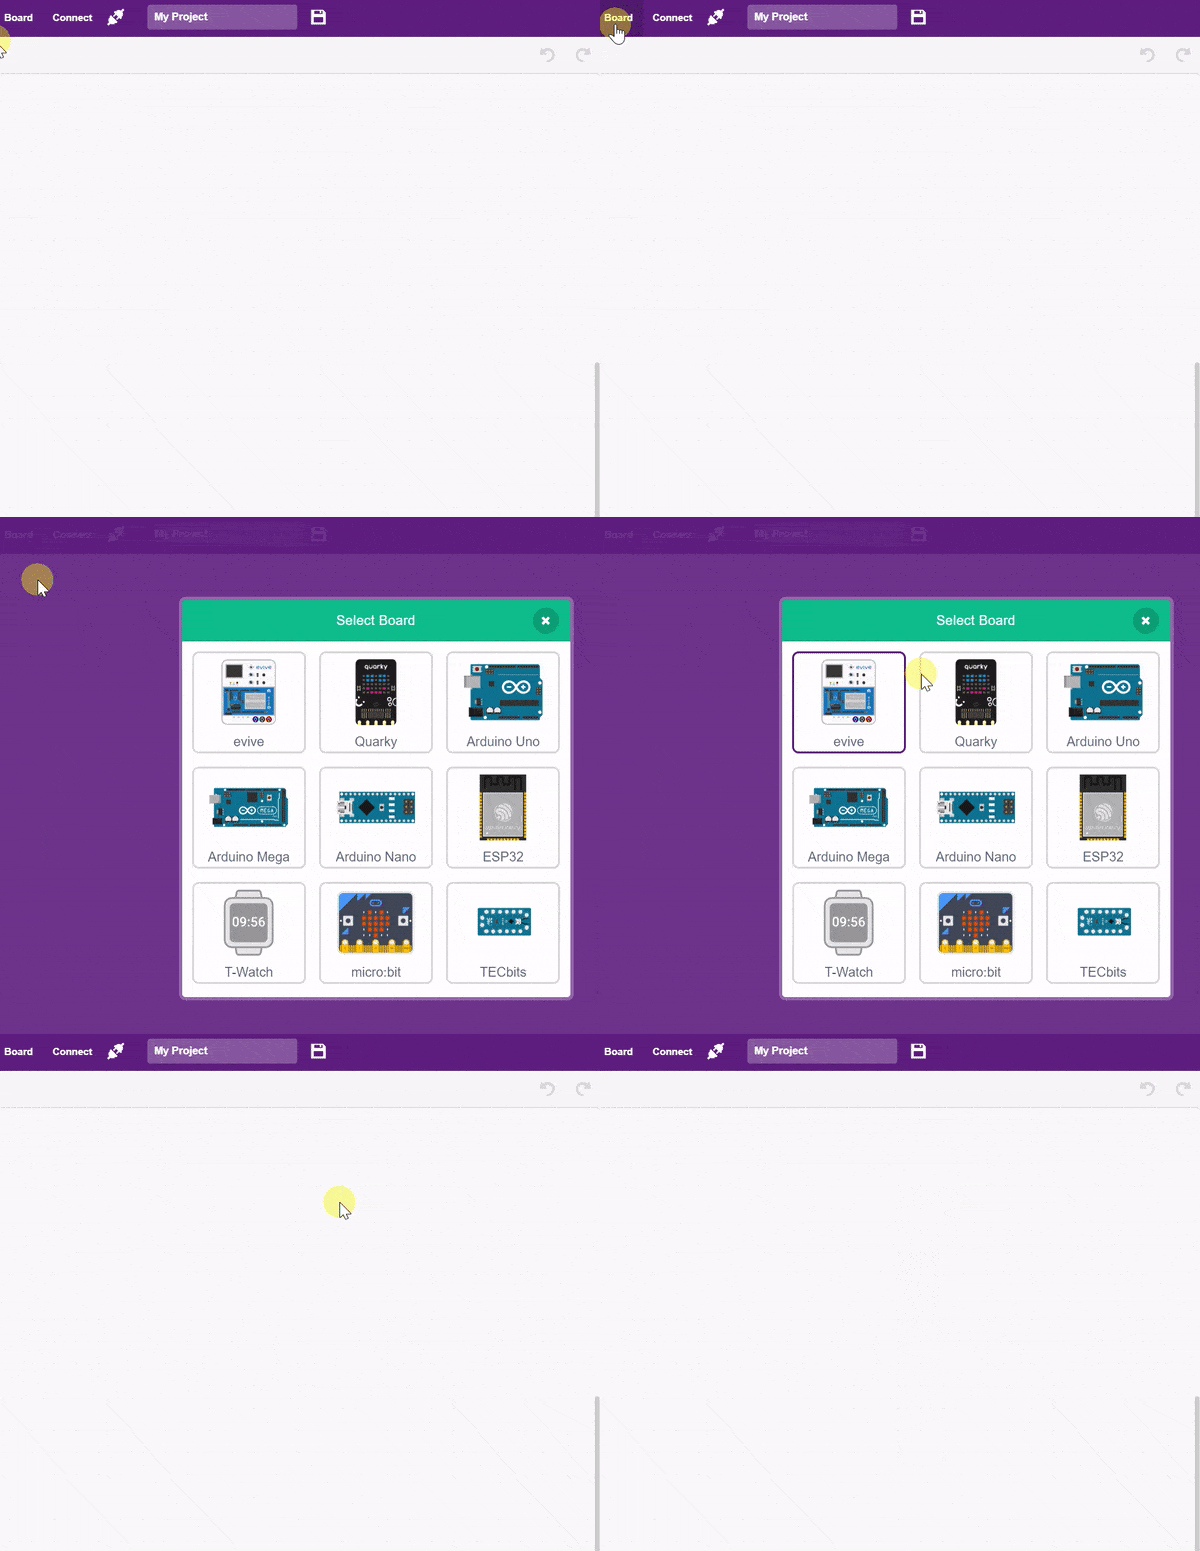
  4. Then, click the Board button in the toolbar and select board as Quarky.
  5. Next, select the appropriate Serial port if the Quarky is connected via USB or the Bluetooth Port if you want to connect Quarky via Bluetooth and press Connect.
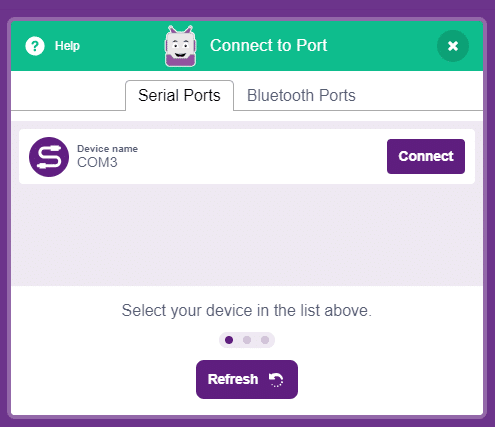
    COM Port

And voila! Quarky is now connected to PictoBlox.

Mobile

Follow the steps below for connecting Quarky to PictoBlox:

  1. First, power ON Quarky.
  2. Open PictoBlox on your smartphone. Go to My Space and make a new project by clicking the ‘+(plus)’ button in the bottom-right corner.
    PictoBlox in Mobile Phone
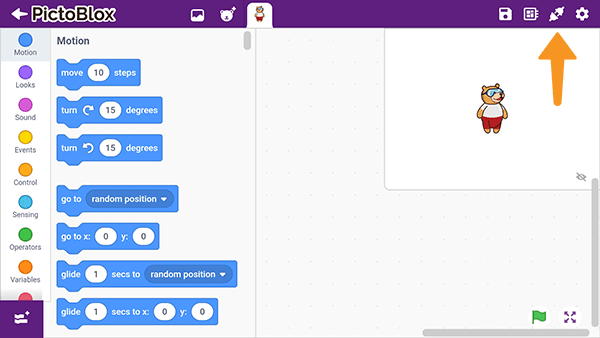
  3. Then, tap the Board button in the top-right corner of the toolbar.
    PictoBlox BoardSelect board as Quarky.
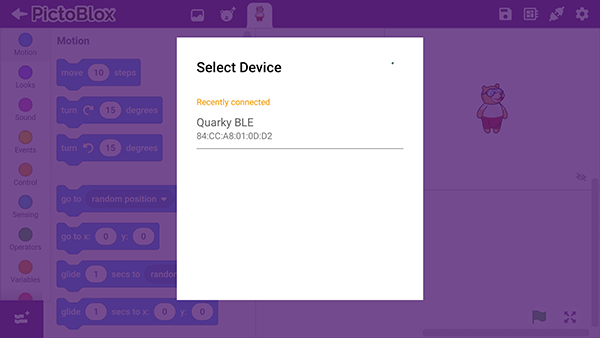
  4. Next, tap the Connect button:
    PictoBlox ConnectSelect your device from the list.

And voila! Quarky is now connected to PictoBlox.

Stage Mode

Stage mode is one of the two modes you can write your programs in Pictoblox. In this mode, you can write scripts for the sprite and boards to interact with sprites in real-time. If you disconnect the board with Pictoblox, you cannot interact with the board anymore. In this mode, you can make games and animation interacting with Quarky.

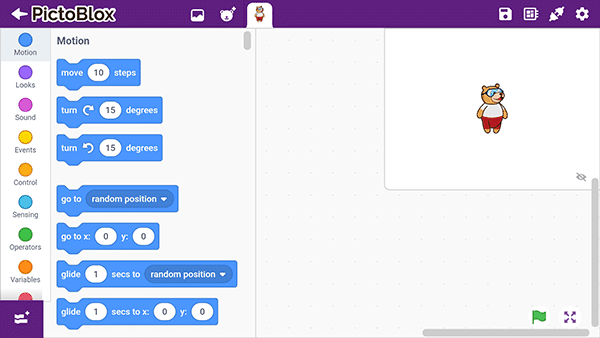
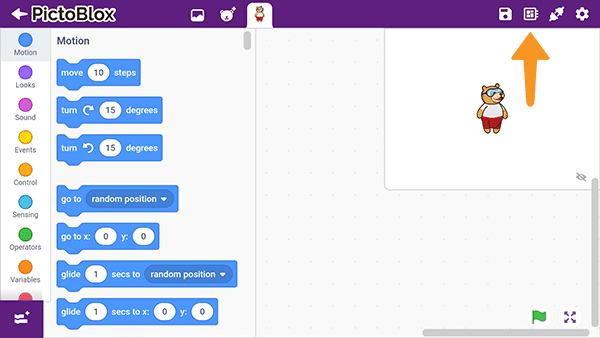
You can toggle between the upload mode and stage mode using the button on the top right side of Pictoblox.

Note:  You have to upload the firmware into the device before interacting with it. Please refer this doc: https://ai.thestempedia.com/docs/updating-quarky-firmaware-with-pictoblox/

In Python Coding Environment, use the following object declaration to use Python functions in Stage Mode:

quarky = Quarky()

Upload Mode

Upload mode is one of the two modes you can write your programs in Pictoblox. This mode allows you to write scripts and upload them to the board so that you can use them even when it is not connected to your computer, for example, you need to upload a script for making moving robots.

In this case, Quarky will run offline according to the program and it can not interact with the stage.

In Python Coding Environment, use the following object declaration to use Python functions in Upload Mode:

from quarky import *
Read More

PictoBlox Blocks

The block initializes a TM1637 4×7 segment display module by assigning two boundaries, CLK and DIO, to two digital pins of an Arduino board. The module can then be used to display numbers, characters, and symbols using the 4×7 segment display.
This block is used to move the robotic arm from its current position to a specific X, Y, and Z coordinate position over a specified period of time. This block first moves in the X axis, then the Y axis, and lastly Z axis to reach the desired point.
This block is designed to program the robotic arm to move in a circle in the specified Y plane over a period of time. The user must specify the circle’s center position along the X and Z axes, as well as the radius of the circle. The robot arm then calculates all the points it needs to travel in the XYZ coordinates and travels to them one by one.
Set the pins for the left, middle, and right IR sensors to enable line following. Note: For 3 IR Sensors, the threshold is set by the potentiometers on the sensors as they work with digital value.
Changes the speed of the sprite movement. Speed can be set as slow, normal and fast.
Changes the current costume of the sprite to the next one.
Stops all the movement and actions of the quarky.
Turns off all the LED of the quarky display.
Changes the speed of the wizbot. Speed can be set as slow, normal and fast.
Stops any sound or music playing from the script.
This block is used to draw the outline or a filled rectangle with rounded corners. It takes the following parameters as input: fill/draw, starting coordinates, width, height, the radius at corners and color. It draws a rectangle rounded at edges where the radius is input by the user.
The block returns the value of analog pins available in the connected hardware. Analog reading is of 10-bit resolution, hence the range of value is 0 to 1023. This range is mapped to the voltage of the pin (normally 0 to 5V). If the value received is 512, the voltage value will be around 2.5V.
The block allows the user to control actuators such as DC motors and servo motors from the Motor control module of the Dabble app.
This block moves the robotic arm’s end-effector to the specified X, Y, and Z position in a line in the specified time. Whenever we use this block, the robotic arm breaks the line from one position to another position in smaller lines and follow them.
This block is to assign custom leg actions and movements to our Humanoid Robot.
The block glides sprite to the specified X and Y position in the specified duration. This block has animation in its movement.
The block changes the backdrop to the next in the list of backdrops, but if the current backdrop is the last in the list, the block will loop to the first.
The block sets its sprite’s volume to the specified amount. It only affects the sprite (or the Stage) that the block is in.
It activates in a clone when it gets created.
The block checks if the computer mouse’s primary button is activated (being clicked).
The block returns the number of objects identified with the specified object class.
The block subtracts the second value from the first and reports the result.
The block can delete the item inputted from the specified list.
This block is used to analyze the image received as input from the camera, for human hand detection.
The () recognition result block reports the landmark and the image description identified in the image.
The get () of face () block reports the following attributes of the face: x position, y position, width and height.
The block returns whether the specified signal is detected in the analysis or not.
The function returns the time data of the location when data capture, sunrise, or sunset happens.
The block reports the project’s tempo. This block can be displayed as a Stage monitor. As this block holds how long drums and notes will be played, it is useful in music projects where they must sense how long an instrument will be playing.
The block sets the Pen Size to the given number. The pen draws a trail of circles. The diameter of the circle, in pixels, is equal to the pen size.
All articles loaded
No more articles to load

Block Coding Examples

There are no block coding examples for the extension to show.

Python Functions

There are no python functions for the extension to show.

Python Coding Examples

There are no python examples for the extension to show.
Table of Contents