Deprecated: Required parameter $query follows optional parameter $post in /var/www/html/wp-content/plugins/elementor-extras/modules/breadcrumbs/widgets/breadcrumbs.php on line 1215
Display (Quarky) - Blocks, Python Functions, Projects | PictoBlox Extension
[PictoBloxExtension]

Display (Quarky)

Display-(Quarky)
Extension Description
Controls the 7 x 5 RGB LED display.

Introduction

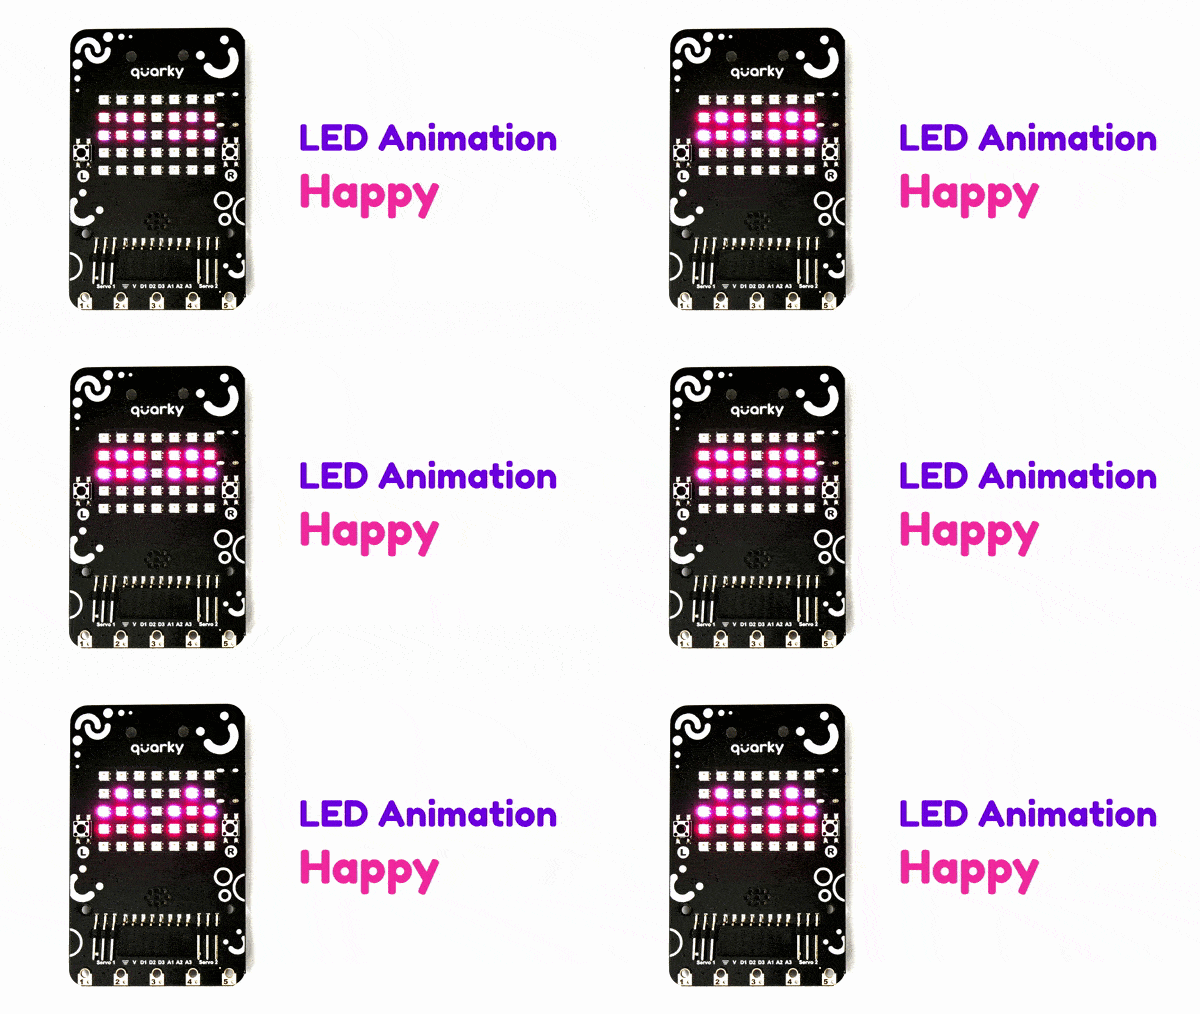
The extension allows the user to control the RGB LED display of Quarky.
Connecting Quarky with PictoBlox

Let’s begin by first connecting Quarky to PictoBlox. Select your preferred type of device i.e. either the desktop/laptop or your smartphone and follow the instructions.

Desktop

Follow the steps below for connecting Quarky to PictoBlox:

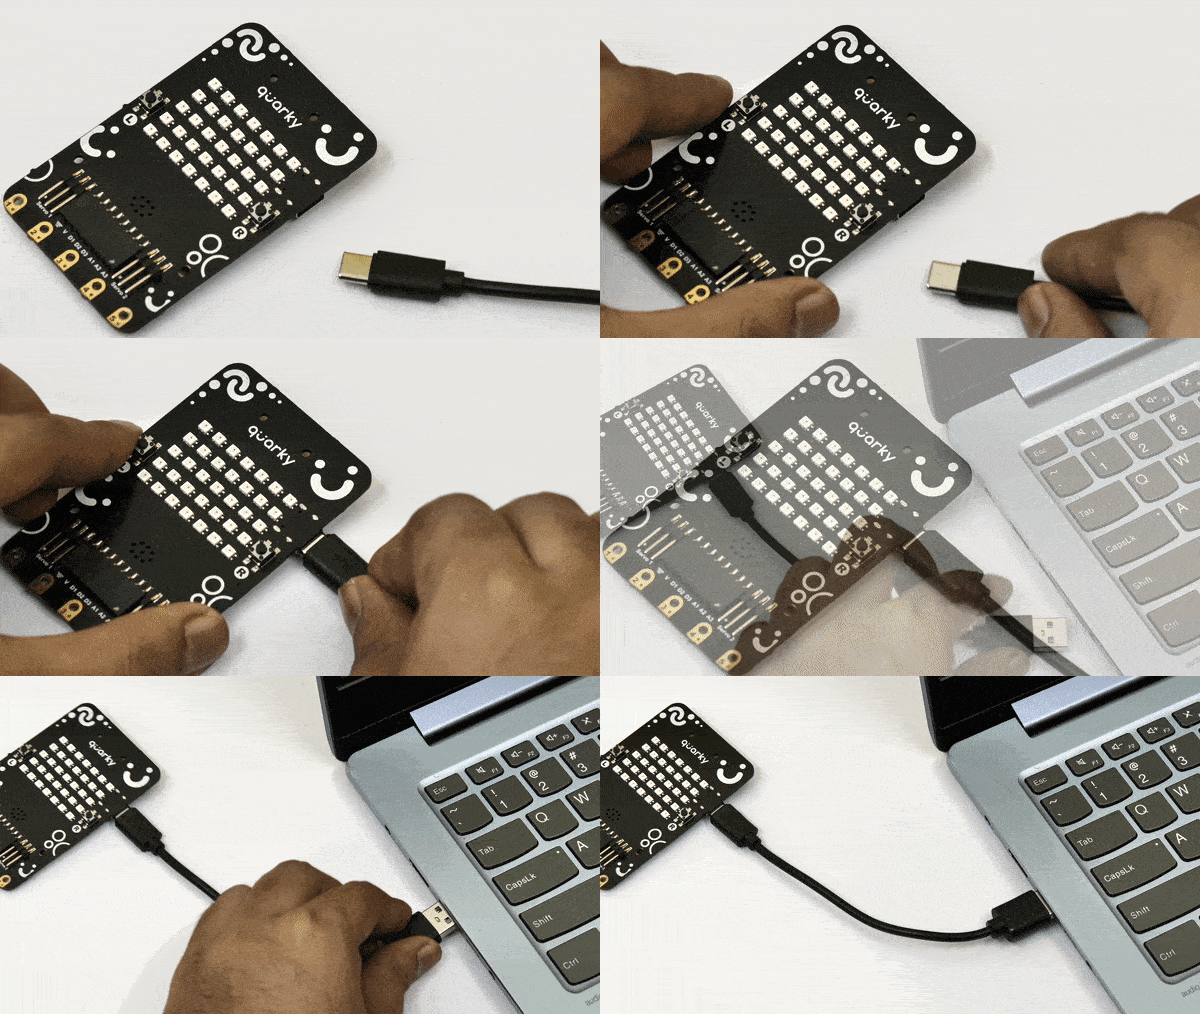
  1. First, connect Quarky to your laptop using a USB cable.
    Power Quarky
  2. Next, open PictoBlox on your desktop.
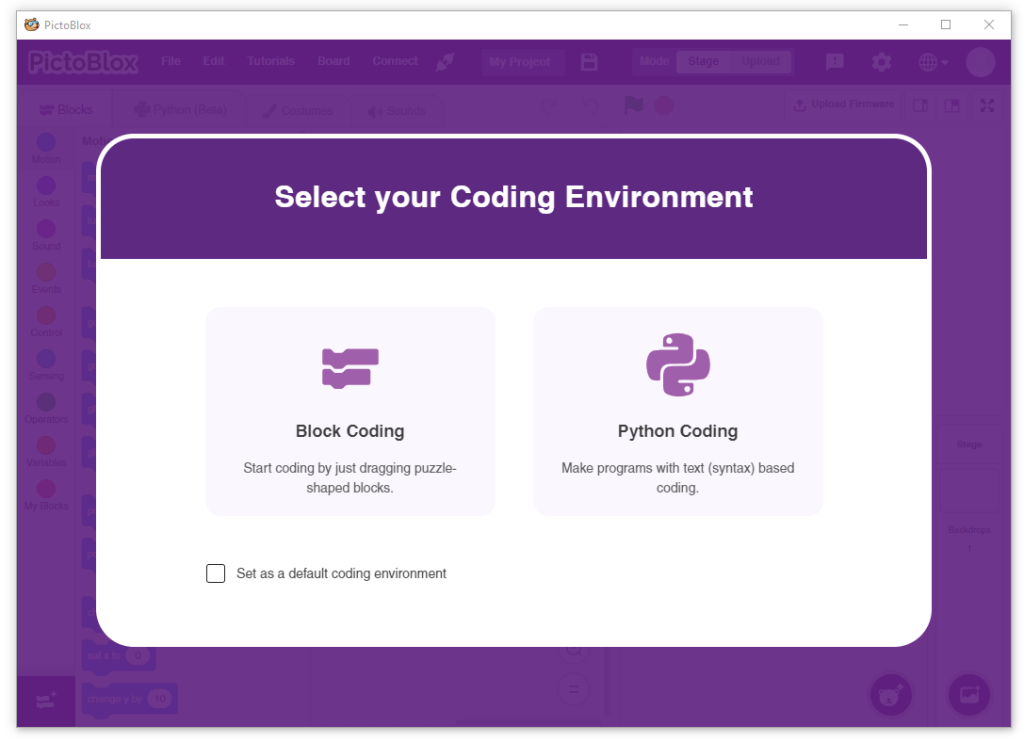
  3. After that, select Block or Python Coding as your coding environment.
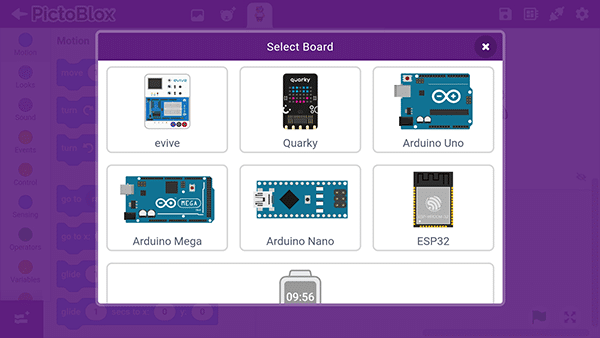
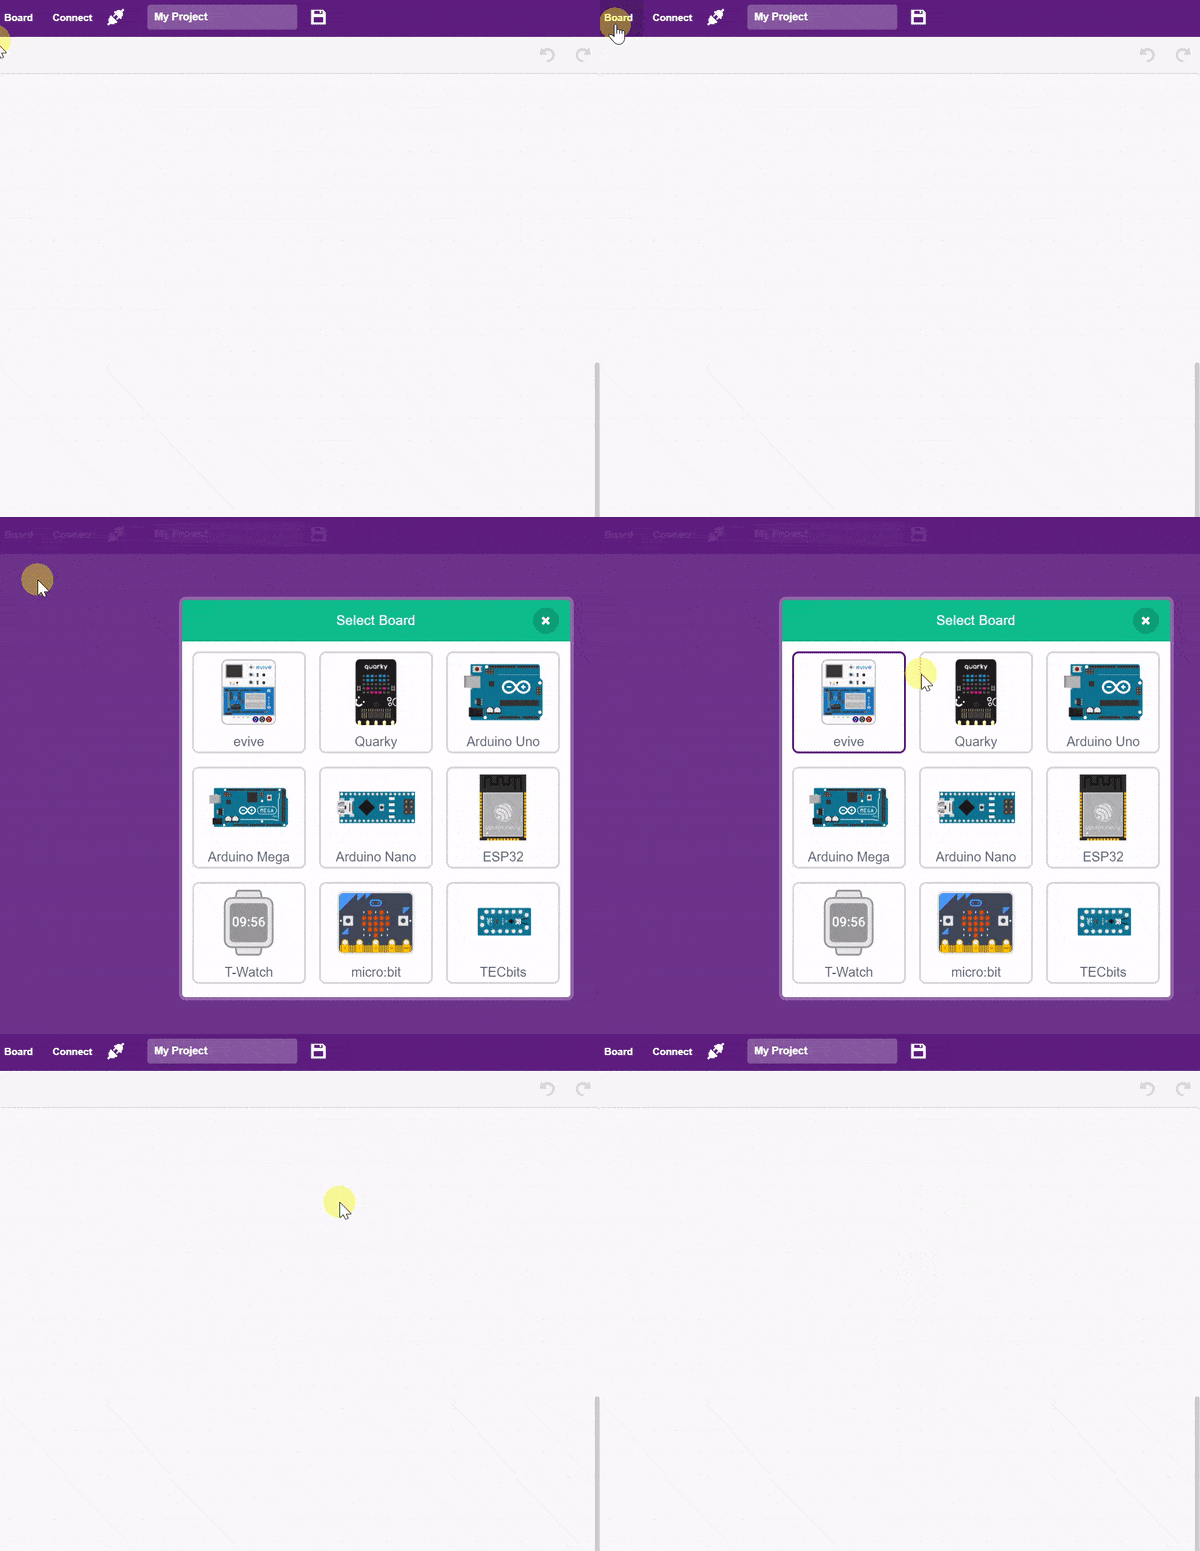
  4. Then, click the Board button in the toolbar and select board as Quarky.
  5. Next, select the appropriate Serial port if the Quarky is connected via USB or the Bluetooth Port if you want to connect Quarky via Bluetooth and press Connect.
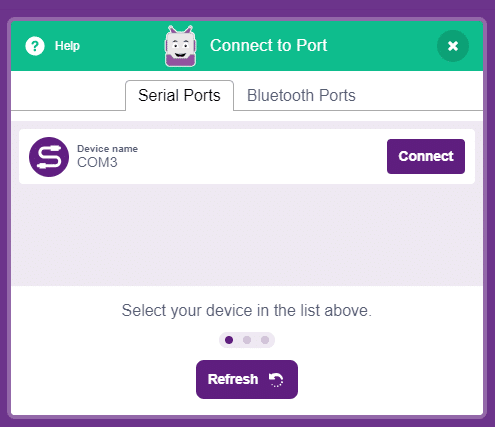
    COM Port

And voila! Quarky is now connected to PictoBlox.

Mobile

Follow the steps below for connecting Quarky to PictoBlox:

  1. First, power ON Quarky.
  2. Open PictoBlox on your smartphone. Go to My Space and make a new project by clicking the ‘+(plus)’ button in the bottom-right corner.
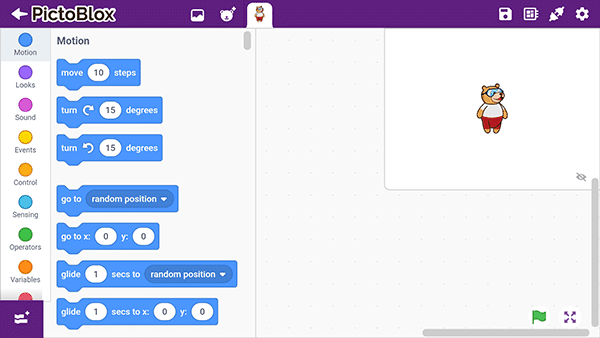
    PictoBlox in Mobile Phone
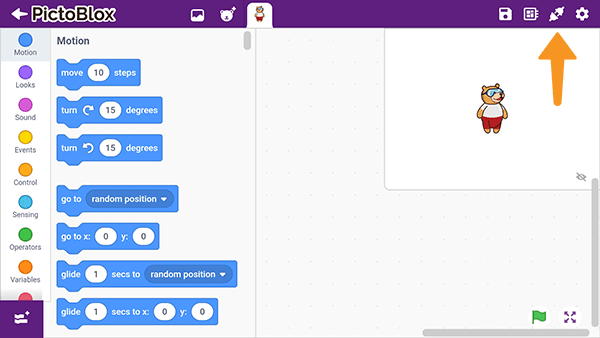
  3. Then, tap the Board button in the top-right corner of the toolbar.
    PictoBlox BoardSelect board as Quarky.
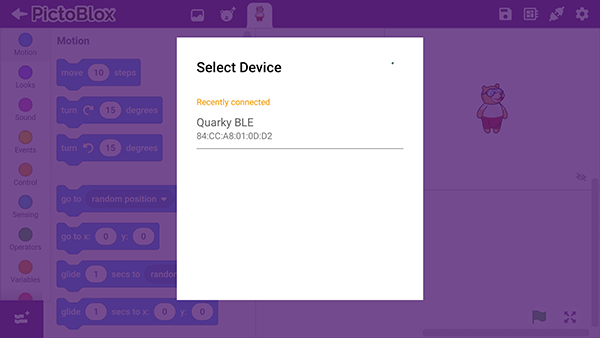
  4. Next, tap the Connect button:
    PictoBlox ConnectSelect your device from the list.

And voila! Quarky is now connected to PictoBlox.

Stage Mode

Stage mode is one of the two modes you can write your programs in Pictoblox. In this mode, you can write scripts for the sprite and boards to interact with sprites in real-time. If you disconnect the board with Pictoblox, you cannot interact with the board anymore. In this mode, you can make games and animation interacting with Quarky.

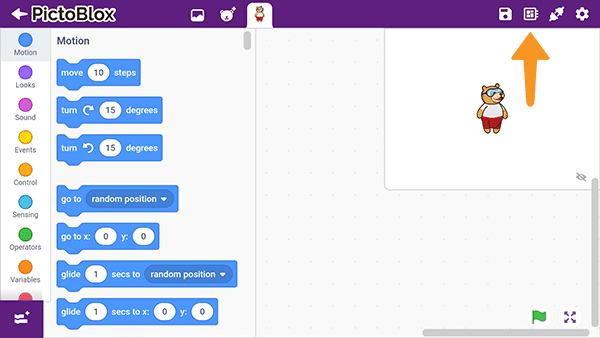
You can toggle between the upload mode and stage mode using the button on the top right side of Pictoblox.

Note:  You have to upload the firmware into the device before interacting with it. Please refer this doc: https://ai.thestempedia.com/docs/updating-quarky-firmaware-with-pictoblox/

In Python Coding Environment, use the following object declaration to use Python functions in Stage Mode:

quarky = Quarky()

Upload Mode

Upload mode is one of the two modes you can write your programs in Pictoblox. This mode allows you to write scripts and upload them to the board so that you can use them even when it is not connected to your computer, for example, you need to upload a script for making moving robots.

In this case, Quarky will run offline according to the program and it can not interact with the stage.

In Python Coding Environment, use the following object declaration to use Python functions in Upload Mode:

from quarky import *
Read More

PictoBlox Blocks

The block activates the sprite under this hat block when the analog sensor value connected to the selected pin becomes greater than the threshold set for the sensor. The block is used for analog sensors like Light Sensor and Gas Sensor.
The block sets the specified motor of the Quarky Expansion board to the specified direction (“FORWARD” or “BACKWARD”) and specified speed for the specified time. After that, the robot turns OFF.
The block gets the last data value of the specified feed as a number or as a string.
The block reports the value 1 of the webhook event.
The block sets the servo motors of the quadruped to the specified angles at the specified speed.
The block sets the individual motors at the specified speed. Here -100 is the motor running in the reverse direction at full speed and 100 is the motor running in the forward direction at full speed. 0 means the wheel will be stopped.
The block makes a request to ChatGPT to convert the text specified in it to emojis. The response of ChatGPT is then stored in PictoBlox and can be accessed using the get AI response block.
The play tone on () of note () & beat () block is a useful tool for adding audio elements to projects. It can play a tone with a certain frequency (note) for a specified duration (beat) with either a selection from the drop-down menu or a user-defined frequency and duration in milliseconds.
The block clears the display.
This block is used to move the end-effector of the robotic arm to a desired point in space, specified by the X, Y, and Z coordinates in the specified time.
Select left and right IR sensors for line following using either onboard or external sensors connected to analog pins.
Sends a message of the specified color.
Rotate the sprite clockwise a specified amount. Turn with 12 for a full rotation.
Decreases the sprite’s size.
Runs the blocks inside if a specified key is pressed.
Plays a specific musical note according to the instrument set.
Sets the thickness of the lines that can be drawn.
After connection is established, moves the quarky in a specified direction forever.
Displays a specified pattern from list on the quarky LED display.
Alllows the sprite to follow the movement of a detected face in real-time.
Runs the blocks inside if the specified hand sign/gesture is detected .
After connection is established, rotates the wizbot a specified degree of angle to the left.
After connection is established, turns the wizbot a specified number of step to the left.
The block allows you to enter the coordinates of two points on the TFT display and joins them using a straight line of the specified color which you can choose from the color picker.
evive Inbuilt tools. evive have 12 capacitive touch inputs, where you can sense if the pin is touched or not. If the specified channel is touched, the block returns “True”, else it returns false.
The block returns the real-time value of the selected parameter (X value, Y value, radial value, and angle) form the joystick and accelerometer mode of the Gamepad module of the Dabble app. You can choose the parameter from the drop-down menu.
This block adds the offset on the end effector position along the specified length direction i.e. the direction in which the robotic arm is facing and the Z direction. The block is mainly used to calibrate the end-effector with respect to the base.  
This block is to assign pre-defined leg movements and actions to our Humanoid Robot.
The block sets its sprite’s X and Y position to the specified amounts. This block has no animation in its movement — it is the simplest way to move a sprite around the screen without displaying any animation (i.e. gliding). Therefore, this block is used whenever a sprite needs to jump to another spot.
All articles loaded
No more articles to load

Block Coding Examples

All articles loaded
No more articles to load

Python Functions

There are no python functions for the extension to show.

Python Coding Examples

All articles loaded
No more articles to load
Table of Contents