[PictoBloxExtension]
Display (Quarky)
")
Extension Description
Controls the 7 x 5 RGB LED display.
-
 Available in: Block Coding, Python Coding
-
Mode: Stage Mode
-
WiFi Required: No
-
Compatible Hardware in Block Coding: Quarky
-
Compatible Hardware in Python: Quarky
-
Object Declaration in Python: quarky = Quarky()
-
Extension Catergory: Quarky
Introduction
The extension allows the user to control the RGB LED display of Quarky.
Connecting Quarky with PictoBlox
Let’s begin by first connecting Quarky to PictoBlox. Select your preferred type of device i.e. either the desktop/laptop or your smartphone and follow the instructions.
Desktop
Follow the steps below for connecting Quarky to PictoBlox:
- First, connect Quarky to your laptop using a USB cable.
- Next, open PictoBlox on your desktop.
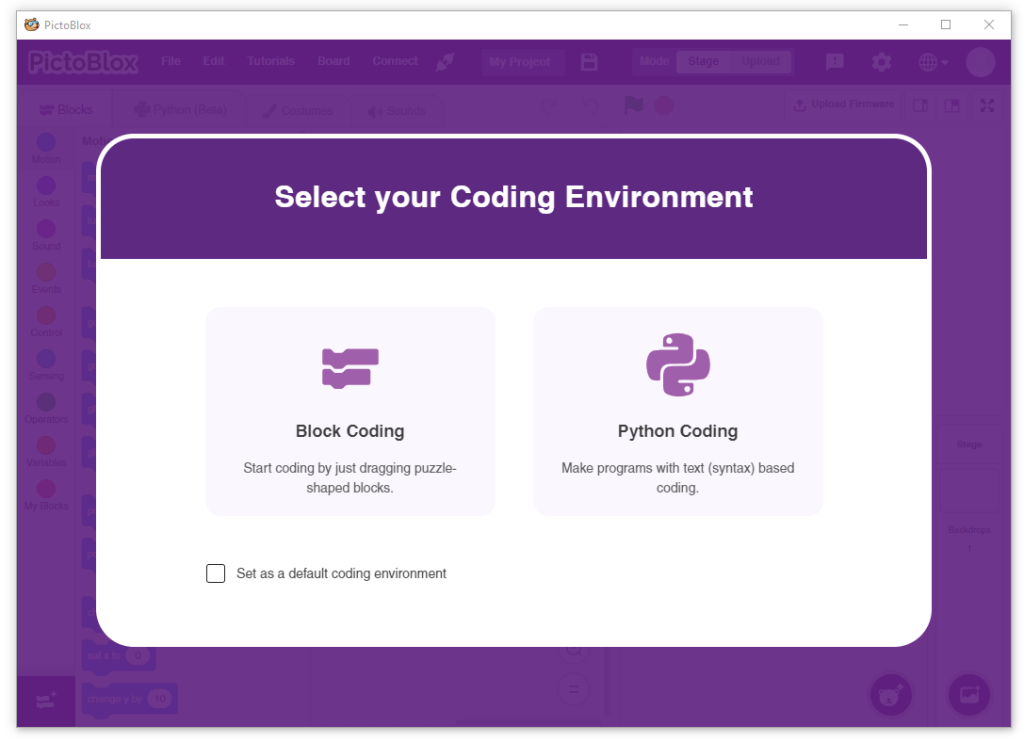
- After that, select Block or Python Coding as your coding environment.
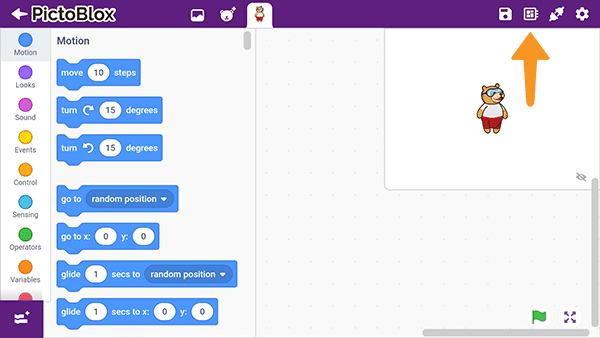
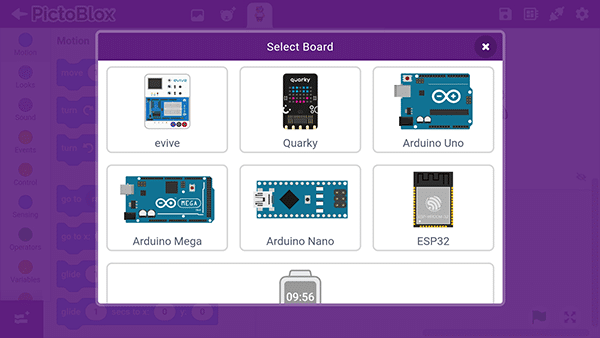
- Then, click the Board button in the toolbar and select board as Quarky.
- Next, select the appropriate Serial port if the Quarky is connected via USB or the Bluetooth Port if you want to connect Quarky via Bluetooth and press Connect.
And voila! Quarky is now connected to PictoBlox.
Mobile
Follow the steps below for connecting Quarky to PictoBlox:
- First, power ON Quarky.
- Open PictoBlox on your smartphone. Go to My Space and make a new project by clicking the ‘+(plus)’ button in the bottom-right corner.

- Then, tap the Board button in the top-right corner of the toolbar.
 Select board as Quarky.
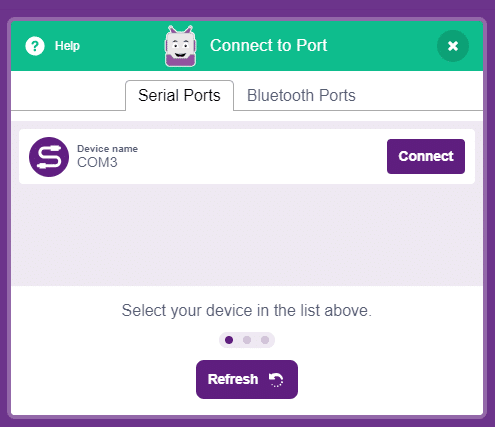
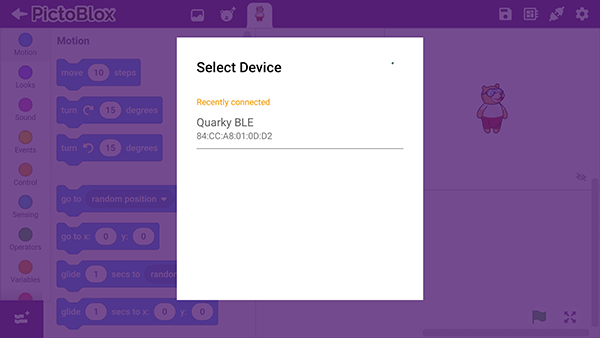
- Next, tap the Connect button:
 Select your device from the list.
And voila! Quarky is now connected to PictoBlox.
Stage Mode
Stage mode is one of the two modes you can write your programs in Pictoblox. In this mode, you can write scripts for the sprite and boards to interact with sprites in real-time. If you disconnect the board with Pictoblox, you cannot interact with the board anymore. In this mode, you can make games and animation interacting with Quarky.
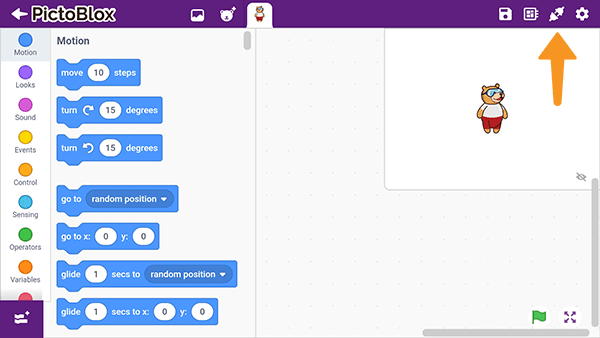
You can toggle between the upload mode and stage mode using the button on the top right side of Pictoblox.


Note: You have to upload the firmware into the device before interacting with it. Please refer this doc: https://ai.thestempedia.com/docs/updating-quarky-firmaware-with-pictoblox/
In Python Coding Environment, use the following object declaration to use Python functions in Stage Mode:
quarky = Quarky()Upload Mode
Upload mode is one of the two modes you can write your programs in Pictoblox. This mode allows you to write scripts and upload them to the board so that you can use them even when it is not connected to your computer, for example, you need to upload a script for making moving robots.
In this case, Quarky will run offline according to the program and it can not interact with the stage.
In Python Coding Environment, use the following object declaration to use Python functions in Upload Mode:
from quarky import *
Read More
PictoBlox Blocks
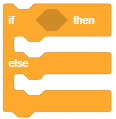
The block will check its Boolean condition: if the condition is true, the code held inside the first C (space) will activate, and then the script will continue; if the condition is false, the code inside the second C will activate (unlike the If () Then block).

Scripts that begin with this block will be invoked once the specified broadcast has been sent by a calling script. If a Forever block is sending the broadcast faster than the attached script can finish running, the script will restart without reaching the blocks at the end. This can be avoided by using Broadcast () and Wait.
The block holds the most recent text imputed with the Ask () and Wait block. When nothing has been inputted yet, the value will hold nothing.
Once you have analyzed the images, you can use the get # of objects block to get the number of objects recognized in the image.
The block joins two Boolean blocks so any one of them can be true to return true — if at least one of them is true, the block returns true; if neither of them are true, it returns false.
The block simply holds its variable value.
Once you have analyzed the images, you can use the get # of people block to get the number of people recognized in the image.
This block returns the x position of the pose landmark detected. The position is mapped with the stage coordinates.
The recognized () count block reports the number of selected things to count in the image. Multiple celebrities, brands, objects, and image tags in a single image can be seen.
Once you have analyzed the images, you can use the get # faces block to get the number of faces recognized in the image.
Once you have analyzed the image for printed text, you can use a printed text result block to get the recognized text from the image in a string format.
The block checks if the currently recognized class from the selected image feed (camera, stage, costume or backdrop) is the selected class or not.
The block analyses the specified text and provides the sentiment associated with the text – Positive, Negative or Neutral.
Once you have analyzed the images, you can use the get # of objects detected block to get the number of objects recognized in the image.
The block returns the QR Code data value detected.

The block changes the instrument that the Play Note () for () Beats block will play. A sprite can play only one instrument at a time. In order to play multiple instruments at once, it is necessary to have multiple sprites or clones of a single sprite

The block sets the pen’s color to the given color, which can be selected by clicking on the input.

This block sets the pen’s color, saturation, brightness (also known as shade), and transparency. The first value can be selected from “color” (default), “saturation”, “brightness”, and “transparency”.

The block sets the analog state of the specified pin to the specified value between 0 to 255.

The block displays the specified character on the Quarky RGB LED.

The block sets the threshold value of the specified IR sensor to the specified value. The value can be from 0 to 4095.
The block checks if the currently recognized class from the analyze image from () block is the selected class or not.

The block analyses the image and saves the face information locally, which can be accessed using other blocks.
The block checks if the currently recognized class from the analyze image from () block is the selected class or not.

The block sets the head servo motor angle to the specified angle.
The block checks if the currently recognized class from the analyze image from () block is the selected class or not.
The block reports the specified class confidence value of the selected class. 0 is low confidence and 1 is high confidence.

Scripts that wear this block will activate once the selected class is predicted either on the recognition window.

The block sets the selected property of the sprite (density, roughness, and bounce) to the specified value.
All articles loaded
No more articles to load
Block Coding Examples


All articles loaded
No more articles to load
Python Functions
The function returns whether the specified number card (0-9) is detected in the analysis or not.
Syntax: isnumberdetected(card_number = 1)
The function returns the specified parameter for the specified number card detected.
Syntax: getnumberdetail(card_number = 1, parameter_value = 1)
The function returns whether the specified object card is detected in the analysis or not.
Syntax: isobjectdetected(object_name = “Pizza”)
The function returns the specified parameter for the specified object detected.
Syntax: getobjectdetail(object_name = “Pizza”, parameter_value = 1)
The function is used to control the state of the camera.
Syntax: video(video_state = “on”, transparency = 1)
The function enables the automatic display of the box on QR Code detection on the stage.
Syntax: enablebox()
The function disables the automatic display of the box on QR Code detection on the stage.
Syntax: disablebox()
This function is used to analyze the image received as input from the camera, for QR Code.
Syntax: analysecamera()
This function is used to analyze the image received as input from the stage, for QR Code.
Syntax: analysestage()
The function returns whether the QR Code is detected in the analysis or not.
Syntax: isdetected()
The function returns the X position of the specified landmark points of the QR code.
Syntax: xpos(landmark_name = “center”)
The function returns the Y position of the specified landmark points of the QR code.
Syntax: ypos(landmark_name = “center”)
The function returns the QR Code data value detected.
Syntax: codedata()
The function returns the QR Code angle detected.
Syntax: angle()
The function initialize and sets the event name and API key for the IFTTT webhooks.
Syntax: setifttt(event_name = “event name”, key = “key”)
The function sets the specified parameter (1, 2, or 3) to the specified value.
Syntax: setvalues(value = “your value”, parameter = 1)
The function triggers the IFTTT webhook event.
Syntax: triggerevent()
The function clear the parameter values of the IFTTT webhook.
Syntax: clearvalues()
The function returns the parameter 1 value set during the program.
Syntax: value1()
The function returns the parameter 2 value set during the program.
Syntax: value2()
The function returns the parameter 3 value set during the program.
Syntax: value3()
All articles loaded
No more articles to load
Python Coding Examples
All articles loaded
No more articles to load
Table of Contents


