[MarsRover]

Programming the Mars Rover with Block Coding in PictoBlox

Description
Learn how to program and control the Quarky Mars Rover with PictoBlox Block Coding. Learn how to install the software and the robot, connect the robot with PictoBlox, and calibrate the robot’s servo motors.

Introduction

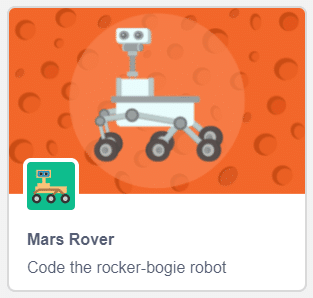
Quarky Mars Rover is a miniature version of Mars Rovers sent to Mars by NASA. It has 5 servo motors – 4 in the legs to control the wheel position and 1 in the head. It also has 6 motors to control the motion of the robot which allows it to move forward, backward, left, and right.
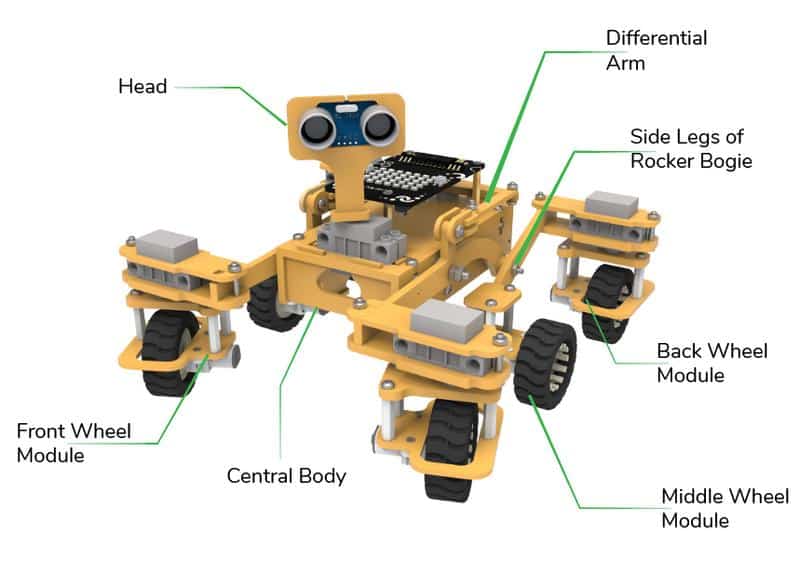
The robot is programmable with PictoBlox. PictoBlox is coding education software that uses both graphical block-based coding and Python programming.
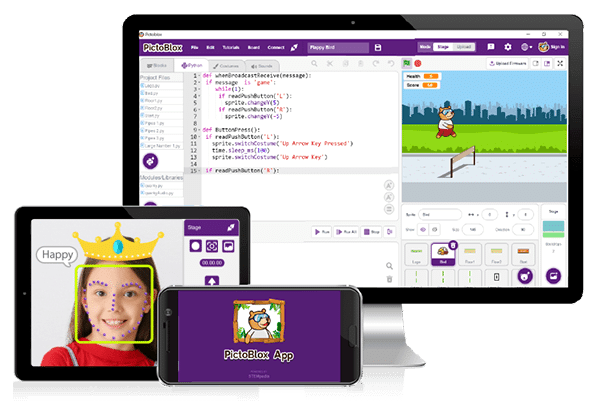
With PictoBlox, you can program the Mars Rover for different applications!

If you haven’t installed PictoBlox, please follow the instructions:

Windows Installer (.exe)

STEP 1: Download the Pictoblox Installer (.exe) for Windows 7 and above (Release Notes).

STEP 2: Run the .exe file.

Some of the device gives the warning popup. You don’t have to worry, this software is harmless. Click on More info and then click on Run anyway.

STEP 3: Rest of the installation is straight forward, you can follow the popup and check on the option appropriate for your need.


Your software is now installed!

macOS Installer

STEP 1: Download the Pictoblox Installer (.dmg).

STEP 2: Run the .dmg file.

Mobile App Installer

STEP 1: Open Google Play Store on your Smartphone and and search for PictoBlox or visit the link here to head over to the Google Play Store. You can even scan the QR Code below from your Smartphone to head to the PictoBlox App.
STEP 2: Install the PictoBlox App.

Connecting Quarky with PictoBlox

Let’s begin by first connecting Quarky to PictoBlox. Select your preferred type of device i.e. either the desktop/laptop or your smartphone and follow the instructions.

Desktop

Follow the steps below for connecting Quarky to PictoBlox:

  1. First, connect Quarky to your laptop using a USB cable.
  2. Next, open PictoBlox on your desktop.
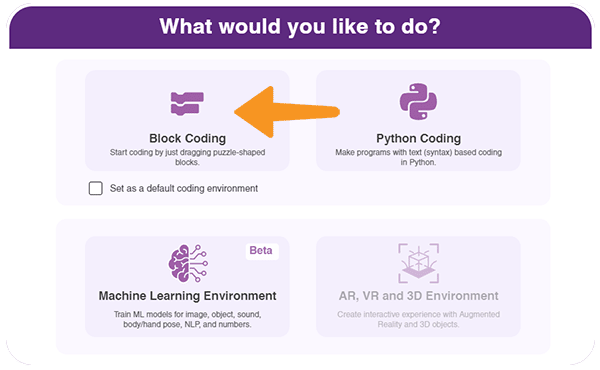
  3. After that, select Block as your coding environment.
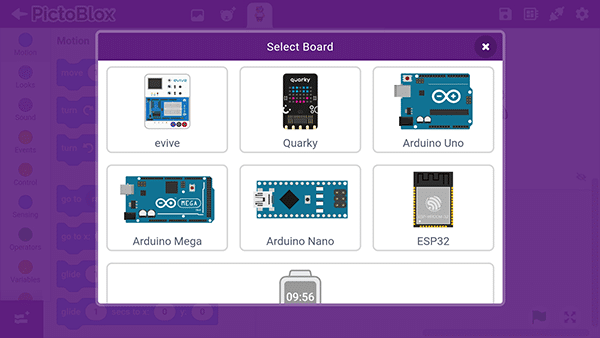
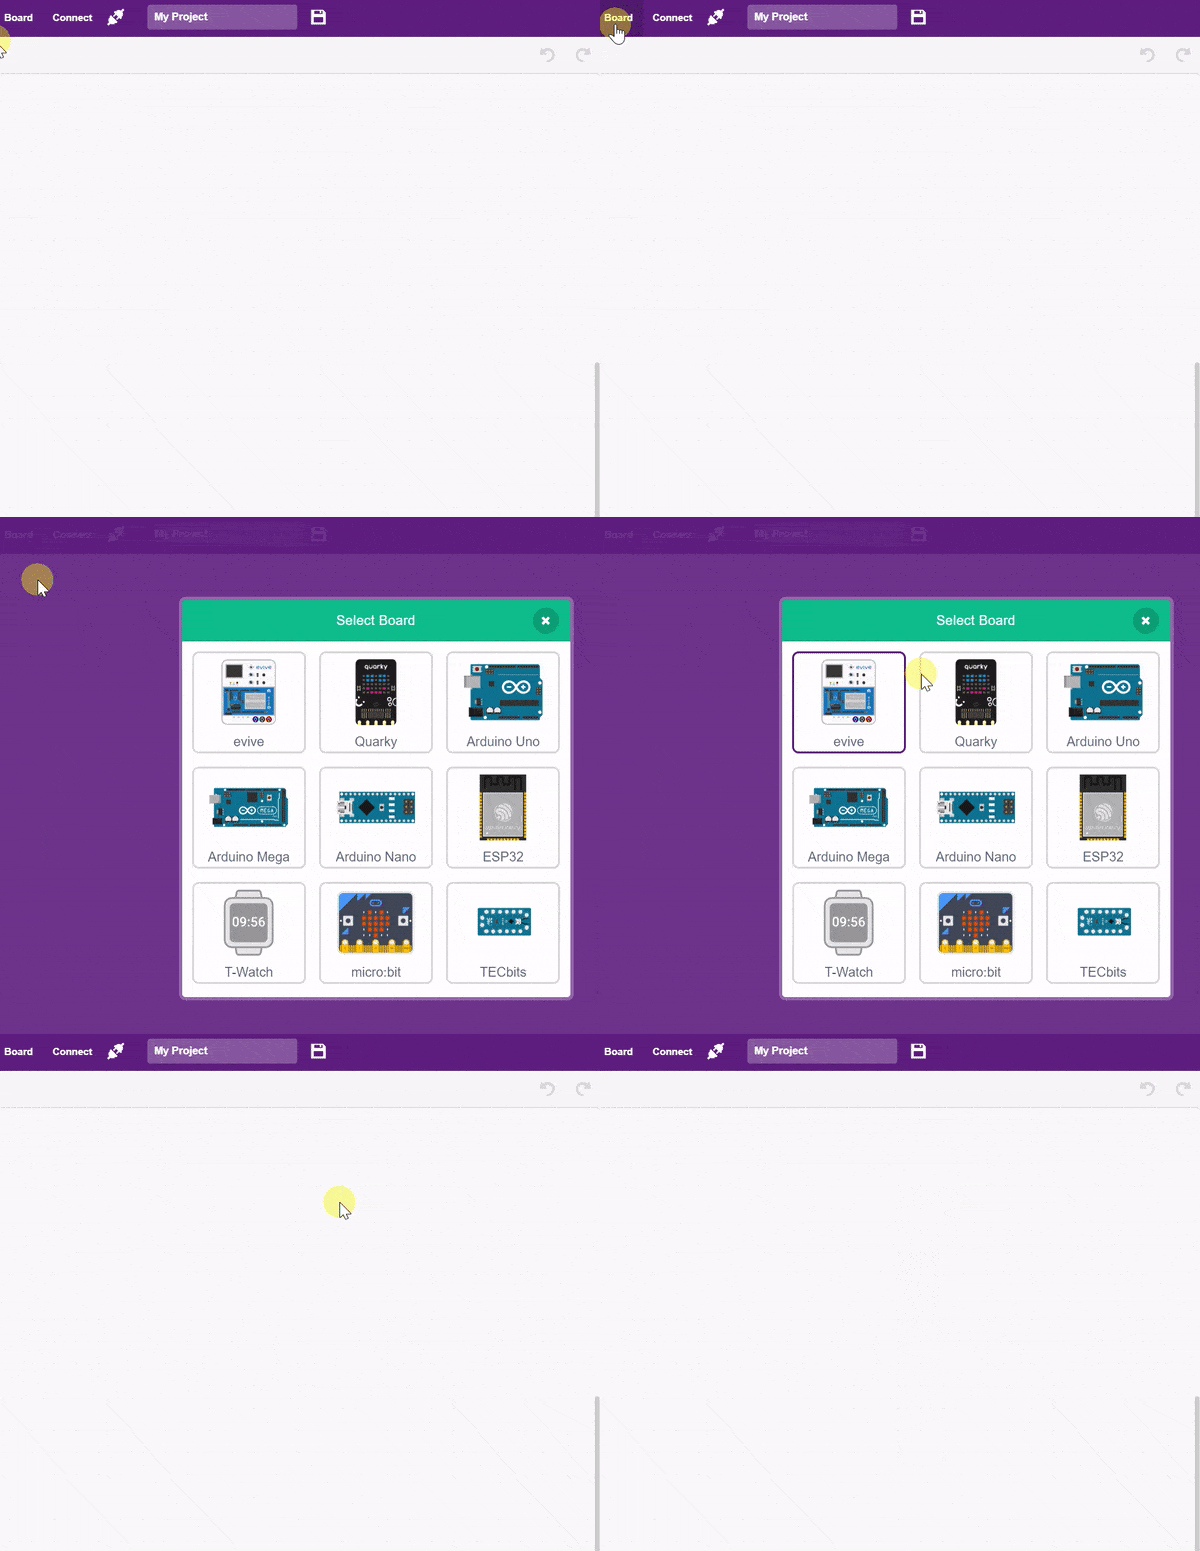
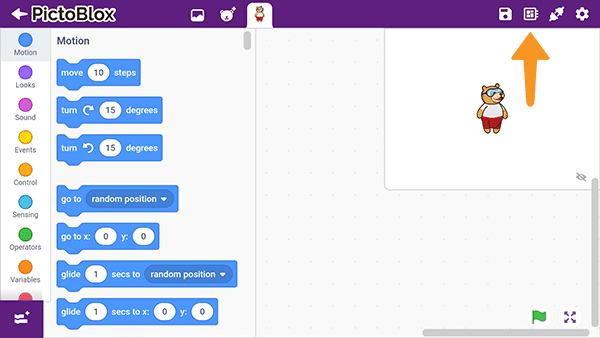
  4. Then, click the Board button in the toolbar and select board as Quarky.
  5. Next, select the appropriate Serial port if the Quarky is connected via USB or the Bluetooth Port if you want to connect Quarky via Bluetooth and press Connect.
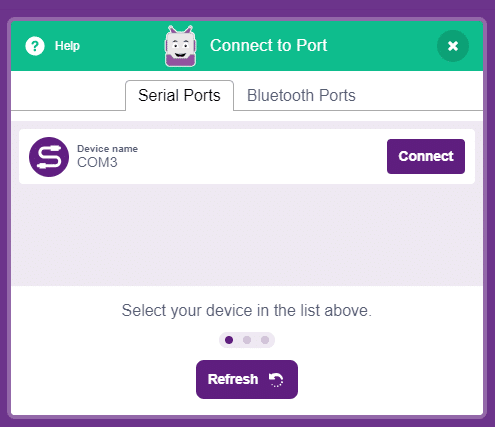
    COM Port
  6. Click on the Upload Firmware button. This will upload the latest firmware in Quarky.
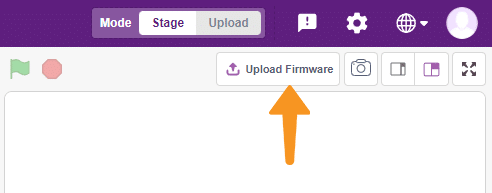
    Note: If your device already has the latest firmware, then PictoBlox will show the message – Firmware is already updated. For learning more you can refer to this tutorial: https://ai.thestempedia.com/docs/quarky/quarky-toubleshooting/updating-quarky-firmaware-with-pictoblox/
  7. Once the firmware is uploaded, Quarky starts the Getting Started program. This runs only for the first time. Run through it.

And voila! Quarky is now connected to PictoBlox.

Mobile

Follow the steps below for connecting Quarky to PictoBlox:

  1. First, power ON Quarky.
  2. Open PictoBlox on your smartphone. Go to My Space and make a new project by clicking the ‘+(plus)’ button in the bottom-right corner.
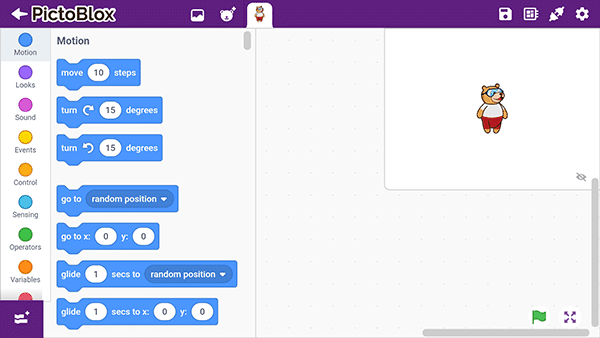
    PictoBlox in Mobile Phone
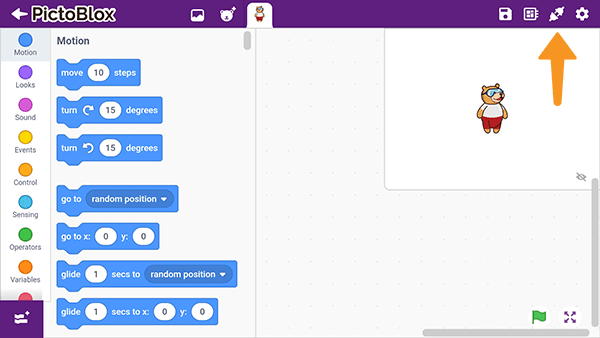
  3. Then, tap the Board button in the top-right corner of the toolbar.
    PictoBlox BoardSelect board as Quarky.
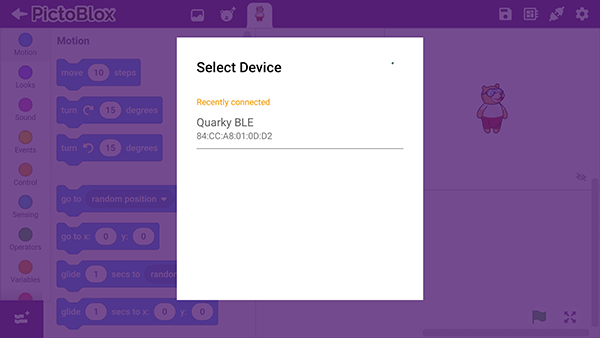
  4. Next, tap the Connect button:
    PictoBlox ConnectSelect your device from the list.

And voila! Quarky is now connected to PictoBlox.

Quarky Mars Rover Extension

The Mars Rover extension in PictoBlox allows you to control the robot. It has blocks for specific applications. To add the Mars Rover extension follow the instructions:

  1. Click on the Add Extension button and add the Quarky Mars Rover extension.
  2. You can find the Quarky Mars Rover blocks available in the project.

PictoBlox Blocks for Mars Rover

The following blocks are available for the Mars Rover:

The block is used to change the color of the entire TFT screen of evive. You can select the color from the color picker.
The block allows the user to control the brightness of LED connected to digital pins of the device using Dabble app. You can enter the pin number to which your device is connected and vary the brightness in the app.
The block reports the distance of the nearest object from an ultrasonic sensor. It returns distance in cm. The trigger pin and echo pin are connected to a digital pin of evive which can be selected from the drop-down menu.
This block initializes motor and assigns the motor its direction 1, direction 2 and PWM control pins.
To work in the stage mode, we have to upload firmware in evive which can communicate with PictoBlox in real-time. With the help of this block, we will use the upload stage mode firmware to the robot.
The block moves its sprite forward the specified amount of steps in the direction it is facing. A step is equal to one-pixel length. The block actually uses Trigonometry to move in the proper direction, as that is how a computer handles it.
The block displays a speech bubble with the specified text for the sprite that runs it, which appears on the screen for the specified amount of seconds.
The block will play the specified sound, pausing its script until the sound has finished playing.
The block pauses its script for the specified amount of seconds — the wait can also be a decimal number.
Scripts that wear this block will activate once the Green Flag has been clicked — these scripts can activate other scripts and enable the entire program. Without this block, the only way a project could run would be that it would sense the pressing of a key or clicking a sprite; the project would only last until all scripts depending on the starting scripts have ended.
The block checks if its sprite is touching the mouse-pointer, edge, or another sprite. If the sprite is touching the selected object, the block returns true; if it is not, it returns false.
turn () video on stage with () % transparency block controls the control the camera feed on the stage.
The block checks if the first value is less than the second value. If it is less, the block returns true; if not, it returns false. This block works with letters too, as well as numbers. In Scratch, letters at the top of the alphabet (e.g. a, b, c) are worth less than letters at the end (e.g. x, y, z).
The block will set the specified variable to the given value: a string or number.
turn () video on stage with () % transparency block controls the control the camera feed on the stage.
The block sets a loudness filter threshold to remove the background noise from the audio file which is being analyzed.
The turn () video on stage with () % transparency block controls the control the camera feed on the stage.
The block adds the specified text data to the specified class for the training.
The turn () video on stage with () % transparency block controls the control the camera feed on the stage.
The speak () block uses the text-to-speech tool to speak the given text. It will speak the selected voice with the chosen language in the set language to () block. Usage of the block is limited to 128 characters. If a string longer than 128 characters is given, then only the first 128 characters will be spoken.
The block translates a string from the automatically detected language to the chosen language using Google Translate.
The turn () video on stage with () % transparency block controls the control the camera feed on the stage.
The block runs an API call to get the weather data of the location specified with the Longitude and Latitude. The API call can be done only 2 times per minute. If the user wants to have the data more frequently, they have to add the custom API using set Weather API to () block.
The block will play the specified instrument for the specified amount of seconds using a sampled percussion instrument. Even though the block uses the word “drum”, the choices in the drop-down menu are many different percussion instruments including drums, triangles, bongos, cowbell, vibraslap, and various idiophones.
The when video motion > () block activates when the current video motion on the stage is greater than the number entered. 
When used in a script, the sprite will produce a bitmap image of itself which is stamped onto the stage. (Because it is merely a picture of the sprite and not a sprite itself, it cannot be programmed.) Like other Pen blocks, the Stamp block will not draw over sprites. The erase all block removes all stamped images.
when Quarky starts up block is a Hat block. Scripts that wear this block get converted into Python code when you are in Upload Mode. This block is used when one has to upload a code into Quarky.
The block displays the specified emotions on the Quarky RGB LED. These emotions are static and predefined in the code.
All articles loaded
No more articles to load

Activity: Calibrating Mars Rover

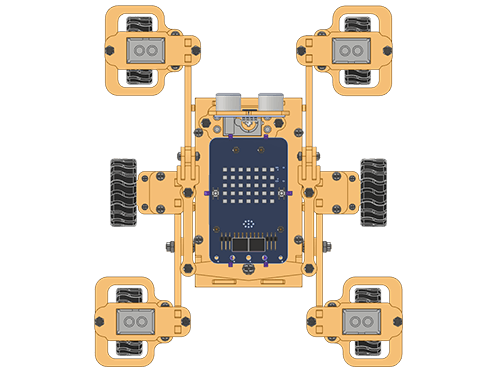
In this activity, we are going to calibrate the Mars Rover servo motors. Due to some mechanical assembly errors, there may be some misalignment of the servos which can be handled with set offset to head (), FL (), FR (), BL (), BR () block.
Follow the steps:

  1. Open new project in PictoBlox.
  2.  Connect Quarky to PictoBlox.
  3. Click on the Add Extension button and add the Quarky Mars Rover extension.
  4. Make the following code:

Run the code with Green Flag. Now you have to make sure that the robot has the following orientation:

If you find any twist of angle in the robot wheels, edit the value of the servo motor in the set offset to head (), FL (), FR (), BL (), BR () block. If this step is not done properly, your robot may move in an incorrect manner.

Note:  This has to be done only once as the offset values are stored in the memory of the robot.

Conclusion

In conclusion, Quarky Mars Rover is a miniature version of Mars Rovers sent to Mars by NASA. It can be programmed using PictoBlox, where you can program the Mars Rover for different applications. To connect Quarky to PictoBlox, you can use either your desktop/laptop or your smartphone. The Mars Rover extension in PictoBlox allows you to control the robot. You can use the blocks to calibrate the servo motors, allowing the robot to move in the desired orientation. With the help of PictoBlox and the Mars Rover extension, you can now explore the possibilities of programming a small Mars Rover!

Table of Contents